The delicate dance of light and shadow, the subtle nuances of skin tone, the captivating gaze – all these elements contribute to the allure of a captivating portrait. Capturing these intricacies on glass, however, presents a unique and rewarding challenge. This guide delves into the exquisite art of glass portraiture, using the precision of dipping pens and the rich depth of oil-based paints to achieve breathtaking results. Forget the limitations of traditional canvases; explore the luminous transparency and inherent beauty of glass as a medium for your artistic expression.
This exploration of mastering glass portraiture will equip you with the knowledge and techniques to create stunning, lifelike portraits. From preparing your glass surface and choosing the right paints, to mastering the intricacies of linework and blending, we'll walk you through each step of the process with clear instructions and helpful illustrations. Let's begin our journey into this fascinating art form, and discover the secrets to creating your own masterpieces on glass, step by step.
Preparation and Safety Guidelines
- Dipping pens
- Oil-based paints (Tracing Black by R & American Paint)
- Lavender oil
- Clove oil
- Glass cleaner or vinegar
- Acetate printouts of portrait
- Kiln
- Badger brushes
- Knit comb
- Ro oil medium (water-based)
- Oil-based paints and solvents are flammable and toxic. Work in a well-ventilated area, away from open flames, and wear a respirator mask to avoid inhaling fumes.
- Glass is fragile. Handle glass panels with care to avoid breakage and potential injury from sharp edges. Use appropriate protective gear like gloves.
- Clean-up requires specific solvents. Never pour solvents down the drain. Dispose of used paints and solvents responsibly according to local regulations.
Step-by-Step Instructions
Preparation
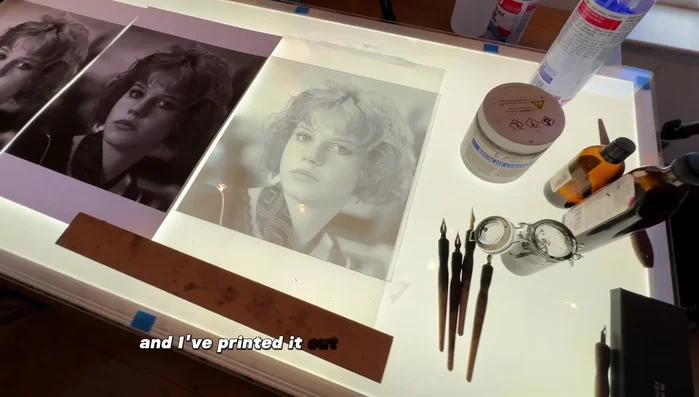
- Prepare your portrait printouts in various contrasts for detail and tonal value.
- Clean the glass surface thoroughly.

Preparation Initial Line Work and Shading
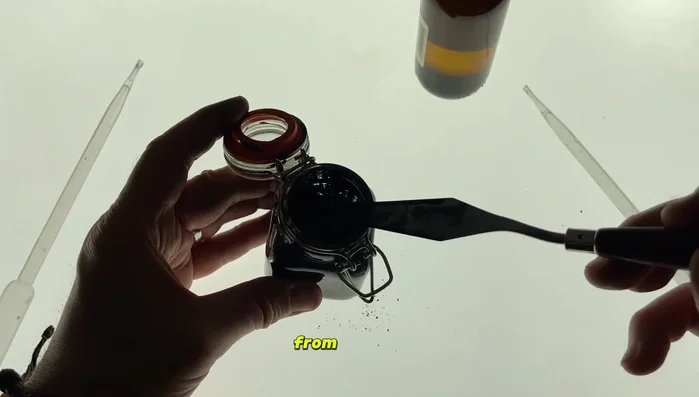
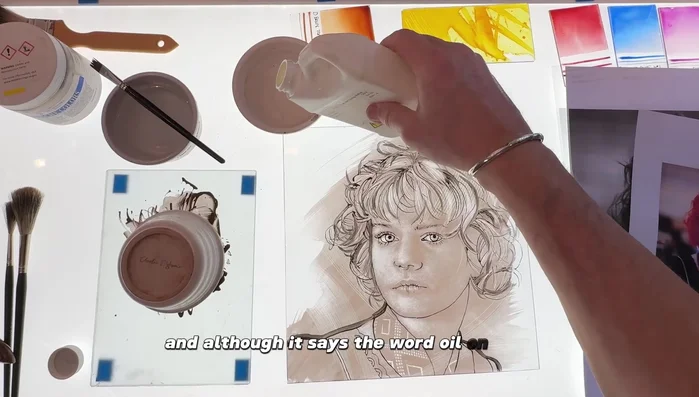
- Using dipping pens and pre-mixed oil-based paint (2 parts clove oil to 1 part lavender oil, infused for 24 hours), create gestural line work and initial shading on the glass.
First Firing and Correction
- Low-temperature kiln firing (around 100°C for 20 minutes) to set the initial layer and allow for corrections.
Base Shading Layer
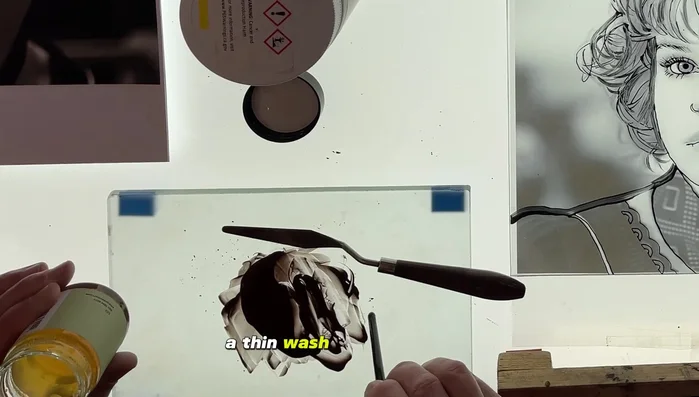
- Apply a thin wash of brown paint (diluted with water and gum arabic) with a badger brush, creating a translucent layer for additional shading.
Base Shading Layer Detailing and Highlighting
- Use stippling and scratching techniques to create highlights and finer details in the shading.
- Introduce textural effects using a knit comb for more randomness and movement.
Detailing and Highlighting Graduated Shading
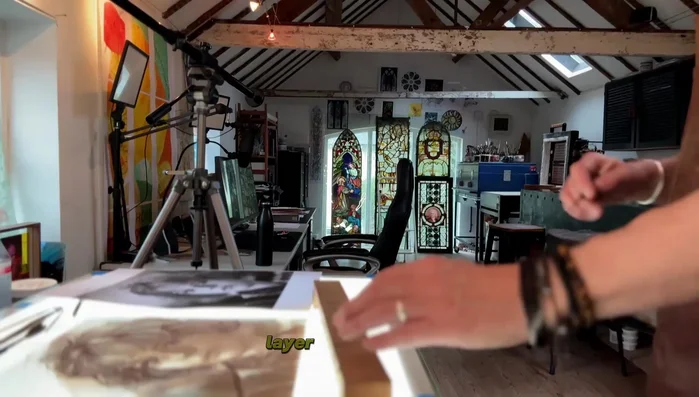
- Apply a second shading layer using a water-based oil medium for graduated shading, similar to traditional oil painting.
Graduated Shading Experimentation and Refinement
- Experiment with techniques, allowing the paint to suggest effects and be open to surprising results.
Experimentation and Refinement
Read more: 7 Top Paint Color Trends for 2024: A Complete Guide with Free Downloadable Resource
Tips
- Infuse oil-based paints with oils for at least 24 hours for optimal pigment blending and flow.
- Low-temperature kiln firing allows for corrections after the initial layer.
- Use a water-based oil medium for creating smooth graduated shading layers, making corrections easier.
- Don't be afraid to experiment with different paint application techniques and embrace unexpected results.