Have you ever admired the subtle gleam of gilded accents on antique coins or jewelry and wished you could recreate that effect? The art of gilding, the application of a thin layer of gold or gold-like material, opens up exciting possibilities for personalizing and enhancing everyday objects. This detailed guide focuses on a particularly intriguing project: gilding numbers onto a US quarter. It’s a surprisingly accessible project, perfect for beginners looking to explore the world of metal finishing and decorative arts, adding a unique touch to a common item.
This seemingly simple task of gilding numbers on a quarter demands precision and patience, requiring careful attention to detail at every stage. From preparing the surface of the coin to applying the gold leaf and sealing the finish, each step is crucial for achieving a professional-looking result. Ready to transform a humble quarter into a miniature work of art? Let's delve into the step-by-step process and unlock the secrets to successfully gilding numbers onto your coin.
Preparation and Safety Guidelines
- Quarter
- Dux quick-dry sizing
- Enamel paint
- Dutch gold leaf
- Cotton balls
- Brush
- Light blue paint
- Clear coat (Dux sizing)
- White paint
- Gilding quarters is illegal in many jurisdictions if done for the purpose of counterfeiting. Only gild coins for artistic purposes or clearly marked as altered.
- Use proper ventilation when working with gilding materials as fumes can be harmful. Wear a respirator if necessary.
- Always test your gilding process on a scrap metal piece before applying it to a valuable coin to avoid damaging it. Practice makes perfect.
Step-by-Step Instructions
Preparation and Number Placement
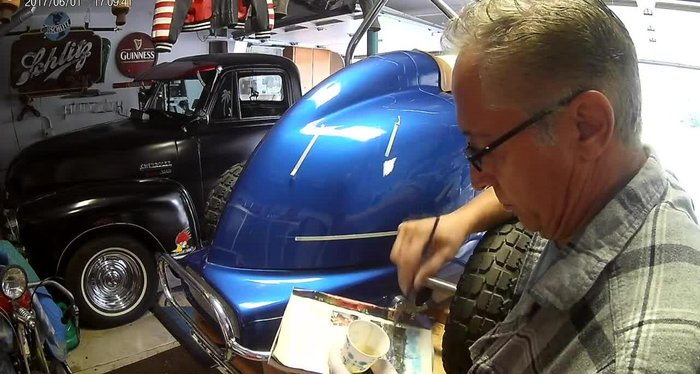
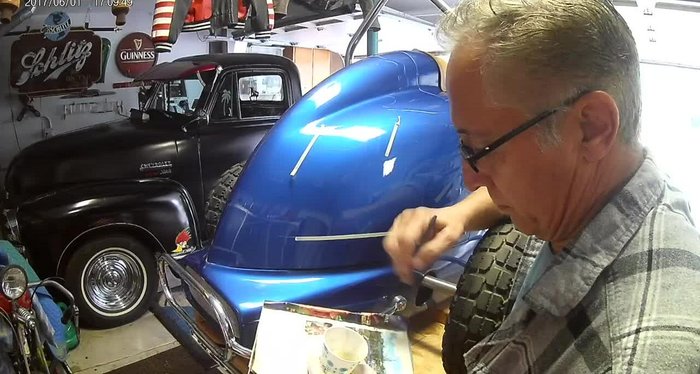
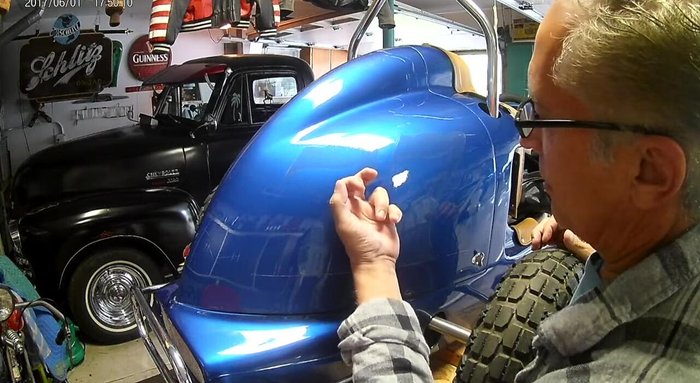
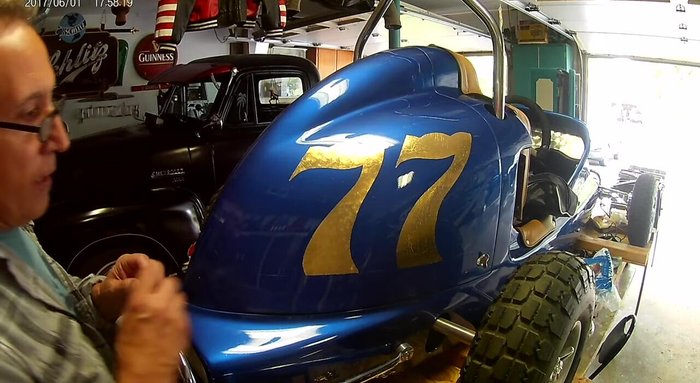
- Sketch and tape off the areas where the numbers will be on the quarter.
- Apply Dux quick-dry sizing to the taped areas. Add a drop of enamel paint to help visualize the number placement.
- Brush the sizing evenly to ensure even drying and better gold leaf adhesion. Let it dry for an hour or two, depending on humidity.
- Check the sizing to ensure it's not drying too quickly.

Preparation and Number Placement Applying Gold Leaf to the First Number
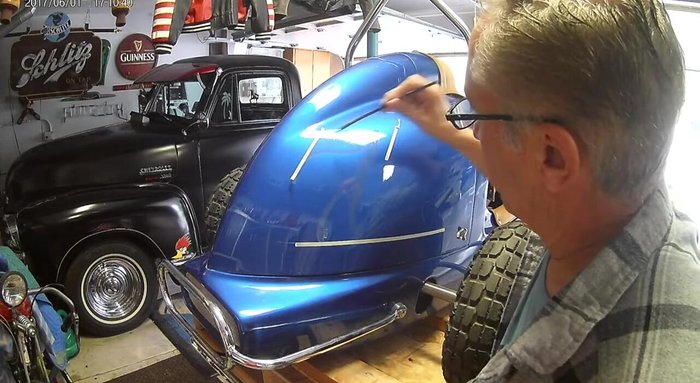
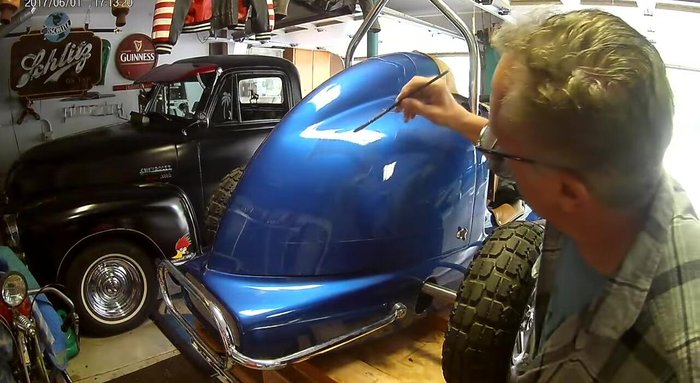
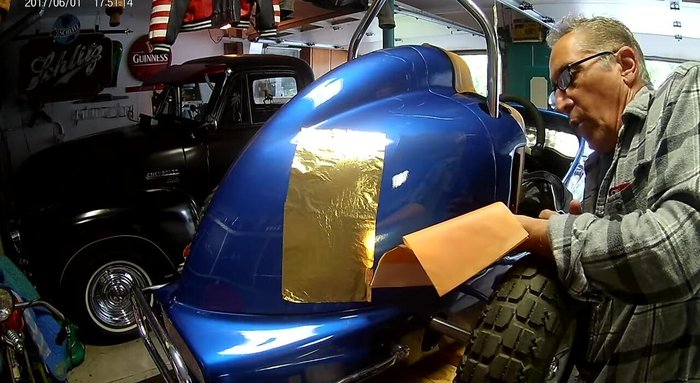
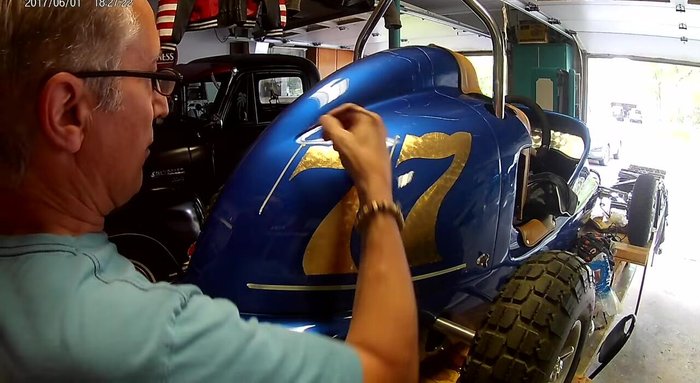
- Apply Dutch gold leaf using the back of your knuckle to feel for a good 'squeak', indicating proper adhesion.
- Lay the gold leaf in one smooth motion to cover all spots.
- Use the back of your hand to feel for missed spots and wipe off excess gold leaf with a fresh cotton ball.
- Use a fresh cotton ball to lightly spin and score the gold leaf, adding shimmer and a nice touch. Overlap circles slightly for a better look.
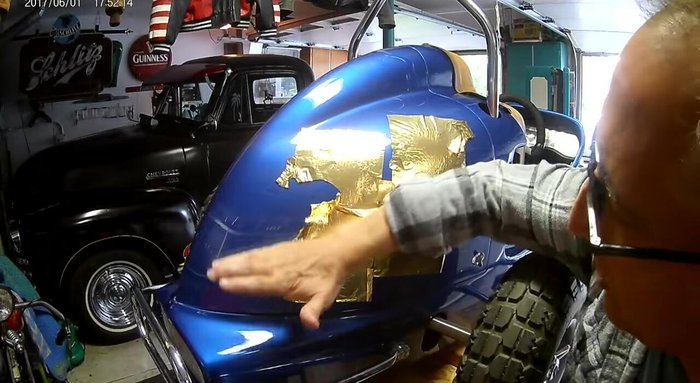
Applying Gold Leaf to the First Number Applying Gold Leaf to the Second Number
- Repeat steps 7 and 8 for the second number.
Applying Gold Leaf to the Second Number Outlining and First Protective Coat
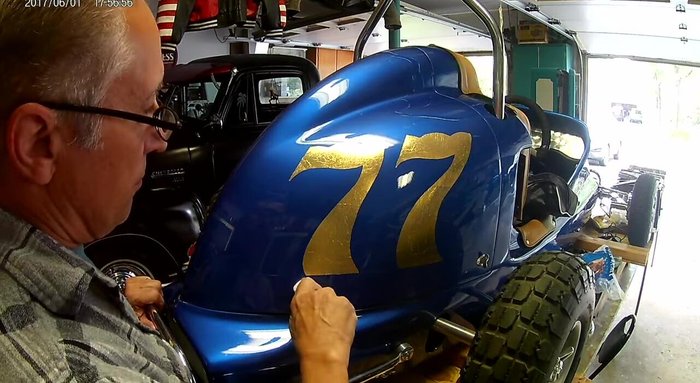
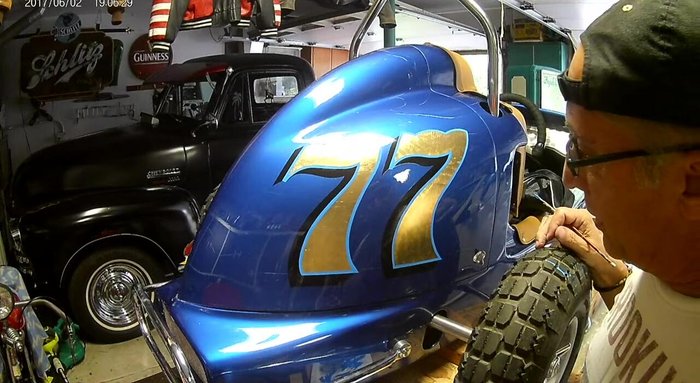
- After the sizing is completely dry, outline or shadow the numbers with a light blue paint.
- Let the outline dry. Then, apply a brush coat of clear Dux sizing (unthinned) for protection.
Outlining and First Protective Coat Second Protective Coat and Highlighting
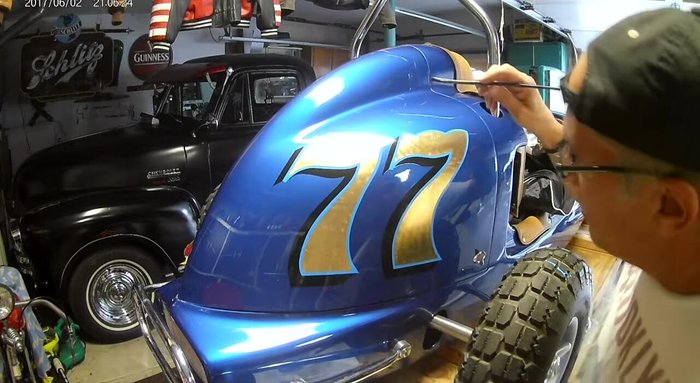
- Wait until the clear coat dries completely before applying a second coat.
- Add highlights using a small amount of white paint after the clear coat is dry.
Second Protective Coat and Highlighting
Read more: 7 Top Paint Color Trends for 2024: A Complete Guide with Free Downloadable Resource
Tips
- Use quick-dry sizing for faster drying and better adhesion.
- Check sizing dryness to avoid tearing the gold leaf.
- Don't try to save excess gold leaf; it's not worth it.
- Use the back of your hand or knuckle to ensure complete coverage and feel for missed spots.
- Avoid rubbing your finger over the gold leaf to prevent marring it.