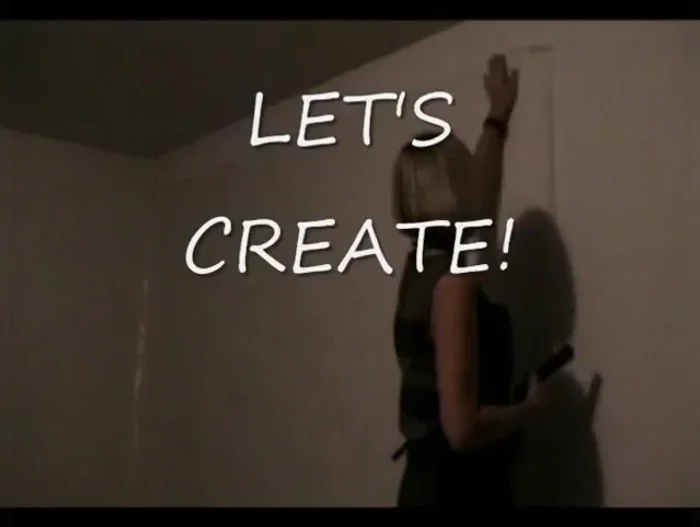
Have you ever dreamed of owning a breathtaking, giant world map mural that transforms a blank wall into a captivating journey around the globe? Imagine the vibrant colours, the intricate details of each country, and the endless possibilities for personalizing your space with this stunning piece of art. A large-scale world map mural is a significant undertaking, but with careful planning and the right techniques, it's a project well within reach, offering a unique and rewarding experience. This isn't just about painting; it's about creating a captivating focal point that sparks conversations and inspires wanderlust.
This guide provides a comprehensive, step-by-step process for painting your own giant world map mural, from initial planning and preparation to the final touches. We'll walk you through each stage, ensuring you create a stunning masterpiece that you'll cherish for years to come, regardless of your prior painting experience. Let's embark on this exciting artistic adventure together!
Preparation and Safety Guidelines
- Heavy-duty plastic drop cloth
- Printed world map sheets (online)
- Transparencies
- Overhead projector
- Flat sheets (size as needed)
- Acrylic paints
- Variety of brushes
- Two permanent markers (blue & black)
- Stapler
- Foam roller
- Scissors
- Always work in a well-ventilated area, especially when using acrylic or spray paints. Fumes can be harmful.
- Protect your work surface thoroughly with drop cloths or plastic sheeting. Paint can be incredibly difficult to remove from certain surfaces.
- If using a projector, ensure the projection is accurately sized and positioned before beginning to paint. Corrections are much harder once you've started painting.
Step-by-Step Instructions
Planning and Preparation
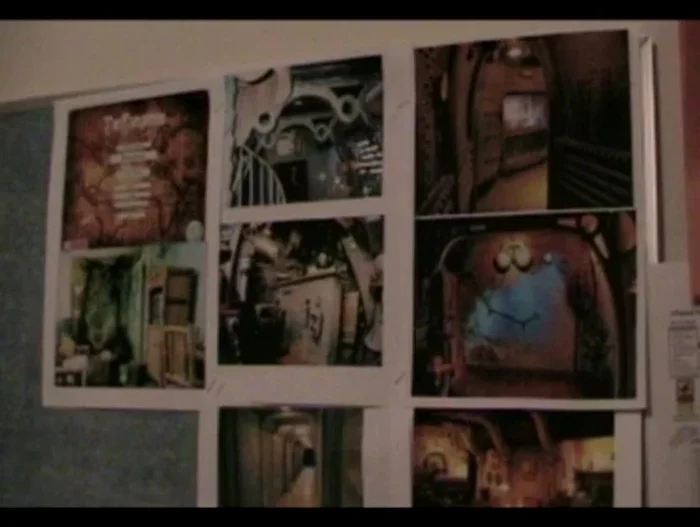
- Find and select reference images for your map's style and room theme.
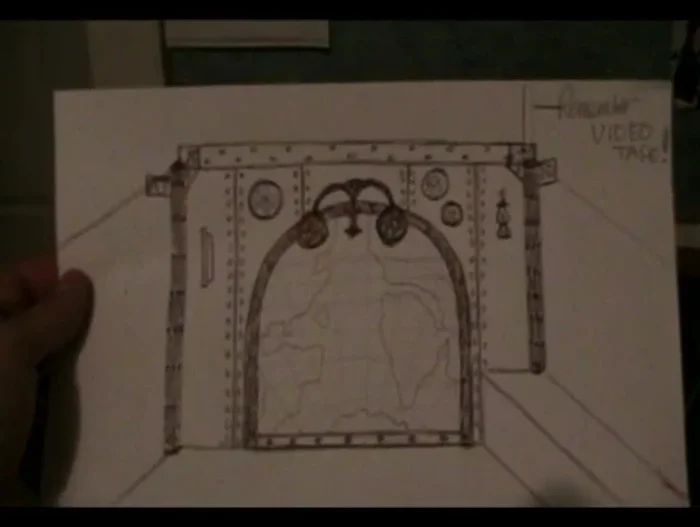
- Sketch a section of the wall you'll be painting.
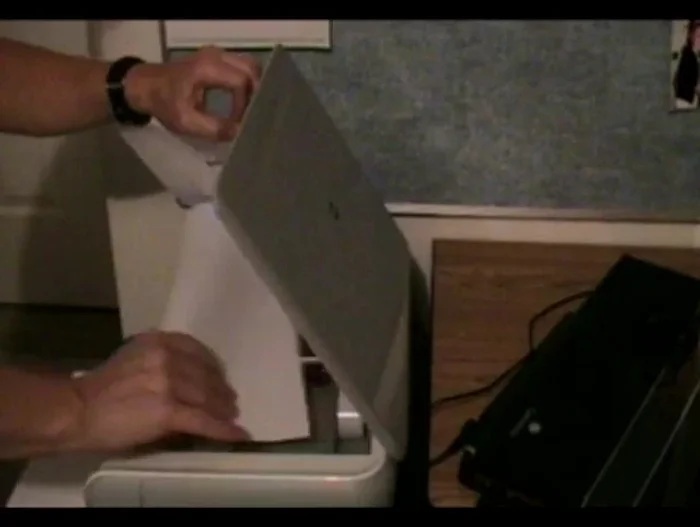
- Print your sketch onto transparency sheets using a scanner or printer.

Planning and Preparation Surface Preparation
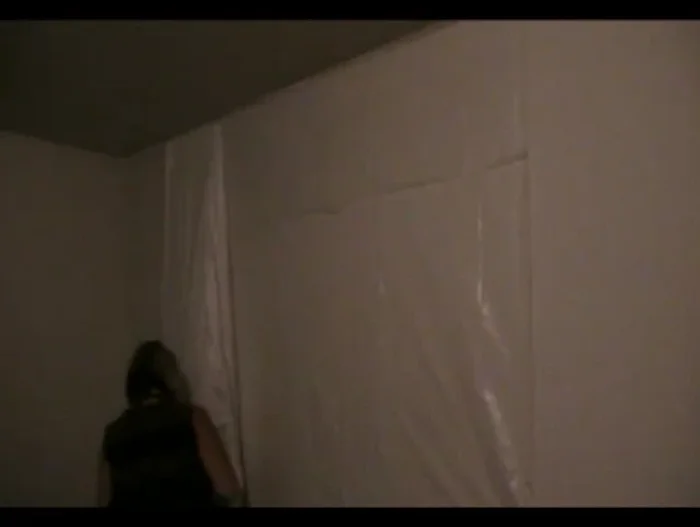
- Secure the drop cloth to the wall using a stapler.
- Staple the map sheet(s) onto the drop cloth, stretching them taut for a canvas-like surface.
- For larger maps, use multiple sheets, overlapping edges and stapling to create a seamless surface.
Surface Preparation Transferring the Map Design
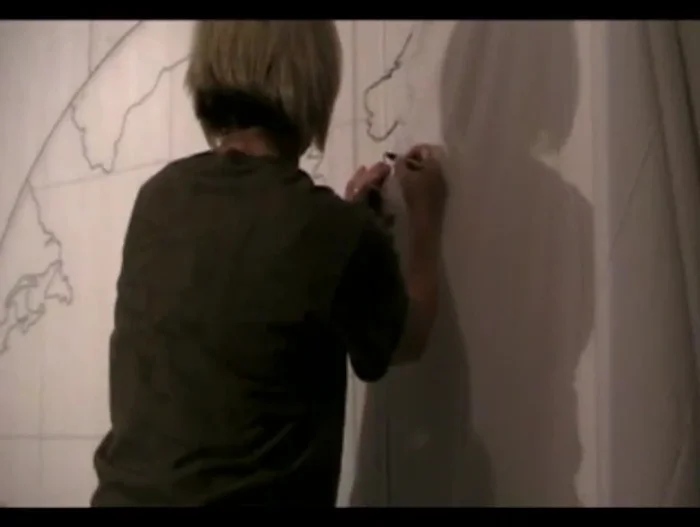
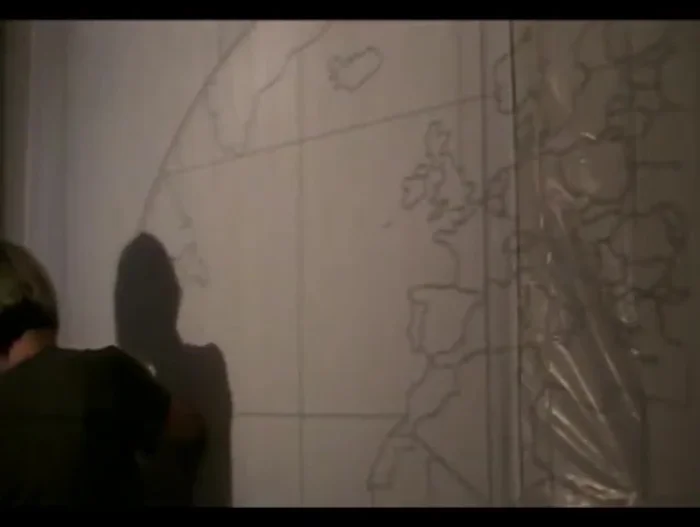
- Project the transparency onto the prepared map sheet using an overhead projector.
- Outline the projected map onto the sheet using a black permanent marker. Adjust detail level to your preference.
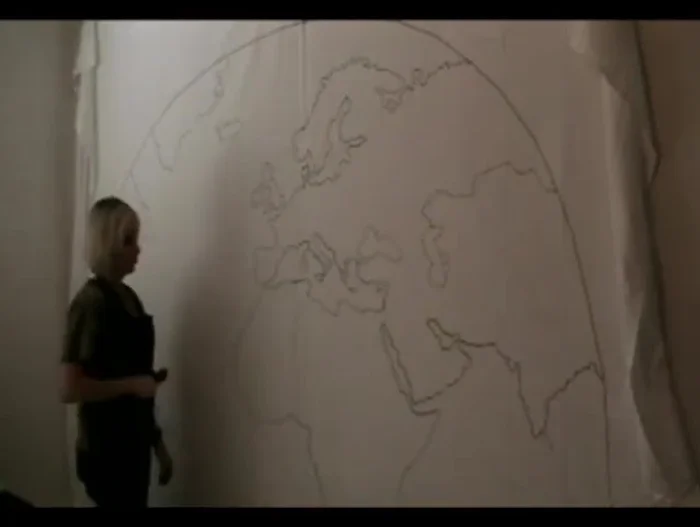
Transferring the Map Design Ready for Painting
- Once outlined, prepare for painting (Part 2 of the video).
Ready for Painting

Read more: 7 Top Paint Color Trends for 2024: A Complete Guide with Free Downloadable Resource
Tips
- Use heavy-duty plastic for the drop cloth to prevent paint seepage.
- Gather a variety of brushes for different painting effects.
- Use a blue marker for rivers and a black marker for outlining.
- Consider the size of your room and the desired map size when choosing your sheet size. You may need to use multiple sheets.