Geometric watercolor painting offers a unique blend of precision and fluidity, resulting in striking, modern artworks. Unlike traditional watercolor's emphasis on loose washes and organic forms, this technique utilizes sharp lines, geometric shapes, and carefully planned compositions to create bold and captivating pieces. It's a fascinating method that allows you to explore color theory and design principles in a tangible and visually rewarding way, perfect for both beginners and experienced artists looking to expand their skillset. The clean lines and structured approach makes it surprisingly accessible, even if you think you lack a natural artistic flair.
This guide will walk you through the process of creating your own geometric watercolor masterpiece, step by step. From choosing your materials and sketching your design to mastering the delicate art of layering washes and creating crisp edges, we'll cover everything you need to know to confidently embark on this exciting artistic journey. Let's begin!
Preparation and Safety Guidelines
- Watercolor paper (on a block)
- Watercolors
- Gold paint (optional)
- Pointed round brush (size 6)
- Jars of water
- Paper towel
- Pencil
- Putty eraser
- Ruler
- Compass
- Always work in a well-ventilated area. Watercolor paints and mediums can contain chemicals that are harmful if inhaled.
- Protect your work surface. Watercolor can stain, so use a waterproof surface or cover it with a protective layer like plastic sheeting or a drop cloth.
- Clean your brushes thoroughly after each use. Watercolor pigments can dry and harden within the brush, damaging the bristles.
Step-by-Step Instructions
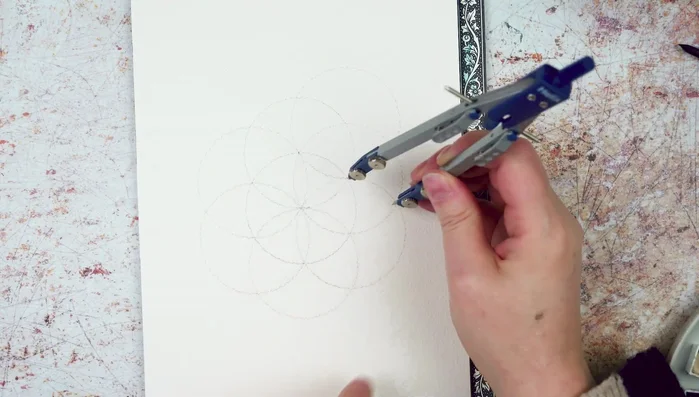
Creating the Geometric Base
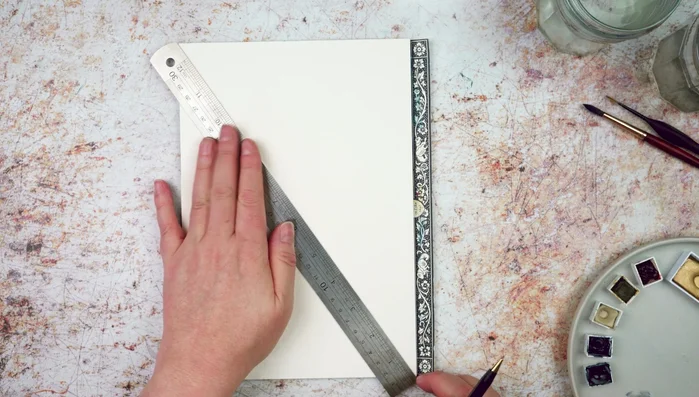
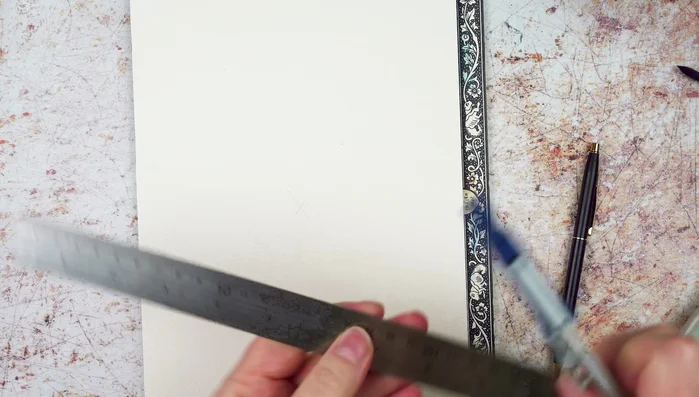
- Find the center of the paper using a ruler to make a couple of marks.
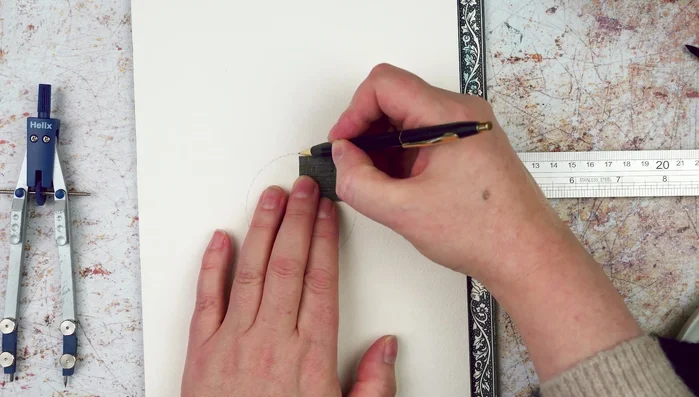
- Set your compass to your desired width (e.g., 3 cm).
- Place the compass point in the center of the paper and draw one circle.
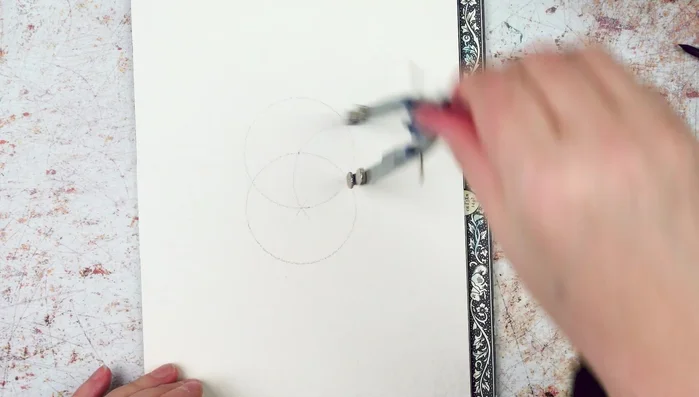
- Mark the top of the circle. Place the compass point where this mark meets the circle and draw another circle, ensuring it passes through the center point.

Creating the Geometric Base - Continue drawing circles at each intersection point until you have one in the center and six around the outside.
- Repeat this process around the rest of the page, creating circles at every intersection point of two circles.
- Lightly erase pencil marks to make them lighter.
Creating the Geometric Base Preparing the Paints
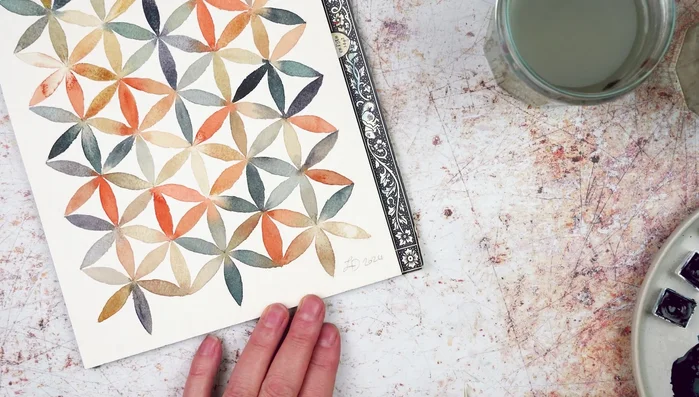
- Add water to your chosen watercolor paints (Payne's gray, Moonglow, buff titanium, rose Sienna, and quinacridone burnt orange).
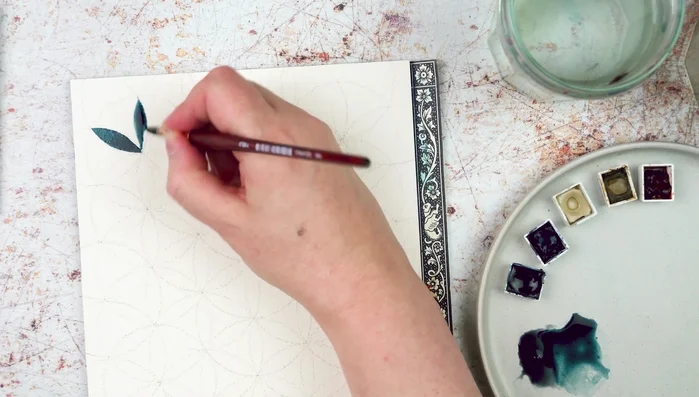
Preparing the Paints Applying the First Layer of Color
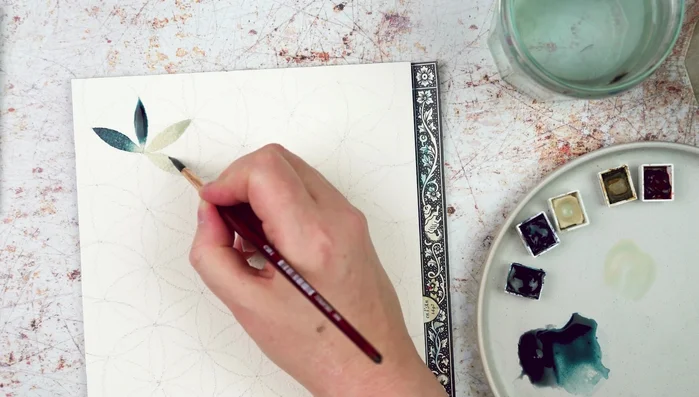
- Paint two or three petals in each color, varying water amounts for different effects.
- Focus on painting petals at central points where they meet, allowing colors to blend.
- Continue painting, varying the saturation and wetness of the paint to create a mix of colors.
- Go back to the pure colors in your pans occasionally to prevent muddiness.
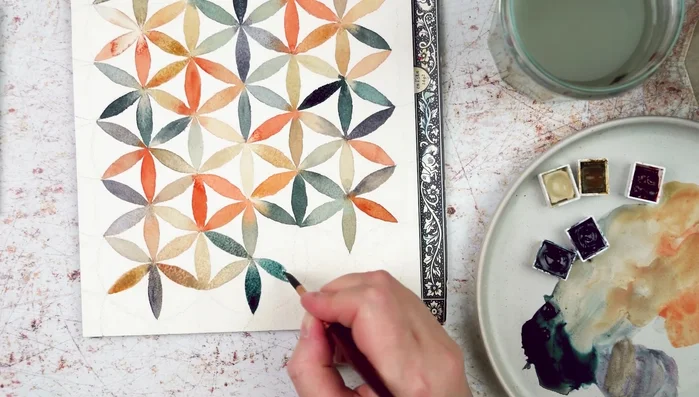
Applying the First Layer of Color Final Touches
- Remove remaining pencil lines once the paint is dry.
Final Touches


Read more: 7 Top Paint Color Trends for 2024: A Complete Guide with Free Downloadable Resource
Tips
- It doesn't matter what order you draw the circles, as long as each circle starts at the intersection of two others.
- Use a clean sheet of paper to rest your hand to prevent smudging.
- Vary color saturation and wetness for interesting effects.
- Survey the whole painting to check for color balance.