Transforming a plain wall into a stunning geometric masterpiece is easier than you think! Accent walls have the power to instantly elevate a room's style, adding personality and visual interest without a hefty price tag. Forget expensive renovations and complicated designs; this guide empowers you to create a striking geometric accent wall entirely by yourself, using readily available materials and simple techniques. The impact of a well-executed geometric design is undeniable, lending a contemporary or even bohemian feel depending on your chosen pattern and colors. Whether you’re aiming for sharp, clean lines or a more playful, asymmetrical arrangement, the possibilities are endless.
This DIY project is perfect for both beginners and seasoned DIY enthusiasts, offering clear instructions and helpful tips to ensure a flawless finish. From choosing the right tools and materials to mastering the painting techniques, we'll walk you through each step of the process, allowing you to create a show-stopping accent wall that will become the focal point of your room. Ready to get started? Let's dive into our step-by-step guide and unleash your inner artist!
Preparation and Safety Guidelines
- Painter's tape
- Paint
- Paint rollers
- Paint brushes (optional)
- Time-lapse camera (recommended)
- Always wear safety glasses to protect your eyes from paint splatters and debris from tools.
- Ensure proper ventilation when working with paints and primers; use a respirator if necessary.
- Use painter's tape carefully to avoid accidental paint bleed-through. Press firmly to ensure a clean line.
Step-by-Step Instructions
Prepare the Wall
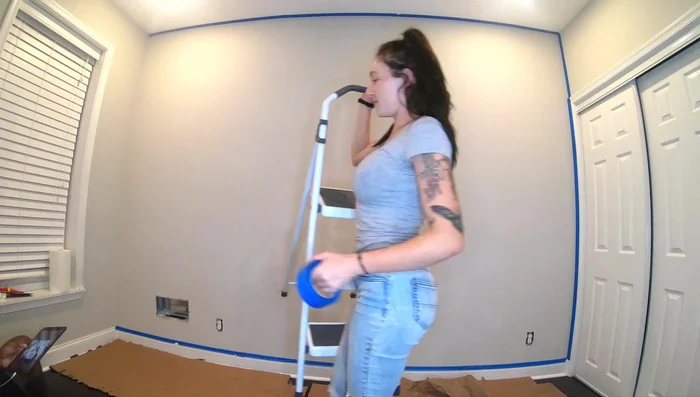
- Remove outlet plates and vents.
- Apply painter's tape to the wall perimeter.

Prepare the Wall Apply Base Coat
- Apply base coat of paint.
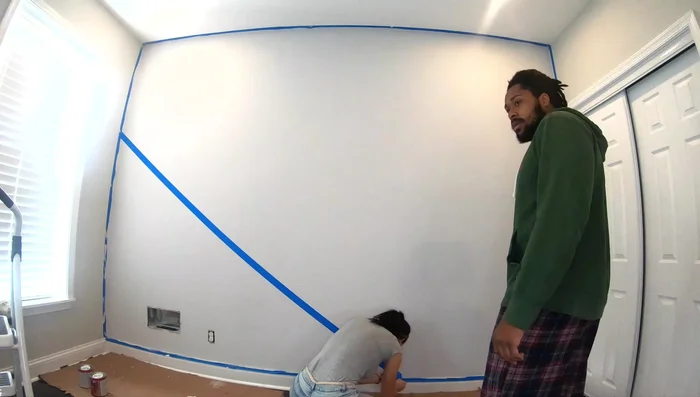
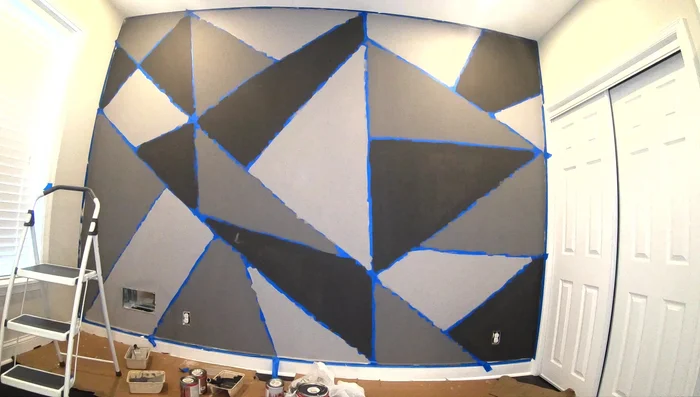
Apply Base Coat Plan and Design
- Map out your geometric design with bigger shapes to avoid overlaps.
- Label each shape to prevent overlaps or too many of the same color in one area.
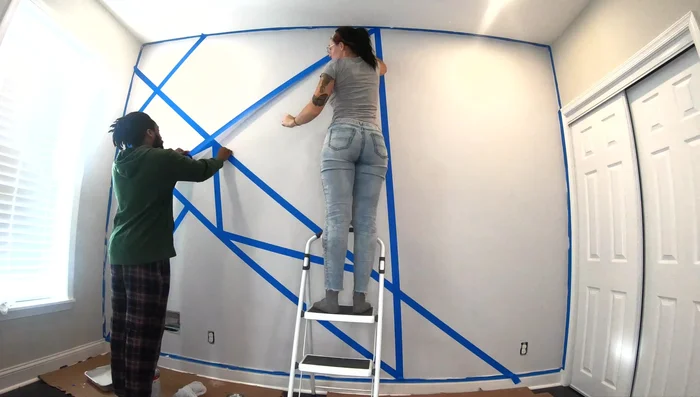
Plan and Design Paint Geometric Shapes
- Paint the shapes. Consider cutting in around borders first or using a roller directly.
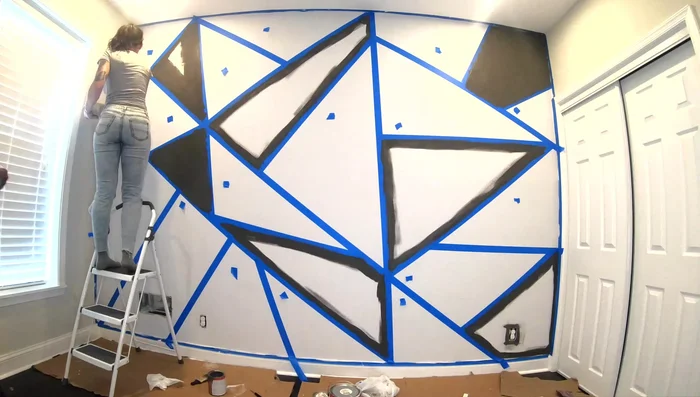
Paint Geometric Shapes Second Coat (Optional)
- Apply a second coat if needed, checking after the first coat dries.
Second Coat (Optional) Remove Tape
- Slowly and carefully remove the painter's tape.

Read more: 7 Top Paint Color Trends for 2024: A Complete Guide with Free Downloadable Resource
Tips
- Use larger shapes to avoid overlapping colors, especially with limited colors.
- Label each shape as you paint to prevent overlaps.
- Consider using a time-lapse camera to capture the painting process.
- Remove tape slowly and steadily to minimize errors.