Showing gratitude never goes out of style, but sometimes finding the time to craft heartfelt thank you notes can feel overwhelming. Forget fussy, time-consuming card-making projects; this guide offers two incredibly simple yet elegant methods for creating fun fold thank you cards that require minimal effort and maximum impact. These techniques are perfect for busy individuals who want to express their appreciation with a personal touch without spending hours crafting. You'll be surprised by how much charm a little creativity can add!
Forget generic store-bought cards and embrace the satisfaction of creating something truly unique. Whether you're thanking guests for attending a wedding, acknowledging a thoughtful gift, or simply expressing your appreciation to a friend, these easy-to-follow methods will empower you to craft beautiful thank you notes in minutes. Ready to dive in and learn these two quick and stylish techniques? Let's begin with the step-by-step instructions for each method.
Preparation and Safety Guidelines
- Stampin' Up Layering Leaves stamp set
- Memento black ink pen
- Lemon Lime Twist cardstock
- Coastal Cabana cardstock
- Basic White cardstock
- Basics 3D embossing folders
- Paper trimmer or Simply Scored board
- Stampin' Dimensionals
- Pool Party grosgrain ribbon
- Glue dots
- Wink Stella brush
- Brass Butterflies
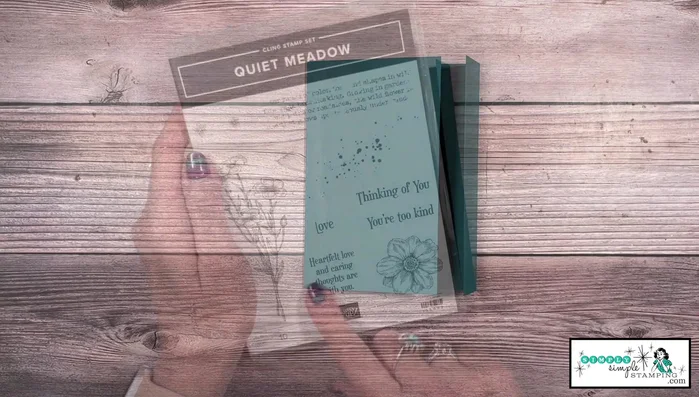
- Quiet Meadow stamp set
- Dark Berry Burst cardstock
- Pretty Peacock cardstock
- Stampin' Blends markers
- Dark Old Olive Stampin' Blends marker
- Baker's Twine (optional)
- Copy paper or junk mail
- Use sharp scissors or a paper cutter for clean cuts. Blunt instruments can lead to tearing and frustration.
- Score lines before folding to ensure crisp, clean folds. A bone folder or the back of a spoon works well.
- Choose cardstock that is sturdy enough to hold its shape and prevent flimsy folds. Avoid overly thin paper.
Step-by-Step Instructions
Prepare Cardstock
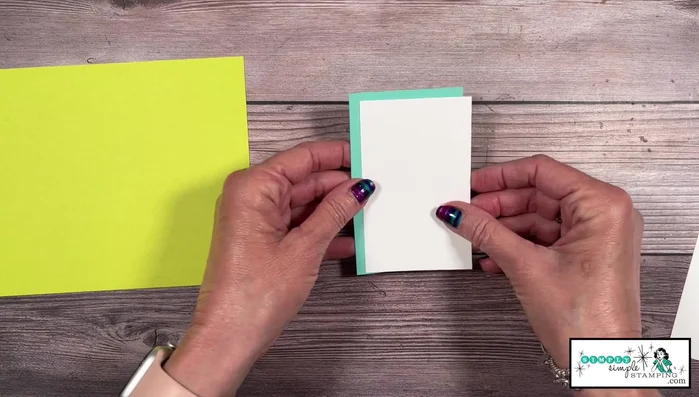
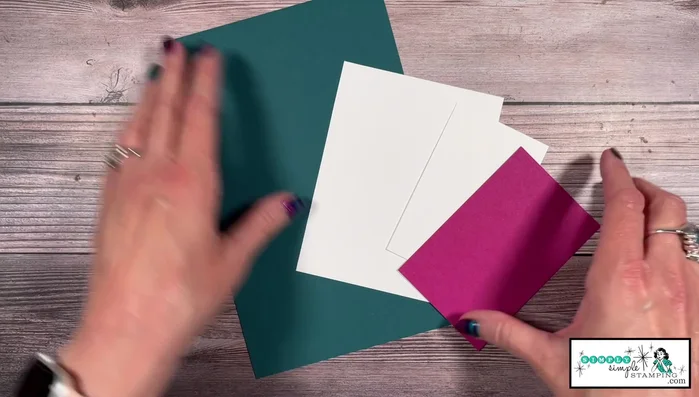
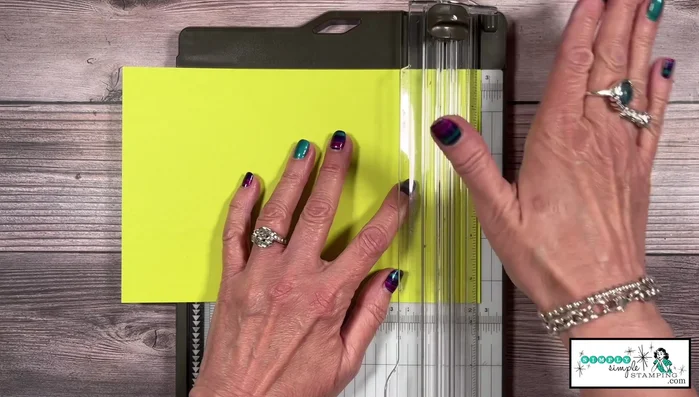
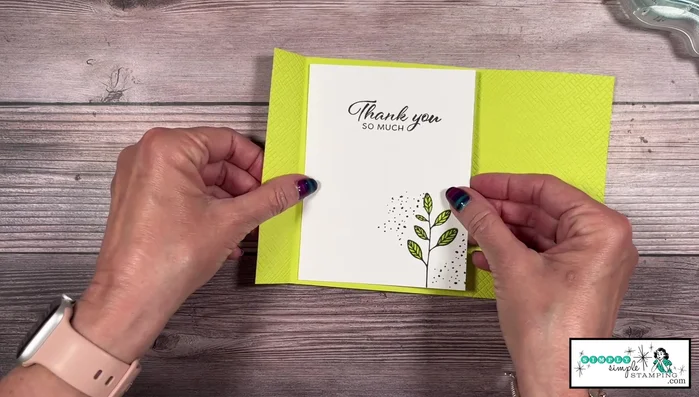
- Cut Lemon Lime Twist cardstock to 5.5 x 8.5 inches. Cut Coastal Cabana to 2.75 x 4.25 inches. Cut Basic White to 2.5 x 4 inches and 4 x 5.25 inches.
- Use Pretty Peacock and Berry Burst cardstock, following the same measurements as Method 1. No embossing needed for this method.

Prepare Cardstock Score and Emboss (Method 1)
- Score at 1 inch and 5.25 inches.
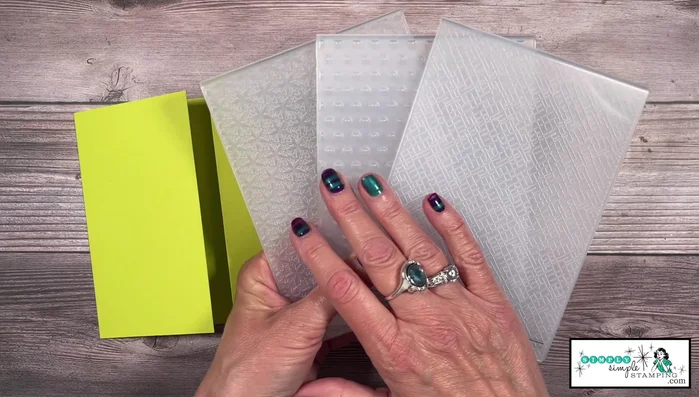
- Use the Basics 3D embossing folders and a die-cutting machine to emboss both the main cardstock and the 1-inch flap.
Score and Emboss (Method 1) Stamp (Method 1)
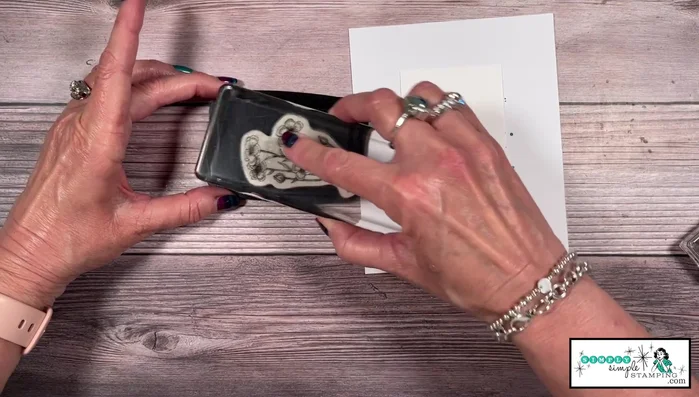
- Stamp the sentiment onto the smaller Basic White piece after trimming it to fit. Stamp the leaves and add a light speckle of ink onto the larger Basic White piece.
Assemble Card (Method 1)
- Adhere the stamped Basic White pieces to the card base using adhesive. Add Stampin' Dimensionals for dimension. Decorate with ribbon, using glue dots to secure the bow.
Assemble Card (Method 1) Stamp Background (Method 2)
- Use the Quiet Meadow stamp set. Stamp a background pattern and add speckle. Use copy paper to prevent ink bleeding.
Stamp Background (Method 2) Stamp Images (Method 2)
- Stamp the sentiment and flower images onto Basic White pieces, trimming to size. Leave some space between the image and the edge.
Stamp Images (Method 2) Color Images (Method 2)
- Use Stampin' Blends or Stampin' Markers to color the flowers and leaves. Use the Dark Berry Burst and Dark Old Olive.
Color Images (Method 2) Assemble Card (Method 2)
- Adhere the stamped and colored pieces to the card base. Decorate with Wink Stella, brass butterflies, and Baker's Twine.
Assemble Card (Method 2)


Read more: Easy Origami Paper Box Tutorial: Step-by-Step Guide
Tips
- Use grid paper to measure and plan your stamped images accurately.
- Use glue dots for easy and secure ribbon attachment, preventing sliding.
- For two-step stamping, use a photopolymer stamp for easy alignment and perfect stamping.
- Use copy paper or junk mail under your cardstock when stamping backgrounds to avoid ink transfer.
- Take advantage of pre-shaded stamp images; less coloring is needed.