The holidays are fast approaching, and what better way to add a personal touch to your gifts than with handmade gift tags? This year, ditch the generic store-bought options and embrace the magic of DIY with this fun and festive tutorial! We'll be crafting adorable Frozen-themed polymer clay gift tags, perfect for adding a touch of Arendelle charm to your Christmas presents. Whether you're a seasoned crafter or a complete beginner, this project is easy to follow and guarantees wonderfully unique results. Imagine the delight on your loved ones' faces when they unwrap a gift adorned with a miniature Olaf or a sparkling snowflake.
Get ready to unleash your inner Elsa (or Anna!) because this step-by-step guide will walk you through every stage of creating these enchanting polymer clay gift tags. From prepping your clay and shaping your designs to baking and finishing, we'll cover everything you need to know to create beautiful, lasting keepsakes. Let's begin crafting these magical Frozen-inspired Christmas gift tags!
Preparation and Safety Guidelines
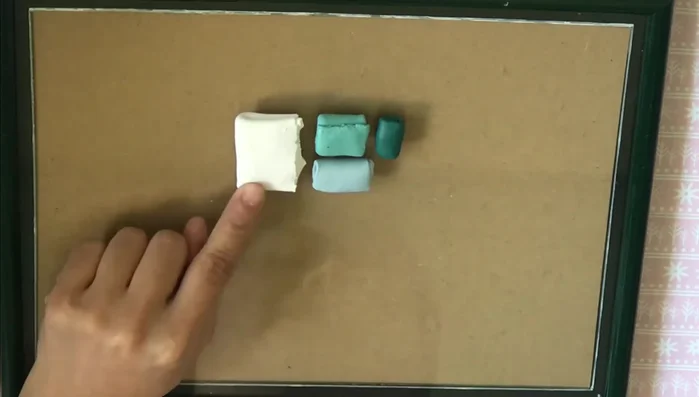
- Polymer clay (white, blue-green, translucent)
- Silicone mold (snowflakes, Christmas tree)
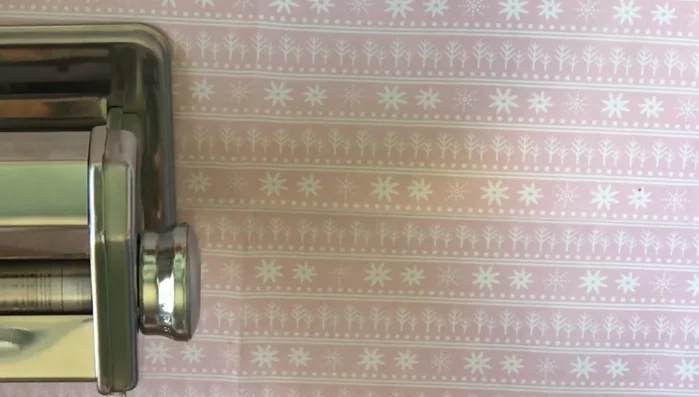
- Clay roller
- Cutters
- Detail needles
- Mica powder
- Brush
- Liquid polymer clay
- Jump rings
- Ribbon
- Paper tags
- Polymer clay needs to be baked according to the manufacturer's instructions to harden properly. Improper baking can result in fragile or unusable tags.
- Always work in a well-ventilated area as polymer clay fumes can be irritating. Avoid breathing in the fumes, especially during baking.
- Polymer clay can reach very high temperatures during baking. Use oven mitts and take care when handling hot baked clay.
Step-by-Step Instructions
Prepare Materials
- Mix white, blue-green, and translucent clay for desired shades.
- Dust snowflake and Christmas tree molds generously with white mica powder for a shimmer effect (or cornstarch for a matte finish).

Prepare Materials Create Christmas Tree Tag
- Roll out dark blue-green clay, press into the Christmas tree mold, and scrape off excess clay using a clay blade to reveal the mold outline.
- Flatten white clay and adhere it to the back of the Christmas tree using liquid polymer clay.
- Use a detail needle to add more detail to the Christmas tree and brush on more mica powder.
- Punch out the background shape of the Christmas tree tag and punch a hole for hanging.
Create Christmas Tree Tag Create Snowflake Tag
- Repeat steps 2-6 using a snowflake mold and lighter blue-green clay.
Create Snowflake Tag Bake Tags
- Bake the tags according to the clay packaging instructions.
Bake Tags Finish and Attach
- Attach jump rings to the tags and thread ribbon through for hanging.
- Attach to paper gift tags by punching a small hole and threading the clay tag through.
Finish and Attach


Read more: Hang Your Clay Creations: The No-Hole Hanger Method
Tips
- Use translucent clay to soften the colors of your polymer clay.
- Scrape off excess clay using a clay blade for a cleaner look.
- Use liquid polymer clay to adhere pieces together securely.
- Adding mica powder to the molds before pressing the clay in creates a nice shimmer effect.