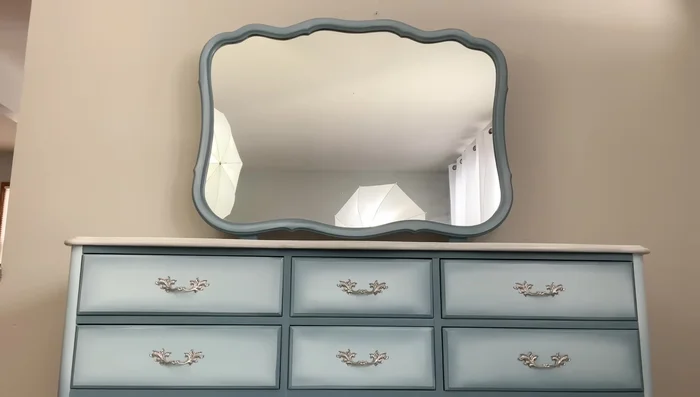
French Provincial dressers, with their charming curves and intricate details, possess an inherent elegance that begs to be celebrated. A simple makeover can transform these often-overlooked pieces into stunning focal points in any room. This project focuses on achieving a sophisticated blue and white distressed finish, breathing new life into a classic style and showcasing the beauty of subtle imperfections. We’ll explore how a carefully chosen color palette and strategic distressing techniques can elevate a tired dresser into a cherished heirloom. The inherent charm of the French Provincial design perfectly complements this calming color scheme, creating a piece that's both rustic and refined.
This detailed guide will walk you through each step of the transformation, from preparation and priming to painting and distressing, ultimately revealing the secrets to achieving that effortlessly elegant, blue and white, aged look. Prepare to be inspired as we unlock the potential of this timeless piece of furniture and create a truly unique and beautiful addition to your home.
Preparation and Safety Guidelines
- Sandpaper
- Primer (Zinsser BIN, Dixie Belle Slick Stick)
- Dixie Belle Paint (Haint Blue, Dusty Blue)
- Water Mister
- Paintbrushes
- Wood Filler
- Air Nailer (optional)
- Sanding Block
- Cloth/Napkins
- Sealer (Verithane Water-Based Polyurethane)
- Rust-oleum Chalked Paint (White Linen)
- Metallic Silver Spray Paint
- Brillo Pads
- Always wear appropriate safety gear, including gloves and eye protection, when working with paints, stains, and sanding materials.
- Work in a well-ventilated area to avoid inhaling paint fumes or sanding dust. Consider using a respirator for added protection.
- Before applying any paint or stain, test it on a hidden area of the dresser to ensure you are happy with the color and finish.
Step-by-Step Instructions
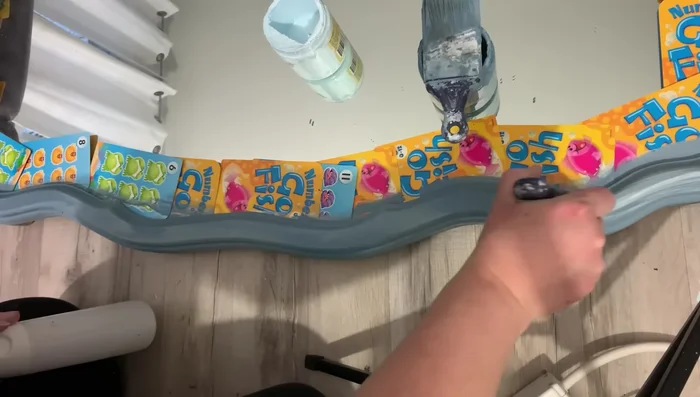
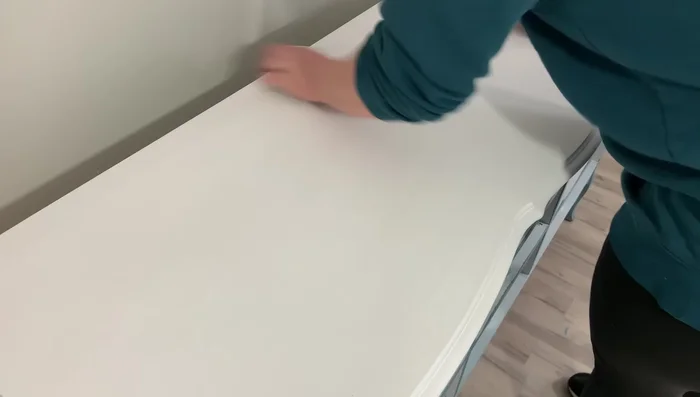
Surface Preparation
- Clean the dresser thoroughly using Dixie Belle White Lightning (1 tbsp to 16 oz water), followed by a water rinse.
- Fill dents and nail holes with Elmer's wood filler.
- Sand down any excess wood filler.

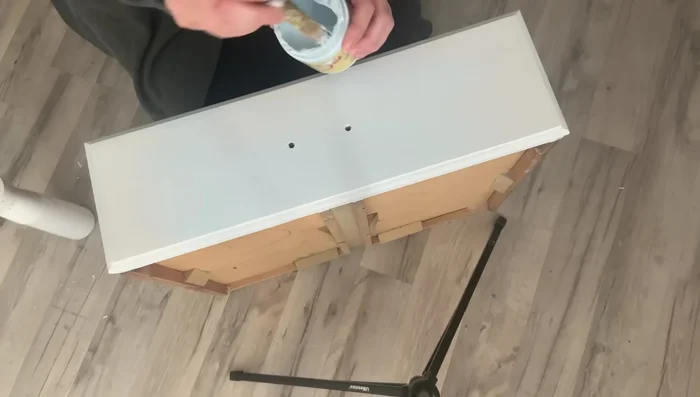
Surface Preparation Priming
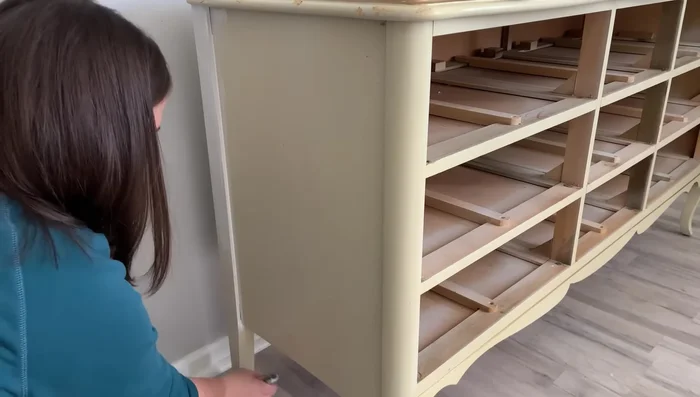
- Prime the entire dresser and drawer fronts using Zinsser BIN primer (two coats on drawers, one on the base).
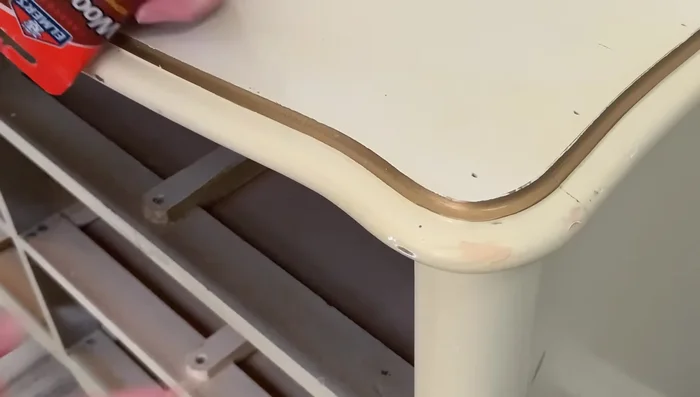
- Prime the top with Dixie Belle Slick Stick, applying two coats and sanding in between. (Slick Stick offers better adhesion on slick surfaces than BIN).
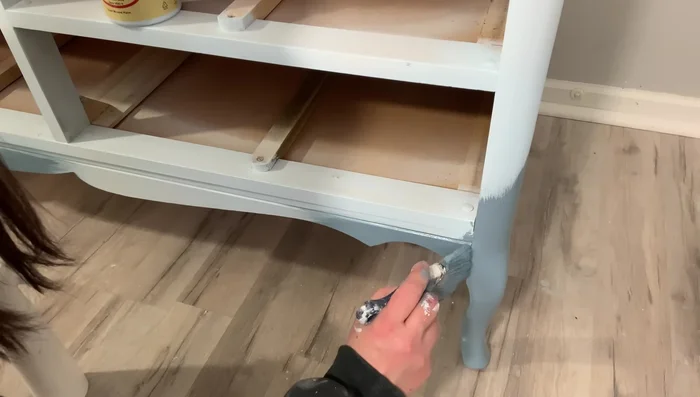
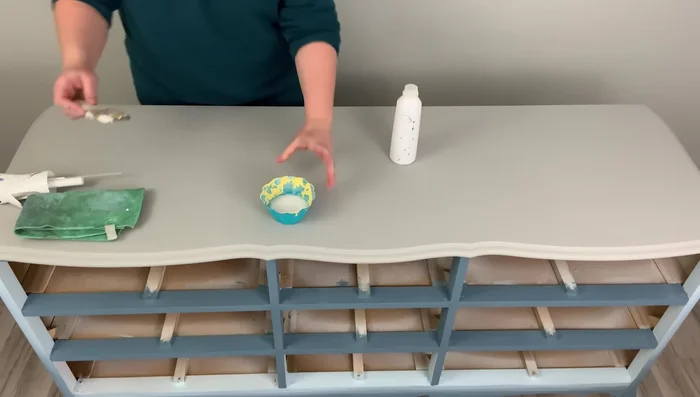
Priming Base Coat & Shading
- Apply one coat of Dixie Belle Haint Blue to the entire dresser (except the top and mirror).
- Shade with Dixie Belle Dusty Blue, creating a gradient effect from darker at the bottom to lighter at the top. Use a damp cloth to blend for a soft transition. Focus on the bottom and sides of the dresser, slightly blending upwards.
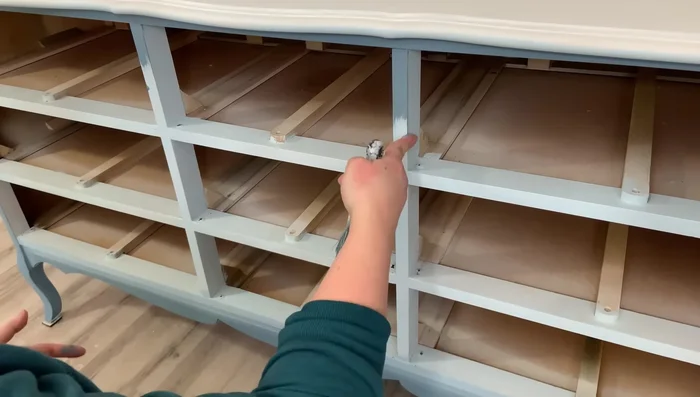
Base Coat & Shading Drawer Front Detailing
- Outline the drawer fronts with Dusty Blue, then add Haint Blue to the center, blending softly for a subtle, uniform look.
Drawer Front Detailing Mirror Finishing
- Apply primer and then a base coat of Dusty Blue to the mirror using the “deck of cards” technique (carefully inserting playing cards to create a textured effect).
- Highlight the inside of the mirror with Haint Blue, then blend with Dusty Blue for a soft transition.
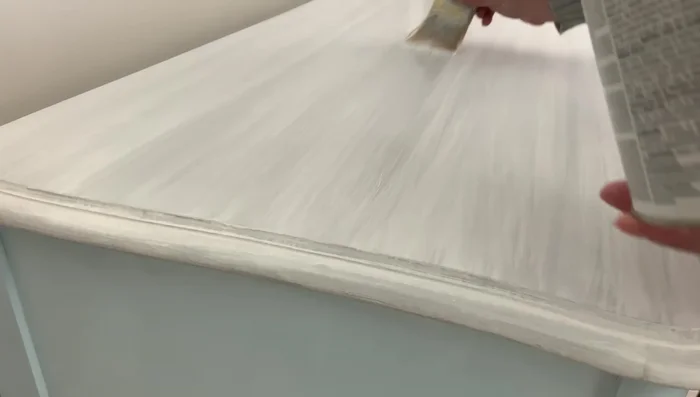
Mirror Finishing Top Coat & Distressing
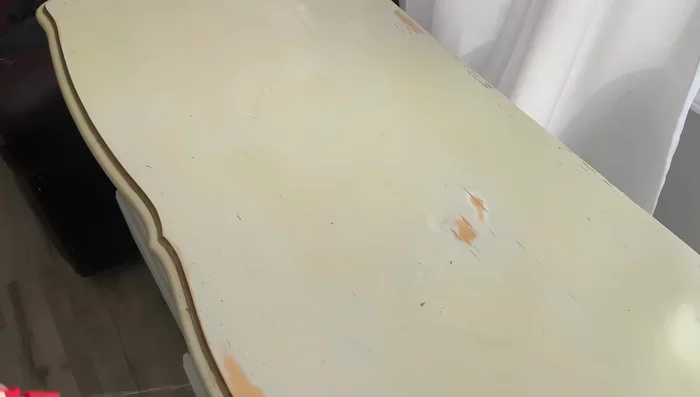
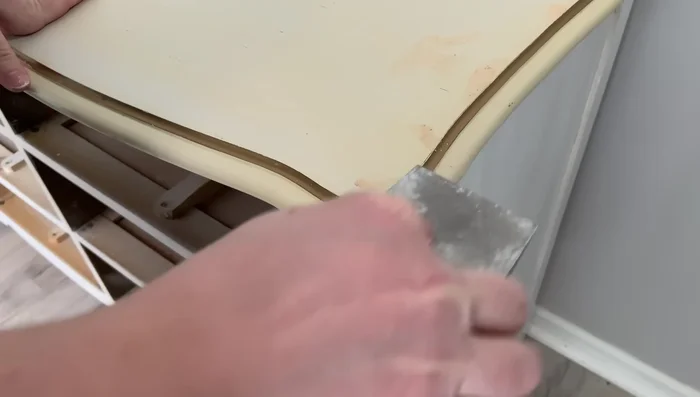
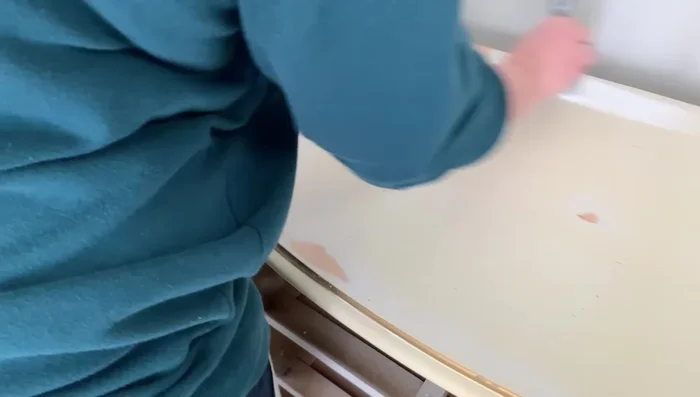
- Apply two coats of Dixie Belle Driftwood to the dresser top, allowing drying time between coats.
- Whitewash the top using Rust-Oleum Chalked Paint in White Linen, diluted with water. Apply multiple thin layers for the desired level of distressing. Use a lint-free cloth to remove excess paint for a smooth, uniform look.
Top Coat & Distressing Hardware Refinishing
- Clean and paint dresser hardware with Rust-Oleum Metallic Silver paint, and seal with a water-based polyurethane spray.
Hardware Refinishing Sealing & Finishing Touches
- Apply two coats of Verithane water-based polyurethane (satin) to all surfaces (three coats on the top).
- Attach the hardware to the finished dresser.
Sealing & Finishing Touches


Read more: 7 Top Paint Color Trends for 2024: A Complete Guide with Free Downloadable Resource
Tips
- Using the same color family for blending makes the process more forgiving.
- Clean your brushes frequently to prevent color contamination.
- Practice blending techniques to achieve a professional finish. It takes time and patience.
- For whitewashing, use a lint-free cloth for better control and a more uniform result.
- Don't force playing cards into the mirror during the deck-of-cards technique; it could damage the mirror.