Foundation paper piecing (FPP) is a quilting technique that allows for the creation of intricate and precise designs, even for beginners. Unlike traditional piecing where seams are matched, FPP uses paper templates to guide the placement and sewing of fabric pieces, resulting in perfectly aligned points and crisp lines. This method opens up a world of possibilities for quilters of all skill levels, allowing the creation of complex blocks and stunning patterns without the frustration of complex seam matching. It's a fantastic way to build confidence and achieve professional-looking results.
This simple, step-by-step guide will walk you through the entire process of foundation paper piecing, from preparing your templates and fabric to finishing your completed block. Get ready to unlock your quilting potential and discover the joy of creating beautiful, accurate designs with this surprisingly accessible technique.
Preparation and Safety Guidelines
- Image/Picture
- Pencil
- Ruler
- Translucent Paper/Tracing Paper (optional)
- Light Box (optional)
- Use sharp needles and a good quality thread to prevent skipped stitches and fabric damage. Foundation paper piecing requires many small stitches, so sharp tools are essential.
- Accurately cut your fabric pieces. Even slight inaccuracies in cutting will accumulate and affect the final shape and accuracy of your project. Pay close attention to seam allowances.
- Press seams carefully and consistently, ideally using a pressing cloth to avoid scorching the paper. Proper pressing is vital for achieving crisp, accurate seams.
Step-by-Step Instructions
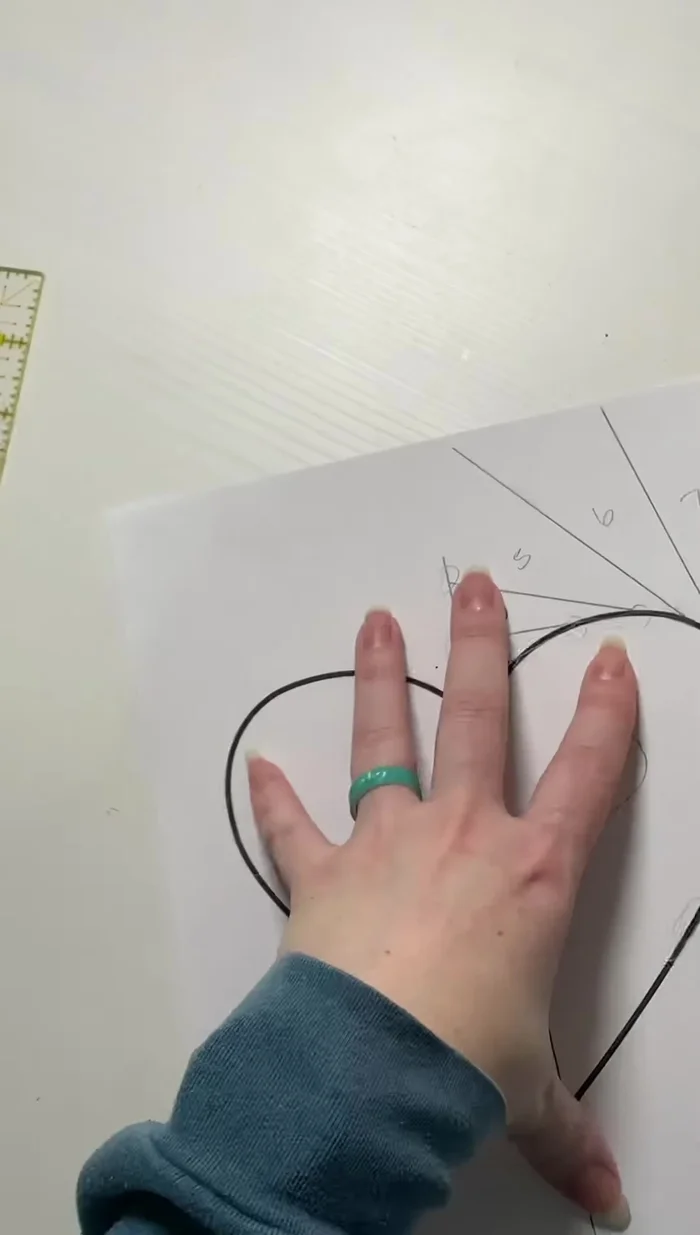
Prepare Your Design
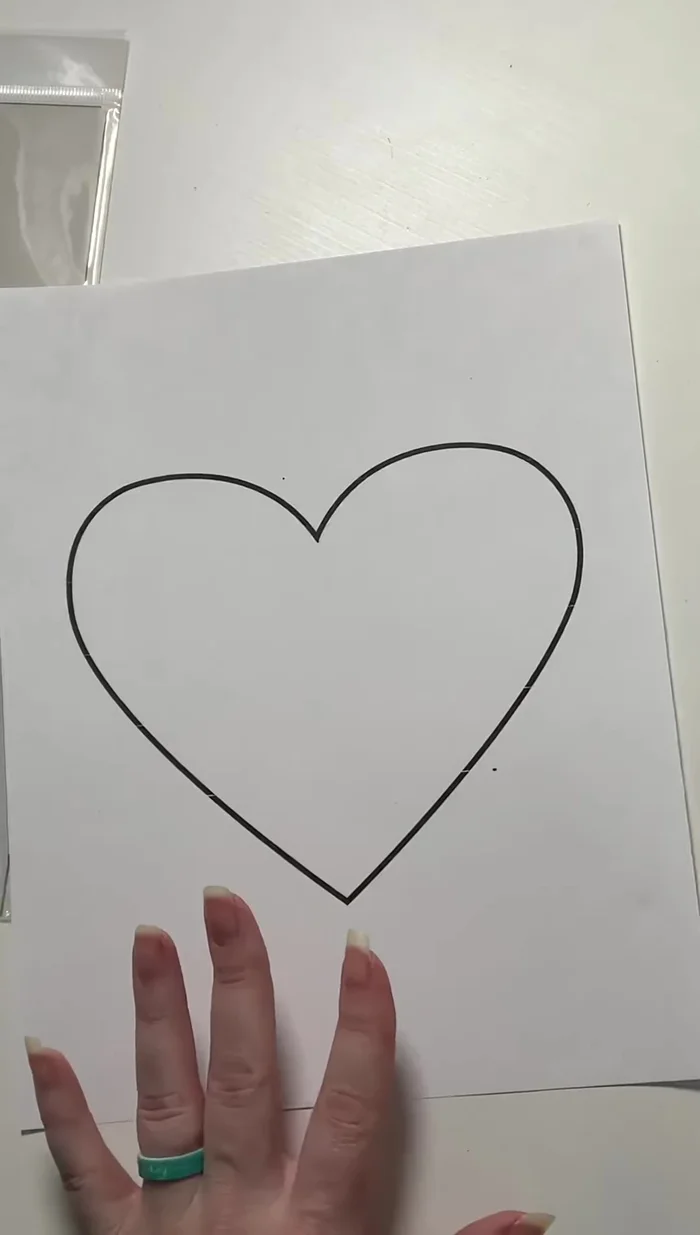
- Print or trace your desired design onto paper. Symmetry can simplify the process; you might only need to design one half if the image is symmetrical.

Prepare Your Design Section Your Design
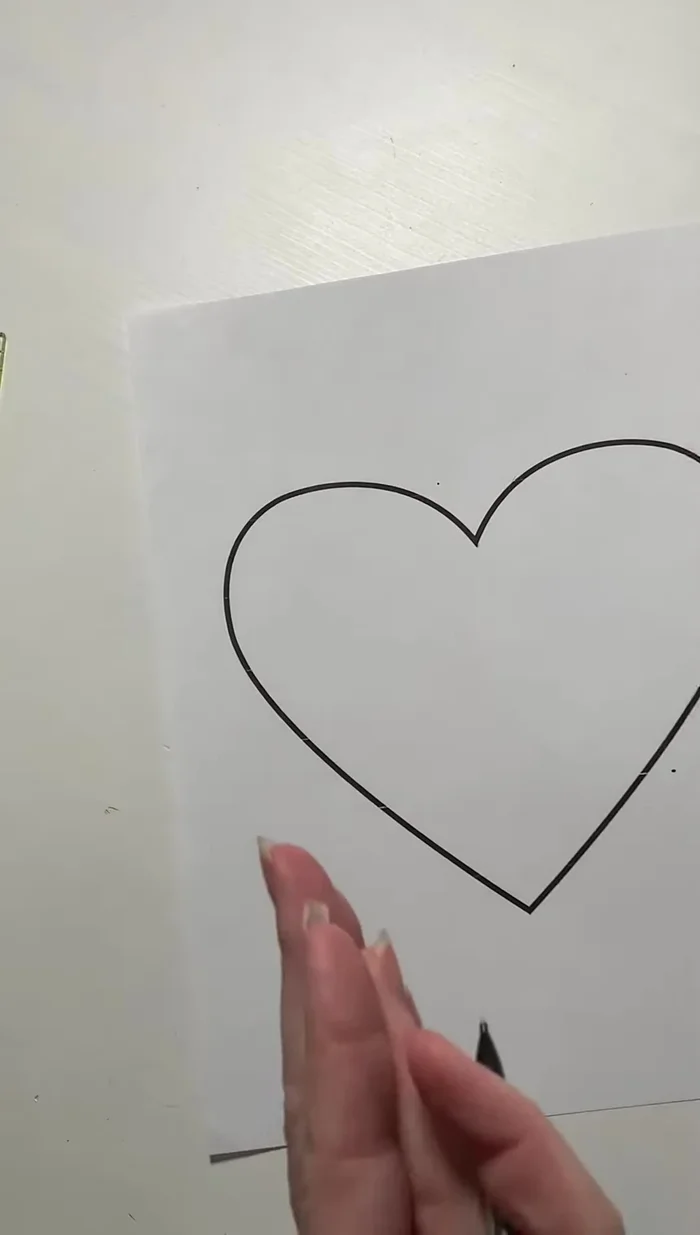
- Locate points where fabric transitions are necessary to avoid raw edges. Divide your design into sections based on these points, using straight lines that connect edges of your fabric piece.
Section Your Design Draw Section Lines
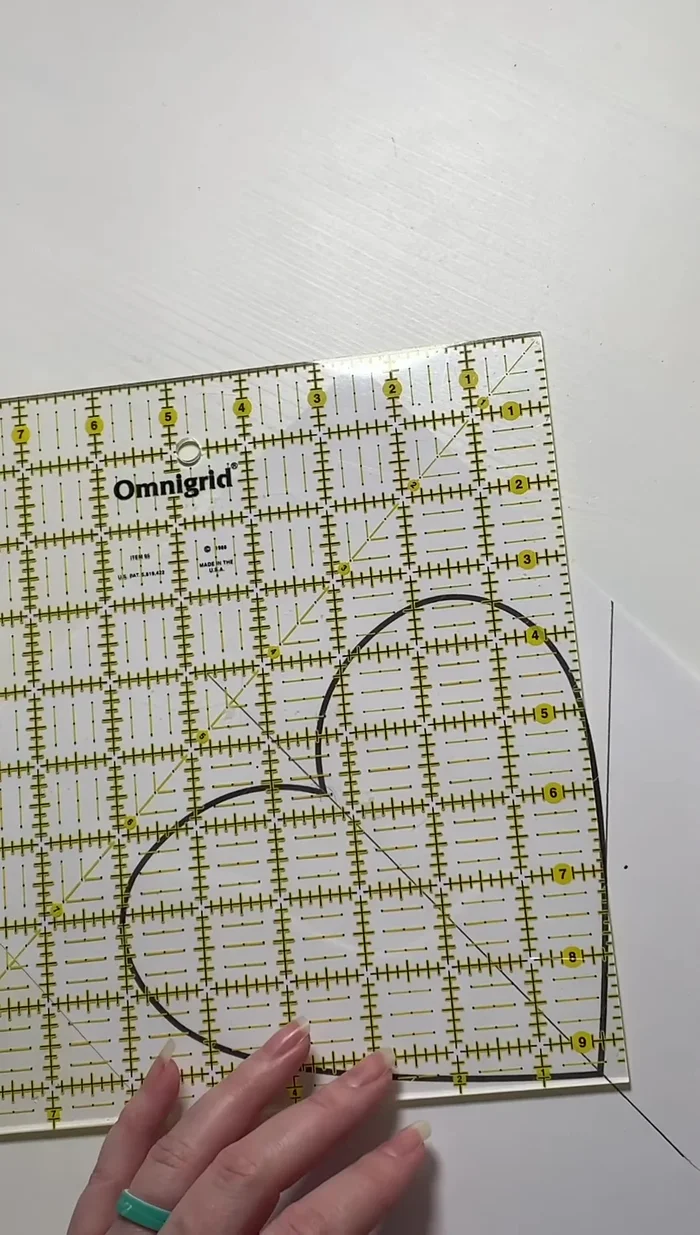
- Begin with the longest straight line possible within a section, then add more lines to create smaller sections, ensuring that all lines start and end at the edge of your fabric piece or at a previously drawn line.
Draw Section Lines Plan Sewing Order
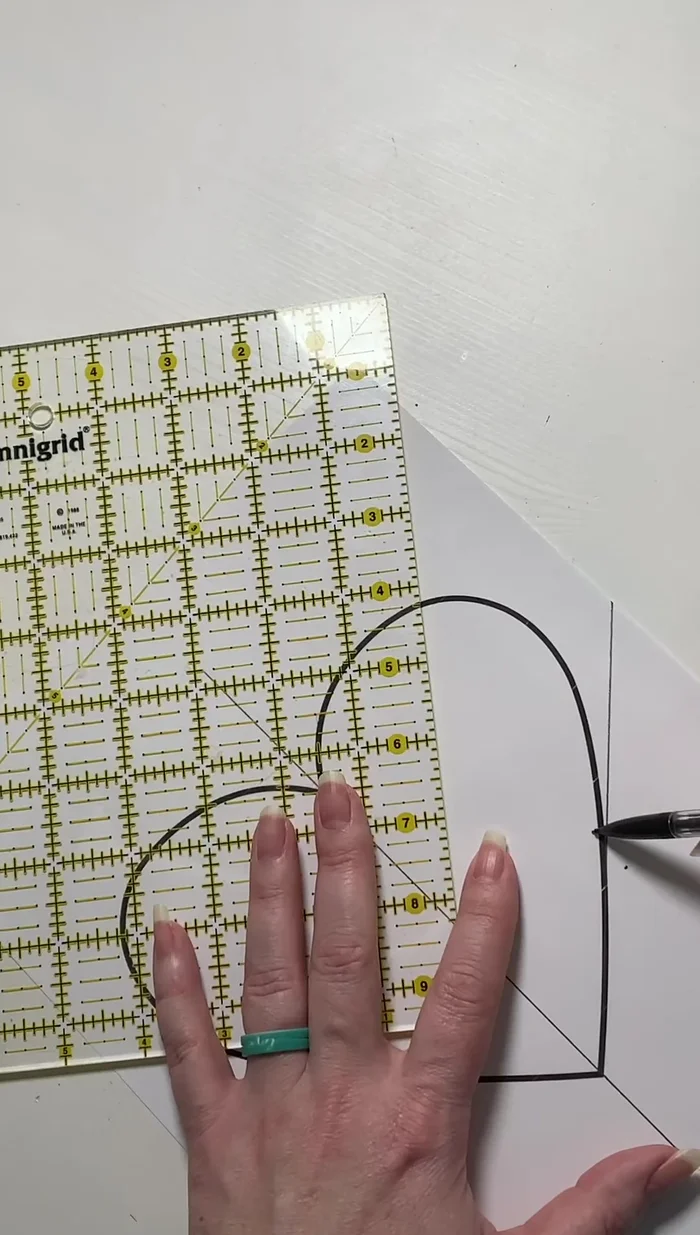
- As you draw lines, think of the sewing process in reverse. The last line drawn will be the first seam sewn. This helps ensure clean edges and simplifies the piecing.
Plan Sewing Order Connect Lines at Junctions
- Each new line should begin at the intersection point of previously drawn lines and extend to the next edge or junction. This method prevents raw edges and creates a well-structured design.
Connect Lines at Junctions Add Seam Allowance
- Once your design is complete, if using regular paper, scan or copy the image and add your seam allowance to the copied version before cutting. This adds ease to the sewing process.
Add Seam Allowance

Read more: Easy Origami Paper Box Tutorial: Step-by-Step Guide
Tips
- Use a light box for detailed images: This allows for easier tracing and helps you capture all the intricate features of your design.
- Stronger paper is preferable: Avoid tearing during stitching by using heavier paper or a higher-quality tracing paper.
- Consider symmetrical designs for efficiency: If the design is symmetrical, you can reduce your work by only designing one half and mirroring it.
- Prioritize straight lines: Utilize as many straight lines as possible to simplify the cutting and sewing.