Flamingos, with their iconic plumage and elegant posture, are a captivating subject for any artist. Their vibrant pink and orange hues present a unique challenge and reward – capturing the intensity of their color and the delicate details of their form. Whether you're a seasoned painter or just starting out, the beauty of a flamingo can inspire a truly stunning piece of artwork. This guide focuses on achieving a realistic yet vibrant representation of these magnificent birds, moving beyond simple shapes to create a truly lifelike effect.
This step-by-step guide will take you through the process of painting a breathtaking flamingo, from sketching the initial outline to adding the final, crucial details that bring the bird to life on your canvas. Prepare your paints, brushes, and canvas, and let's embark on this artistic journey to capture the vibrant spirit of these remarkable creatures.
Preparation and Safety Guidelines
- Tan paint
- Medium filbert brush
- Light brown paint
- Gray paint
- White paint
- Brown paint
- Yellow paint
- Black paint
- Green paint
- Bristle brush or old brush
- Bright pink paint
- Small round brush
- Small detailer brush
- Lighter pink paint
- Light pink paint
- Light purple paint
- Bright reddish pink paint (mix of red, orange, and pink)
- Red paint
- Light green paint
- Leaf green paint
- Medium brown paint
- Always work in a well-ventilated area when using acrylic paints or solvents. Inhaling paint fumes can be harmful.
- Protect your work surface with a drop cloth or newspaper to avoid paint spills and stains.
- Wash your brushes thoroughly with soap and water after each use to prevent paint from hardening and ruining the bristles.
Step-by-Step Instructions
Background and Ground
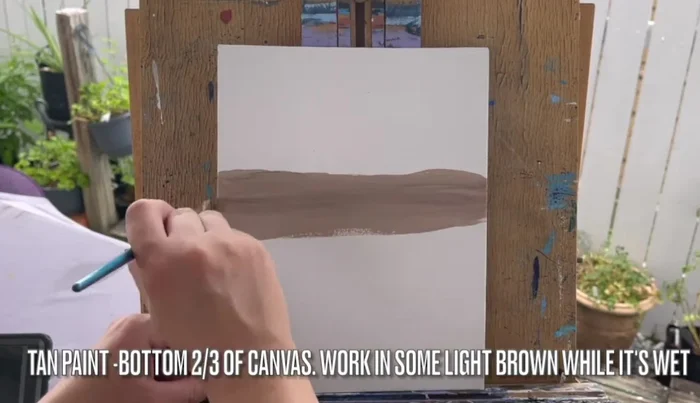
- Paint the bottom 2/3 of the canvas with tan, adding light brown using wet-on-wet blending.
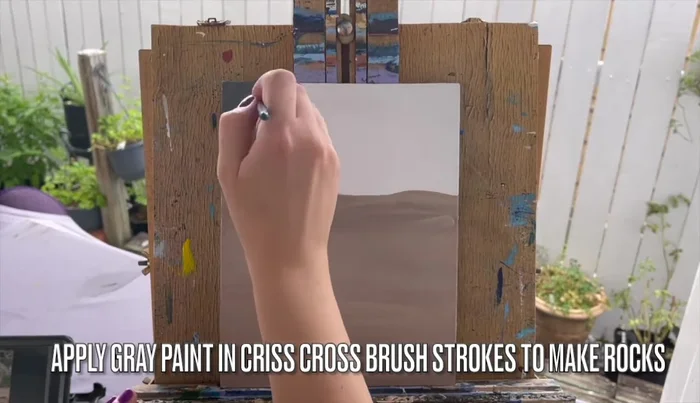
- Apply gray paint in crisscross brush strokes to create rocks.
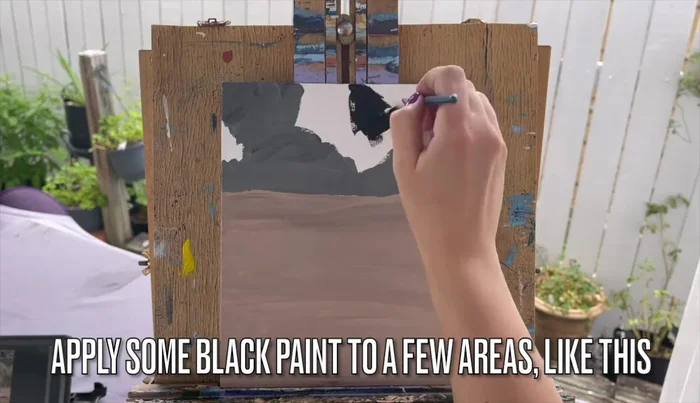
- Apply black paint to a few areas to create depth and shadows, blending while wet.
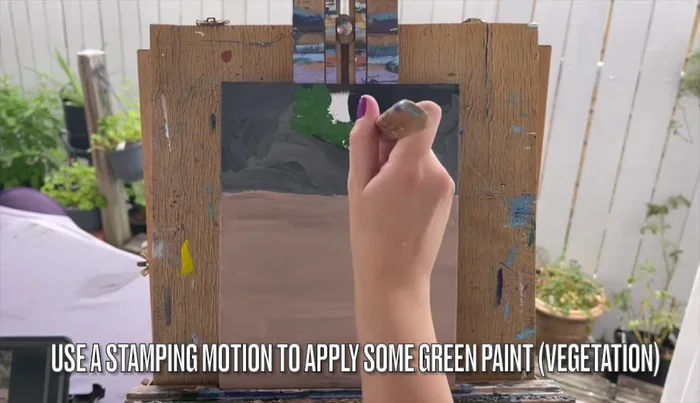
- Use a bristle brush or old brush and green paint with a stamping motion to create vegetation.

Background and Ground Flamingo Body
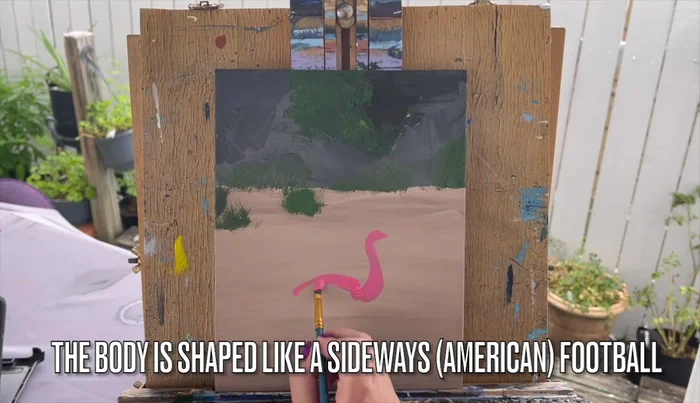
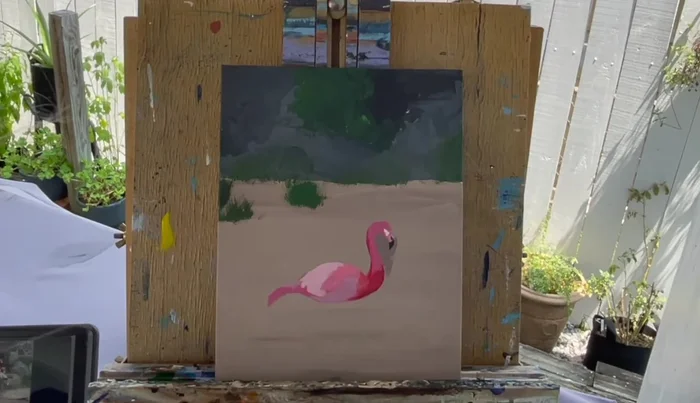
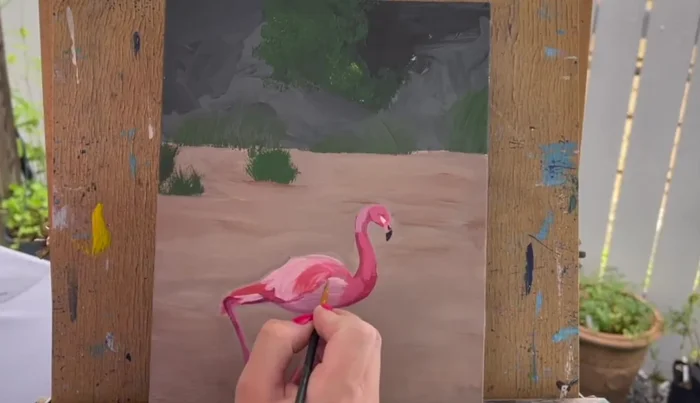
- Paint the flamingo's head and neck with bright pink, shaping it like a large elongated 'S'.
- Paint the body in the shape of a sideways American football.
Flamingo Body Flamingo Feathers and Initial Shading
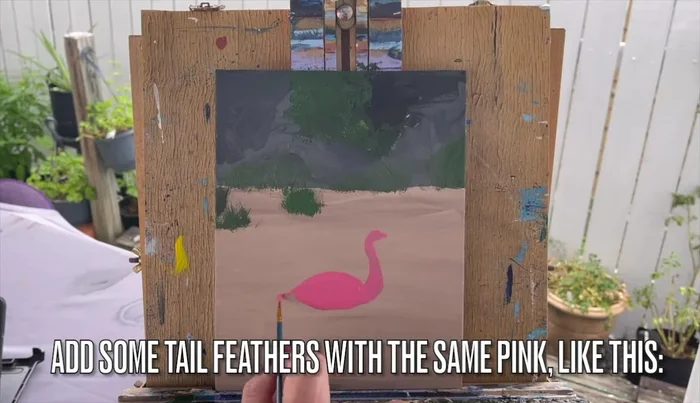
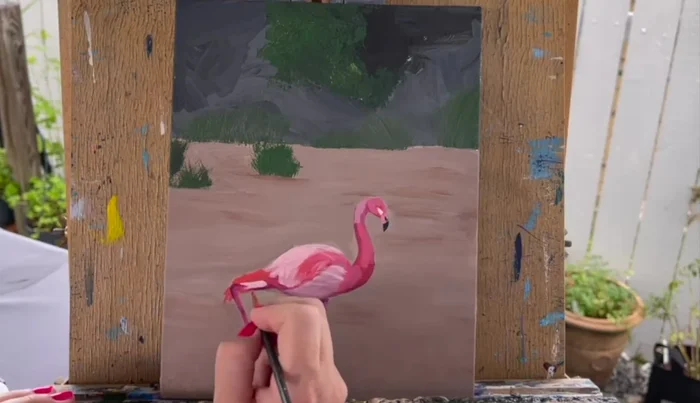
- Add tail feathers with the same pink paint, then use a lighter pink and a small round brush to add dimension and various pink hues.
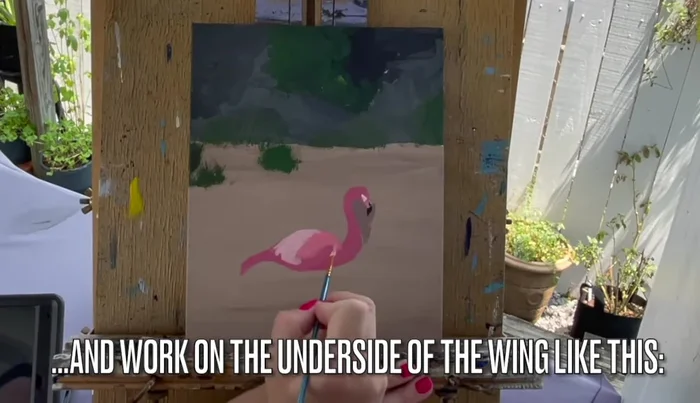
- Add highlights to the wings using a mix of pink and white.
- Create a new shade by mixing light purple and light pink, and use it to paint the underside of the wing.
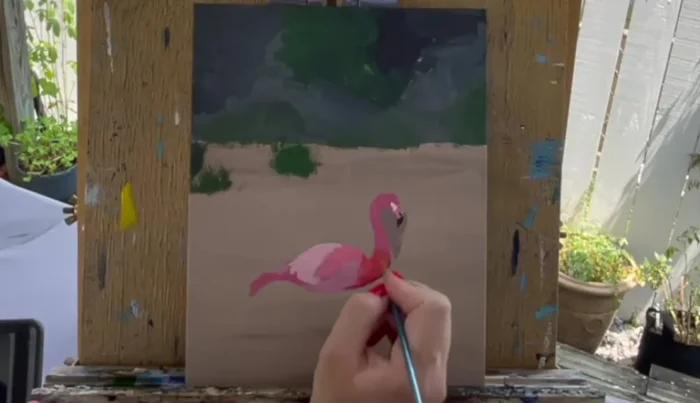
- Use bright reddish pink (mix of red and orange with pink) to make the colors pop.
Flamingo Feathers and Initial Shading - Use purple for the underside of the neck.
- Add texture to the feathers on the flamingo's body using wispy brush strokes with light and medium pink.
- Create a purple and red wash by mixing a little water into these colors and outline the underside of the wing and tail feathers.
Flamingo Feathers and Initial Shading Flamingo Head and Beak Details
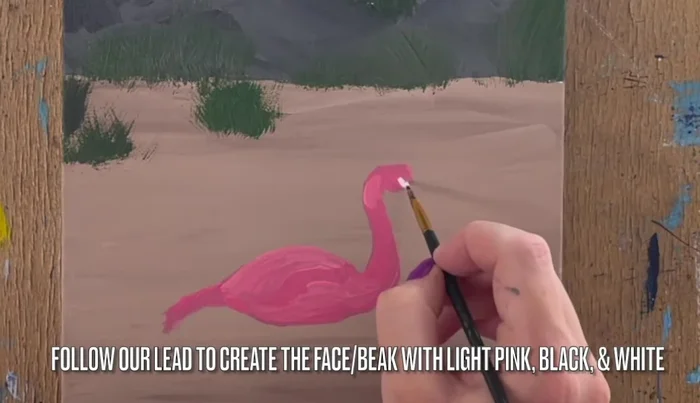
- Create the face and beak using white, light pink, and black paints with a detailer brush.
- Use various shades of pink to add details to the head.
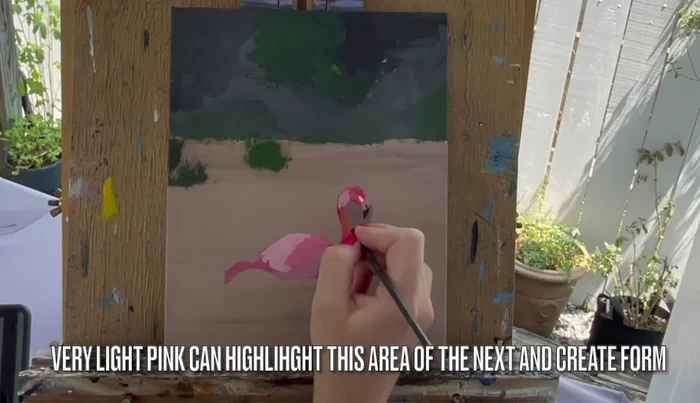
- Outline eye sockets and the underside of the chin with very light pink, highlighting the neck area.
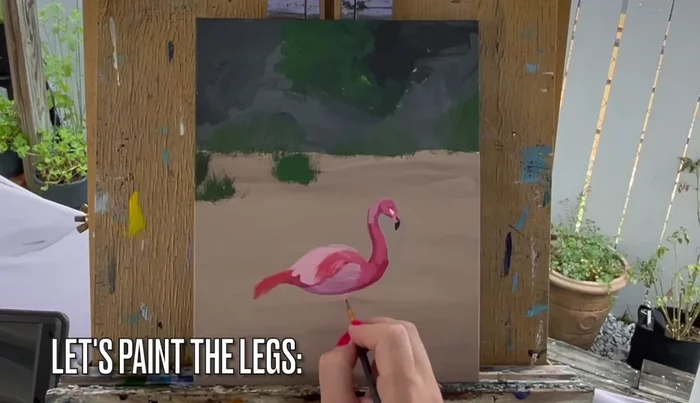
Flamingo Head and Beak Details Flamingo Legs
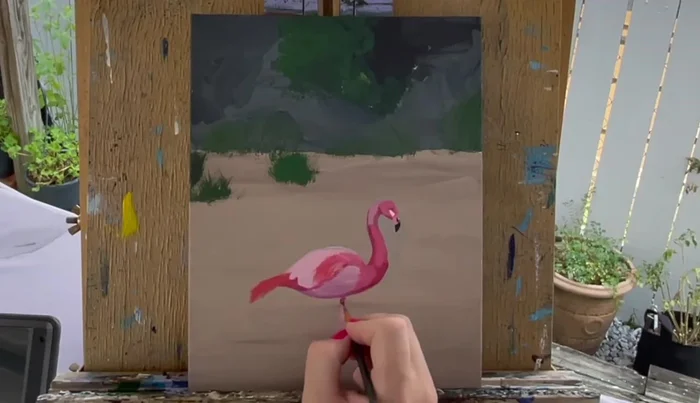
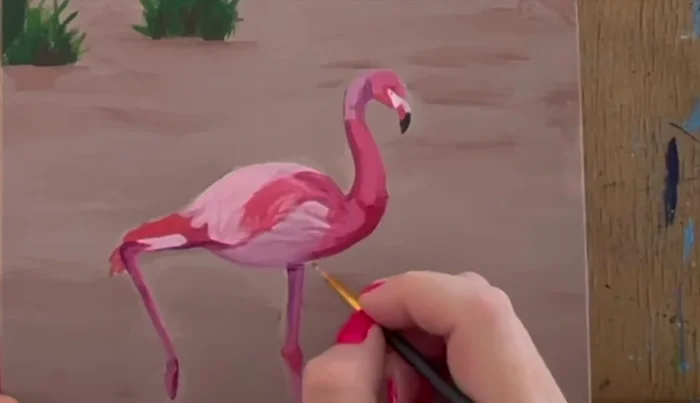
- Paint the legs using light purple and pink detail brush, working in purple as a low light before the paint dries.
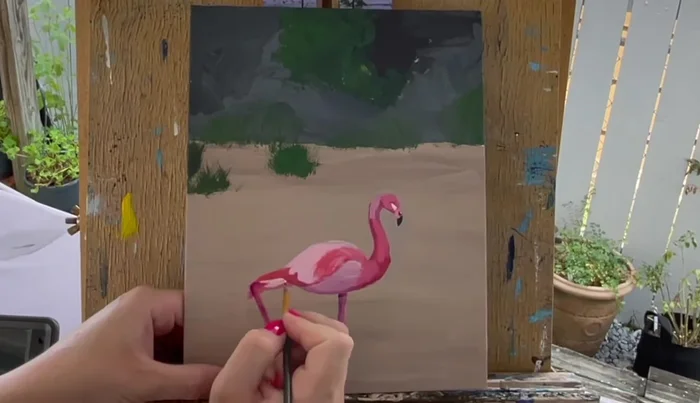
- Use medium pink on the knees (diamond shape). One leg is up, so paint it differently.
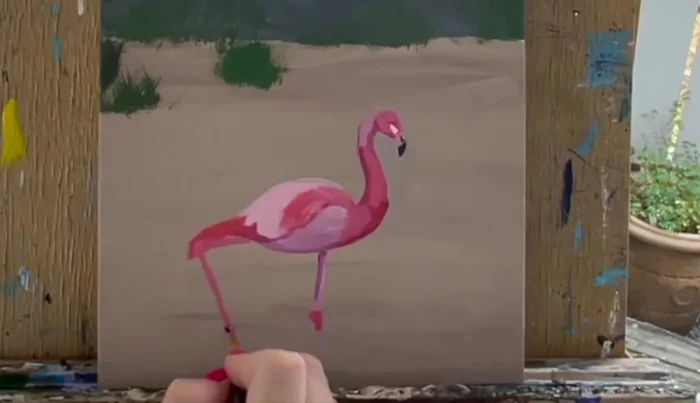
- Add details to the knee and underside of the body and other leg using purple.
- Use light pink for the lower leg and part of the tail feathers. Add details to back feathers using medium pink.
Flamingo Legs Flamingo Final Details and Cleanup
- Use the sandy tan color from the background to clean up the outline of the flamingo.
- Use light pink to create details on the wing feathers.
- Add final details using medium pink.
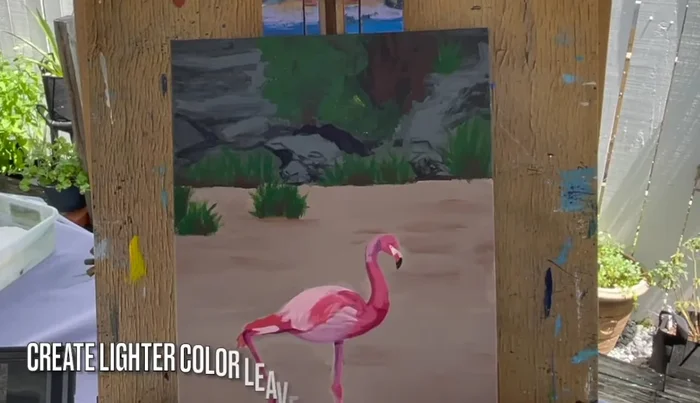
Flamingo Final Details and Cleanup Background Enhancement
- Add details to the background using light green, leaf green, and light brown/medium brown to create leaves, grass, and branches.
Background Enhancement Final Outline
- Use a medium purple wash to carefully outline the flamingo.
Final Outline


Read more: 7 Top Paint Color Trends for 2024: A Complete Guide with Free Downloadable Resource
Tips
- If you don't have tan paint, mix plenty of white with a dash of brown and yellow.
- If you don't have gray paint, mix plenty of white and a dash of black.
- Use brisk upward brush strokes for quick patches of grass.
- Rewatch or pause the video if needed for clarification.
- Adding a bit of water to the paint creates a wash, allowing for subtle lines without the paint breaking up.