Love crafting and personalized touches? Then get ready to fall head-over-heels for these charming DIY Fimo leather-effect heart corner bookmarks! These adorable bookmarks are not only functional but also incredibly satisfying to make, adding a unique handmade element to your favorite books. Forget mass-produced, boring bookmarks; with just a few simple steps and readily available materials, you can create a beautiful, personalized gift for yourself or a book-loving friend. The faux leather effect adds a touch of sophisticated elegance, perfectly complementing the sweet heart shape.
This tutorial will guide you through each stage of creating these delightful bookmarks, from preparing the Fimo clay to adding the final touches. Whether you're a seasoned crafter or a complete beginner, you'll find this project easy to follow and incredibly rewarding. So, grab your Fimo and let's dive into the step-by-step process of making these stunning DIY Fimo leather-effect heart corner bookmarks!
Preparation and Safety Guidelines
- Fimo leather effect clay
- Drill with a fine drill bit
- Bookmark cutter
- Stamp
- Thread (Upholstery thread recommended)
- Needle
- Acrylic block
- Baby wipes
- Clay knife
- Coarse nail file
- Paint (optional)
- Cream wax
- Glue (Well bond recommended)
- Gel pen
- Styrofoam
- Dremel
- Paper towel/Soft cloth
- Fimo polymer clay requires baking in a conventional oven according to the manufacturer's instructions. Never leave it unattended during baking.
- Always work in a well-ventilated area as Fimo clay may release fumes during baking. Avoid inhaling these fumes.
- Use oven mitts or gloves when handling the hot baking tray and freshly baked clay to avoid burns.
Step-by-Step Instructions
Prepare the Clay
- Condition the Fimo clay using a pasta machine (setting #4, 20 times)
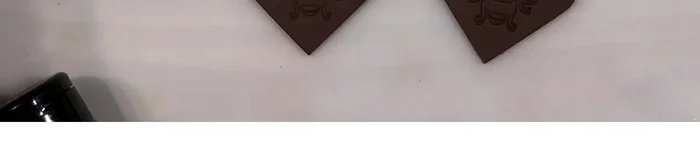
Stamp and Shape
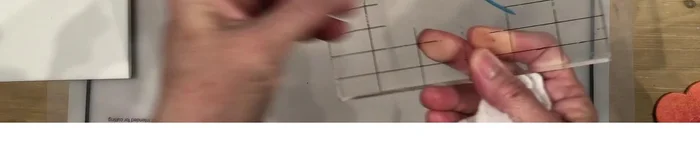
- Stamp the design onto the clay using an acrylic block and a baby wipe to ensure a good impression.
- Cut out the heart shapes using the bookmark cutter.

Stamp and Shape Bake the Clay
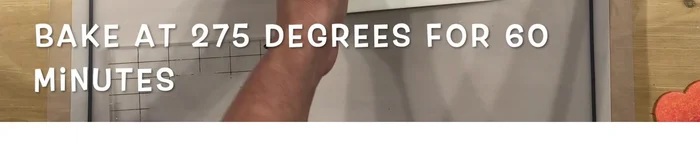
- Bake the clay at 275°F for 60 minutes for optimal strength and flexibility.
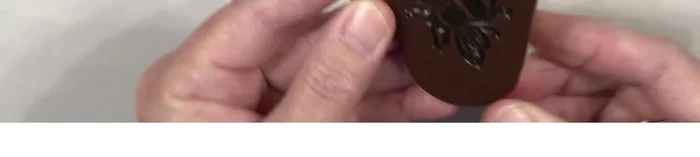
Bake the Clay Finish the Shapes
- Smooth the edges of the baked clay using a coarse nail file.
Finish the Shapes Highlight the Design
- Add paint to the stamped design, then wipe off the excess to highlight the details.
Highlight the Design Glue and Align
- Apply glue to the edges of one heart shape.
- Carefully align and attach the second heart shape, ensuring proper alignment for stitching.
- Let the glue dry completely.
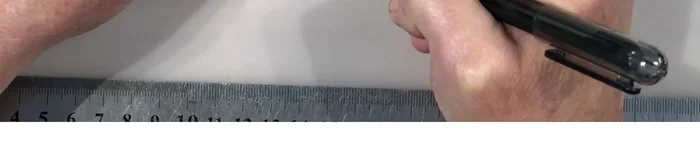
Glue and Align Mark and Drill Holes
- Mark the stitching holes using a gel pen.
- Drill the holes using a Dremel and styrofoam to protect your work surface.
- Wipe off any gel pen markings.
Mark and Drill Holes Stitch the Bookmark
- Stitch the two heart shapes together using upholstery thread and a needle, creating a surgeon's knot to secure the end.
Stitch the Bookmark Wax and Finish
- Apply two thin layers of cream wax to the bookmark, buffing after each layer dries for protection and shine.
Wax and Finish


Read more: Hang Your Clay Creations: The No-Hole Hanger Method
Tips
- Conditioning the clay thoroughly is crucial for optimal results.
- Baking at 275°F for 60 minutes yields stronger and more flexible bookmarks compared to the suggested 30 minutes at 265°F.
- Avoid wiggling or jiggling the cutter when creating the heart shapes to ensure precise alignment when stitching.
- Use upholstery thread for durability and a professional finish.
- Use a surgeon's knot to securely fasten the stitching.