Transforming your miniature models from pristine perfection to weathered realism can significantly enhance their visual appeal. A convincing rust effect adds depth and character, grounding your meticulously painted figures in a believable world, but achieving a believable rust finish often seems daunting. Fortunately, creating a realistic rust effect is easier than you might think, especially with the simple yet effective technique we'll explore using enamel washes. This method avoids the complexities of layering multiple paints or employing intricate drybrushing methods, offering a fantastic entry point for even novice miniature painters.
Forget complicated techniques and messy layering; this guide offers a straightforward approach to achieving impressive rusty textures on your miniatures using readily available enamel washes. We’ll guide you through each step of the process, using a technique that's both forgiving and incredibly effective in producing a naturally weathered and realistically rusty finish. Ready to get started? Let's dive into the step-by-step instructions!
Preparation and Safety Guidelines
- Acrylic paints (dark gray)
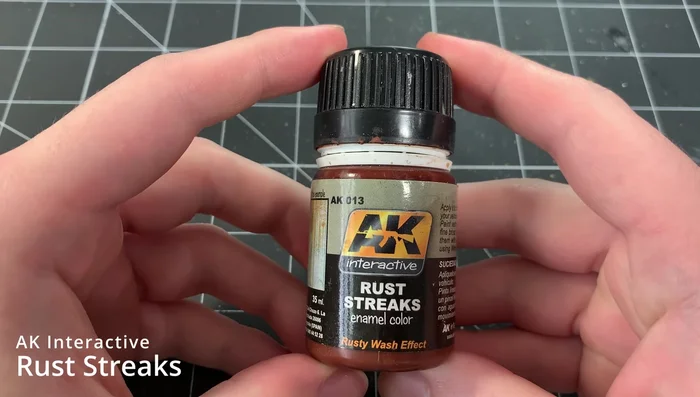
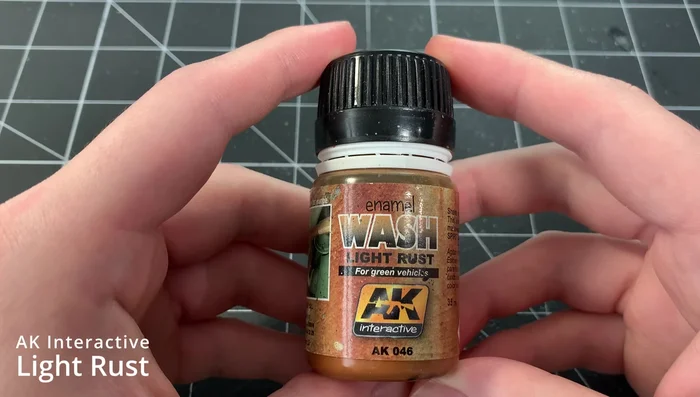
- Enamel paints (dark rust, lighter rust, light dusty tone)
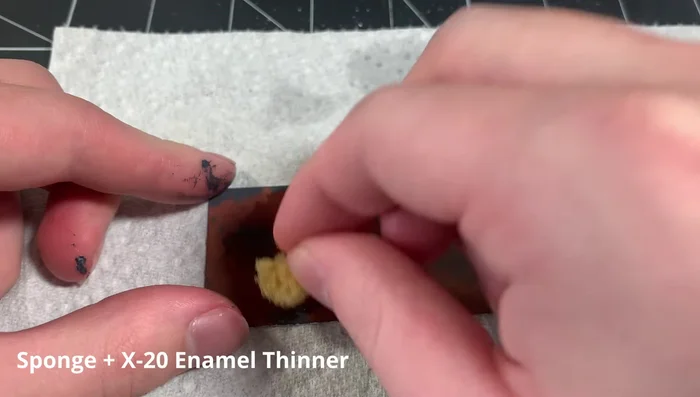
- Artist sponge
- Enamel thinner
- Brush
- Respirator
- Enamel washes are solvent-based and flammable. Work in a well-ventilated area, away from open flames or sparks. Use appropriate safety glasses and a respirator if necessary.
- Enamel washes can stain skin and clothing. Wear gloves and old clothing you don't mind getting potentially stained.
- Always test the enamel wash on a spare miniature or piece of plastic before applying it to your final model to ensure you like the color and consistency.
Step-by-Step Instructions
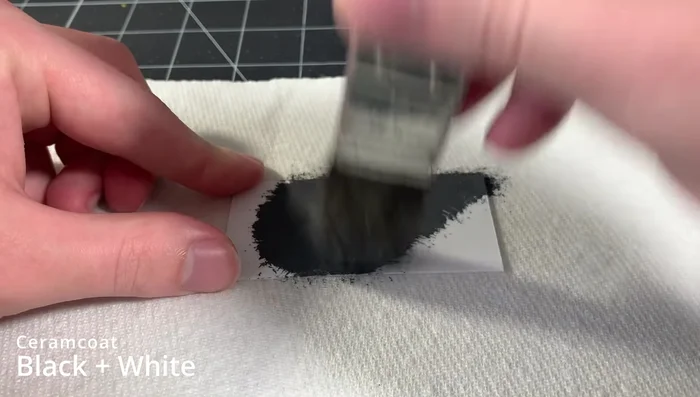
Base Coating
- Apply a dark gray acrylic base coat to the miniature.

Base Coating Dark Rust Application & Texture
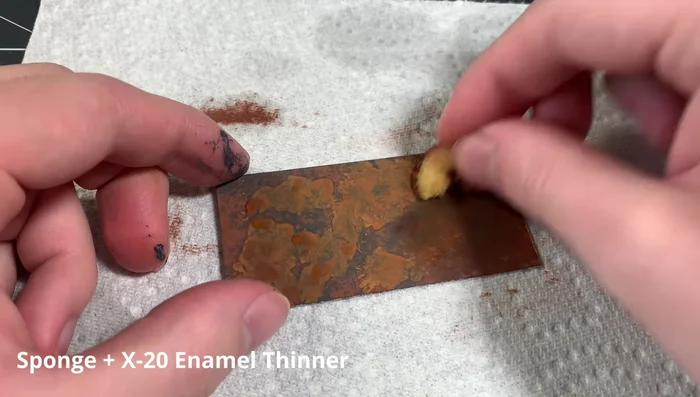
- Apply a dark rust enamel wash randomly over the surface.
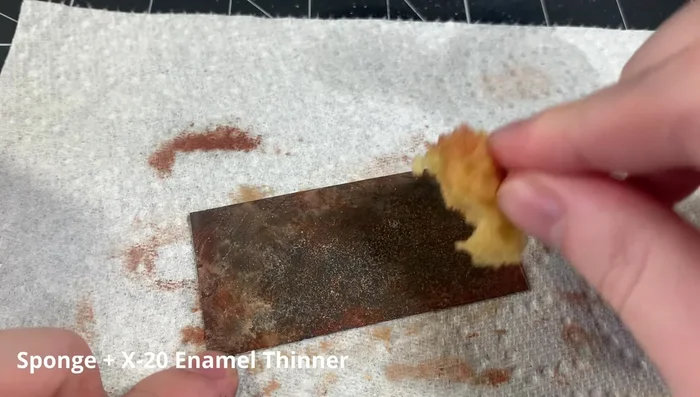
- Soak an artist sponge in enamel thinner, and stipple it over the dark rust wash to break up the color and create texture.
Dark Rust Application & Texture Mid-Tone Rust Application & Texture
- Apply a lighter rust enamel wash randomly over the surface.
- Repeat the sponging technique with the lighter rust wash.
Mid-Tone Rust Application & Texture Highlighting & Finishing
- Apply a light dusty tone enamel wash randomly over the surface.
- Repeat the sponging technique with the light dusty tone wash.
Highlighting & Finishing
Read more: 7 Top Paint Color Trends for 2024: A Complete Guide with Free Downloadable Resource
Tips
- Wear a respirator when working with enamels.
- The exact color of the base coat doesn't matter.
- You can vary the intensity by using more or less wash.
- You can experiment by leaving out a color to create different rust tones.