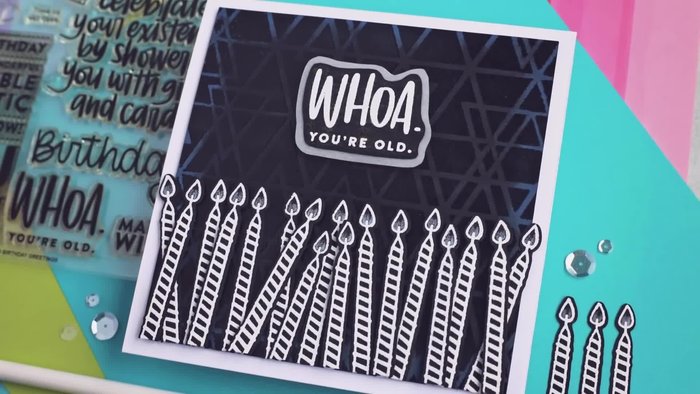
Birthdays are special occasions deserving of equally special celebrations, and what better way to express your heartfelt wishes than with a handmade card? This tutorial will guide you through creating a stunning embossed birthday card, adding a touch of elegance and personalization that store-bought cards simply can't match. Embossing, a technique that raises designs from the card's surface, adds texture and depth, transforming a simple card into a beautiful keepsake. Whether you're a seasoned crafter or a complete beginner, this technique is surprisingly accessible and the results are truly impressive.
Prepare to be amazed by the transformation of ordinary cardstock into a masterpiece! Forget generic greetings; this tutorial empowers you to craft a unique and memorable card that perfectly captures your sentiments. We'll walk you through each step, from choosing the right materials to achieving a crisp, clean embossed design. Ready to elevate your card-making skills? Let's dive into the step-by-step process!
Preparation and Safety Guidelines
- Big Birthday Greeting Stamp Set (Simon Says Stamp)
- Versamark Ink
- Acrylic Block
- Basil Licorice Twist Cardstock
- Powder Tool
- Embossing Powder (Alabaster White, Icicle)
- Coffee Filter
- Dry Cloth
- Scan N Cut
- Prismacolor White Pencil
- Abstract Triangle Stencil (Simon Says Stamp)
- Tonic Trimmer
- Mermaid Lagoon Distress Oxide Ink
- Foam Tape
- Gina K Designs Connect Glue
- Vellum
- Scissors
- Wink Stella Glitter Brush
- Always use a heat-resistant surface like a silicone mat or metal plate when heat embossing. High temperatures can damage your work surface.
- Be cautious when using a heat tool. Keep it moving constantly to avoid burning the paper or embossing powder. Never leave the heat tool unattended.
- Embossing powders can be messy. Work in a well-ventilated area and consider using a craft mat to contain any spills.
Step-by-Step Instructions
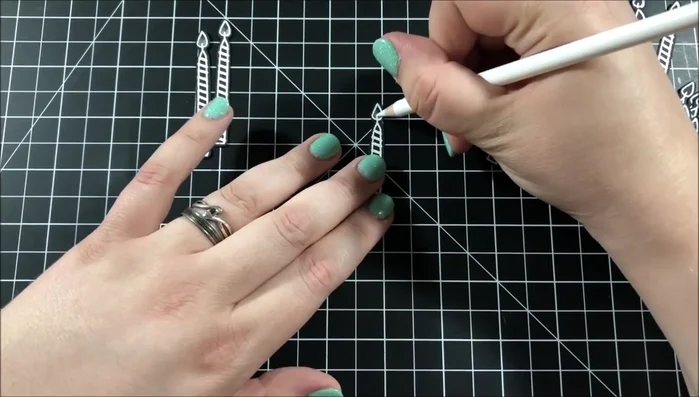
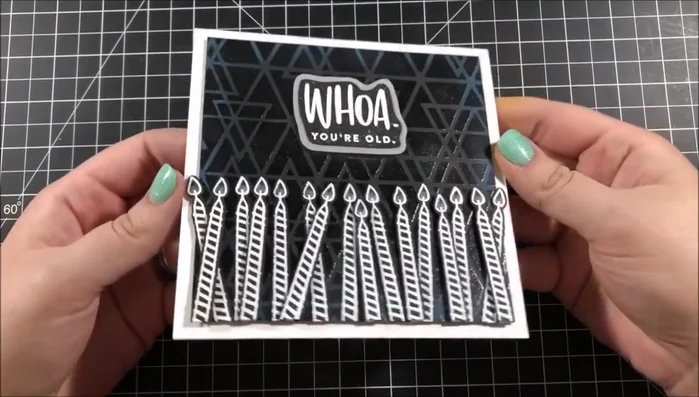
Candle Embossing
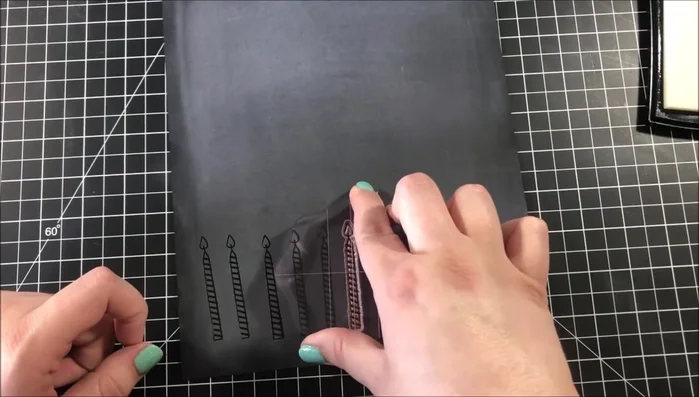
- Stamp candles repeatedly with Versamark ink onto cardstock prepped with a powder tool.
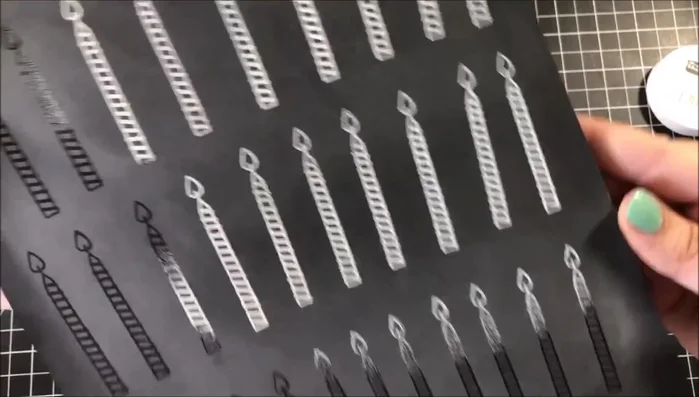
- Emboss with alabaster white embossing powder.
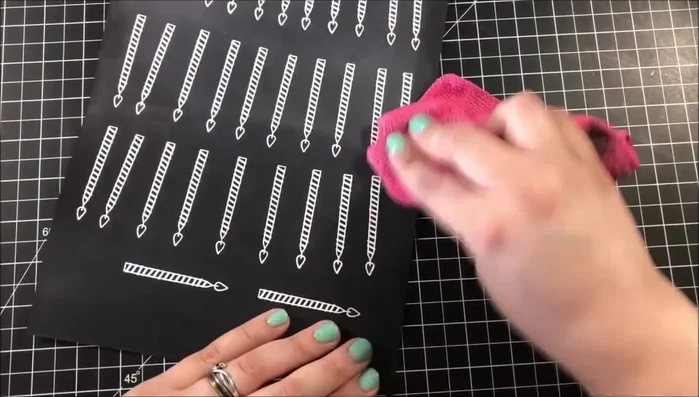
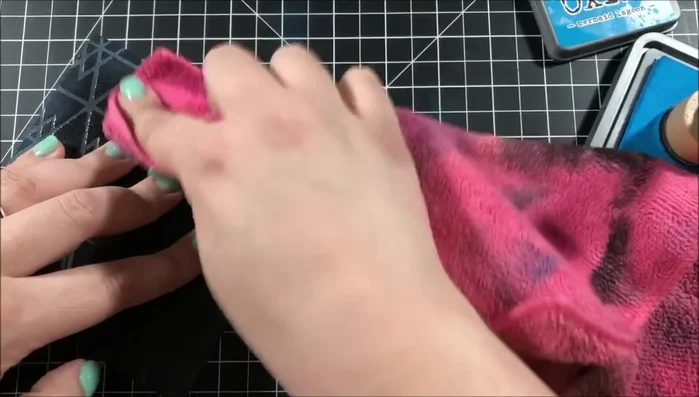
- Clean excess embossing powder.
- Cut out embossed candles using a Scan N Cut machine.

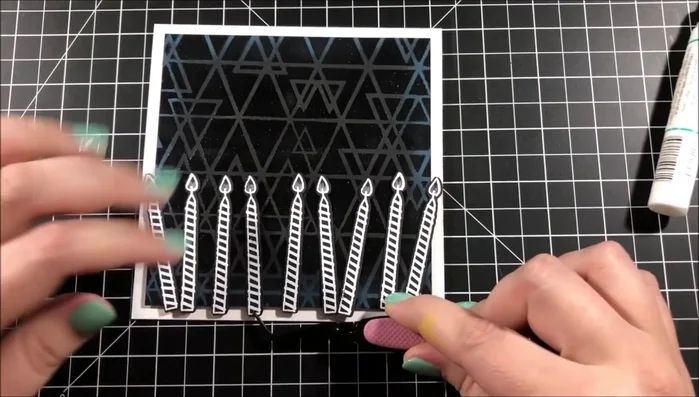
Candle Embossing Background Preparation
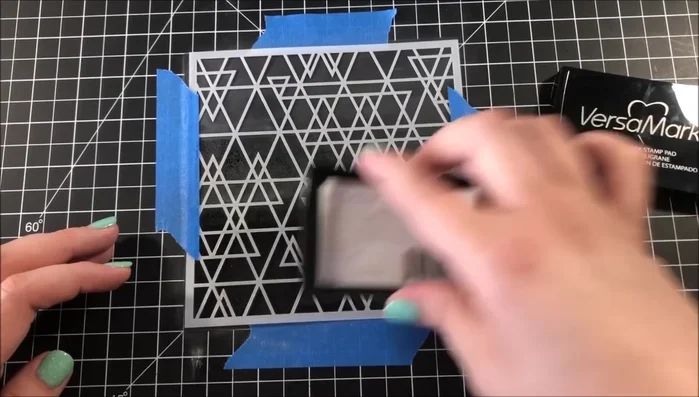
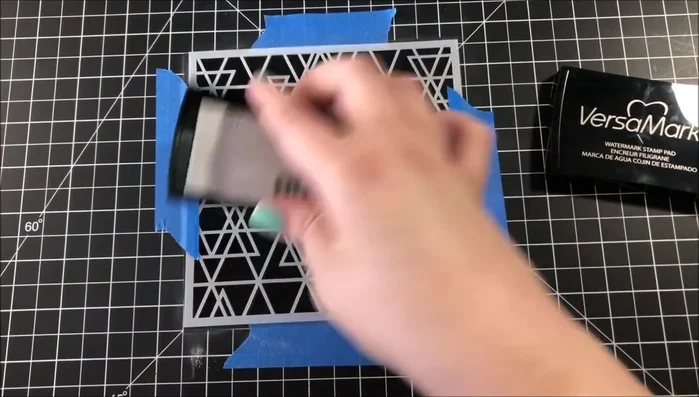
- Prep another piece of cardstock with powder tool and apply abstract triangle stencil.
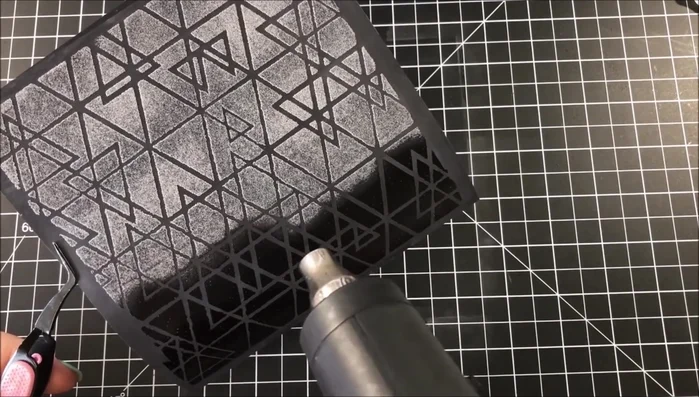
- Emboss stencil design with icicle embossing powder.
- Cut background to 5x5 size.
- Distress the edges of the background with Mermaid Lagoon Distress Oxide Ink.
Background Preparation Card Assembly
- Attach background to card base with foam tape.
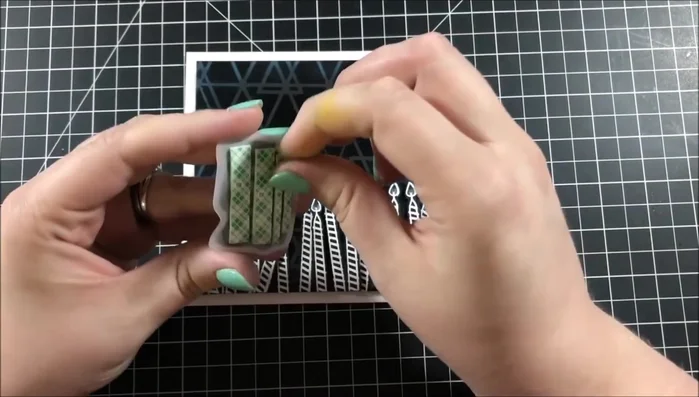
Card Assembly Candle Placement and Detailing
- Add shading to candle flames with a white prismacolor pencil.
- Glue down candles in layers, using foam tape for dimension on the second layer.
- Trim candle bottoms to be flush with the background.
Candle Placement and Detailing Sentiment Preparation
- Stamp and emboss sentiment onto basil licorice twist cardstock.
- Fussy cut sentiment and adhere it onto vellum.
Sentiment Preparation Sentiment Application and Finishing
- Attach sentiment to card with foam tape.
- Add glitter to sentiment using glitter brush.
Sentiment Application and Finishing


Read more: Easy Origami Paper Box Tutorial: Step-by-Step Guide
Tips
- Using a powder tool prepares the cardstock for better embossing.
- Don't be afraid to use a generous amount of embossing powder for a bold effect.
- Foam tape helps prevent warping and adds dimension.
- Subtle ink blending adds depth without overwhelming the design.