Capture the vibrant essence of summer and autumn foliage with the effortless charm of the dry brush painting technique! This simple yet effective method allows you to create stunningly textured tree landscapes, bringing the beauty of nature onto your canvas with remarkable ease. Forget the frustration of meticulous detail; dry brushing focuses on expressive strokes and color layering to suggest leaves and branches, resulting in captivatingly realistic – or wonderfully impressionistic – representations of trees. The unique texture created by the dry brush leaves a beautiful, almost naturally imperfect feel, lending itself perfectly to the varied colors and shapes of both summer's lush greenery and autumn's fiery hues.
This guide will walk you through each step, transforming your blank canvas into a breathtaking portrayal of seasonal trees. From choosing the right paints and brushes to mastering the crucial dry brushing technique itself, we'll equip you with the knowledge and confidence to paint beautiful summer and autumn landscapes. Let's get started on your artistic journey!
Preparation and Safety Guidelines
- Daniel Smith paints
- Saunders Waterford 100% cotton rough texture paper
- Brushes (round and rigger)
- Palette
- Always use water-based paints for easy cleanup and to avoid harmful fumes. Oil paints require solvents for cleaning, which should be used in a well-ventilated area with proper safety precautions.
- Protect your work surface with newspaper or a drop cloth. Dry brushing can splatter paint.
- Dispose of used paint and brushes responsibly according to local regulations.
Step-by-Step Instructions
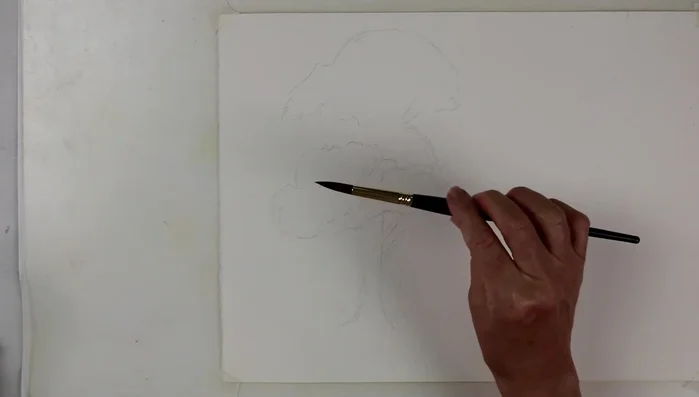
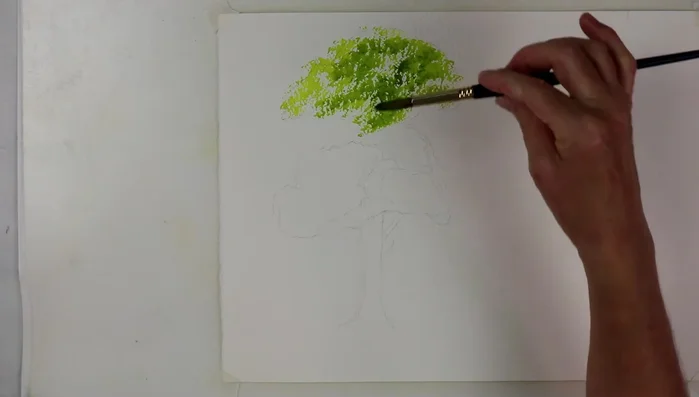
Sketching the Tree
- Sketch tree outline (no details).

Sketching the Tree Prepare Paint Mixtures
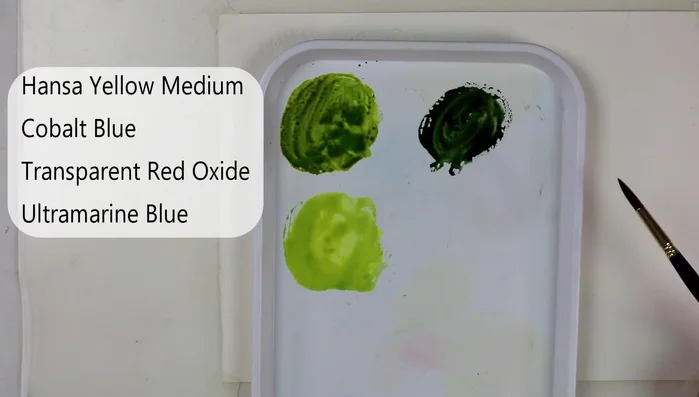
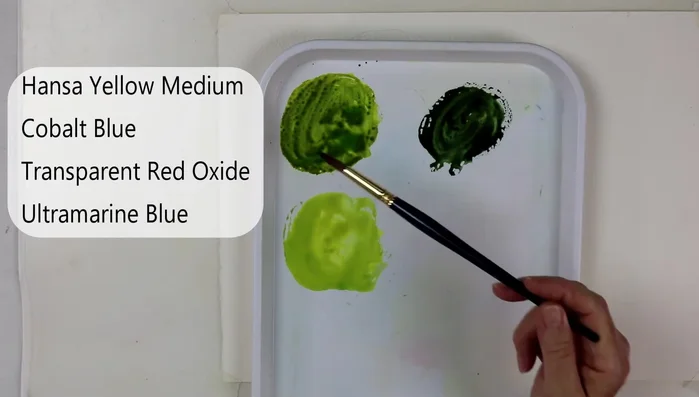
- Prepare light, medium, and dark paint mixtures. The video uses a mix of Hansa Yellow Medium, Cobalt Blue, Transparent Red Oxide, Ultramarine Blue.
- For an autumn tree, repeat the same process but with different color mixtures (Hansa yellow medium, pyro red, transparent red oxide).
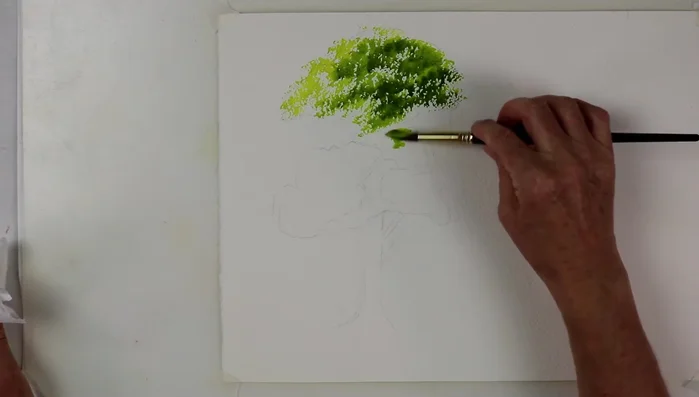
Prepare Paint Mixtures Dry Brush Technique Explanation
- Hold brush with thumb on one side, four fingers on the other, scraping across the paper.
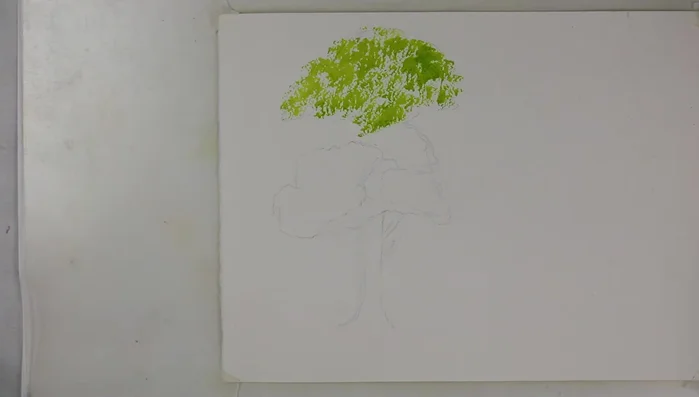
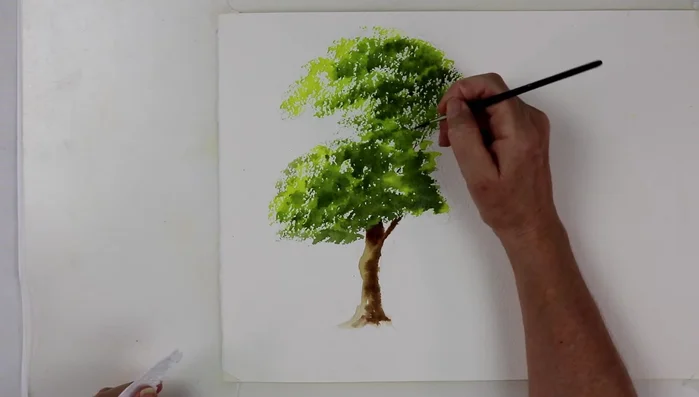
Dry Brush Technique Explanation Applying Base Layer (Summer Tree)
- Apply light mix, starting in the middle of the tree where you want the most paint, and gradually move outwards as the brush runs out of paint.
- Layer medium mix, starting in the middle and moving outward, overlapping the light mix.
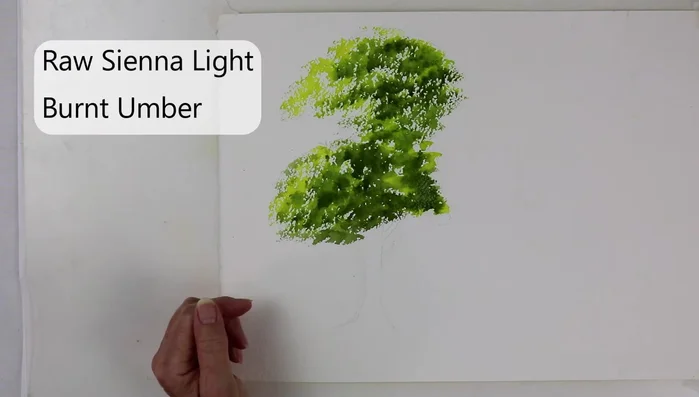
- Apply dark mix to the shadowed side of the tree, starting in the middle and moving outwards.
- Repeat steps 4-6 for different parts of the tree, leaving spaces (holes) for branches.
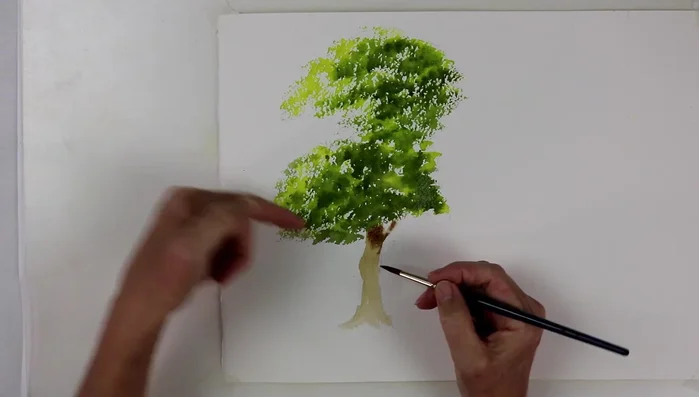
Applying Base Layer (Summer Tree) Painting the Trunk (Summer Tree)
- Mix raw sienna light and burnt umber for the tree trunk, applying darker shades to the shadowed side.
- Add darker burnt umber while the trunk is wet, to create depth.
Painting the Trunk (Summer Tree) Adding Branches (Summer Tree)
- Use a small rigger brush to paint branches into the spaces left in the foliage, following their natural upward growth.
Adding Branches (Summer Tree) Applying Base Layer (Autumn Tree)
- Apply light mix, starting in the middle of the tree where you want the most paint, and gradually move outwards as the brush runs out of paint.
- Layer medium mix, starting in the middle and moving outward, overlapping the light mix.
- Apply dark mix to the shadowed side of the tree, starting in the middle and moving outwards.
- Repeat steps 4-6 for different parts of the tree, leaving spaces (holes) for branches.
Applying Base Layer (Autumn Tree) Painting the Trunk (Autumn Tree)
- Mix raw sienna light and burnt umber for the tree trunk, applying darker shades to the shadowed side.
- Add darker burnt umber while the trunk is wet, to create depth.
Painting the Trunk (Autumn Tree) Adding Branches (Autumn Tree)
- Use a small rigger brush to paint branches into the spaces left in the foliage, following their natural upward growth.
Adding Branches (Autumn Tree)

Read more: 7 Top Paint Color Trends for 2024: A Complete Guide with Free Downloadable Resource
Tips
- Leave 'bird holes' (spaces in the foliage) for adding branches later.
- Don't strive for perfect realism; dots and dashes can create the impression of texture (land, stones).
- For the tree trunk, try wetting the surface first and then dropping the colors in for a blended effect.