Dot mandala painting is a captivating art form that offers a unique blend of creativity and mindfulness. Its mesmerizing patterns and vibrant colors make it a deeply satisfying hobby, perfect for both experienced artists seeking a new challenge and absolute beginners looking for a relaxing and rewarding creative outlet. The meditative process of meticulously placing each dot can be incredibly therapeutic, allowing for a mindful escape from the stresses of daily life. Beyond the therapeutic benefits, the results are stunning pieces of art that you can proudly display or gift to loved ones.
This beginner-friendly tutorial will guide you through the entire process of creating your first dot mandala, from choosing your materials to perfecting your dotting technique. Prepare to be amazed by how easily you can create beautiful, intricate designs, even with minimal artistic experience. Let's dive into the step-by-step guide and unleash your inner artist!
Preparation and Safety Guidelines
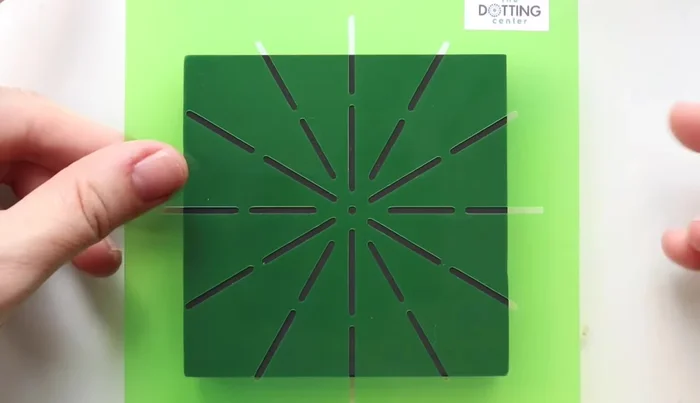
- 12 divider stencil
- compass
- stylus tools
- dotting rods
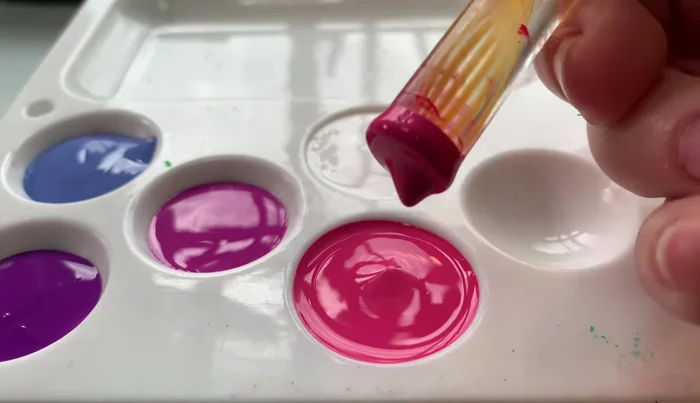
- acrylic paints (4 colors + white)
- black chalky finish base coat
- wet palette (optional)
- matte varnish (optional)
- flat silicone tool (optional)
- wet cotton swab
- Always work in a well-ventilated area. Acrylic paints and mediums can release fumes.
- Protect your work surface. Use a drop cloth or newspaper to prevent paint spills and stains.
- Clean brushes thoroughly after each use with water and soap to prevent paint build-up and maintain brush quality.
Step-by-Step Instructions
Prepare the Surface
- Use a 12 divider stencil to segment your painting surface into 12 equal parts. Align the stencil by adjusting its position until the cutout sections are evenly distributed.
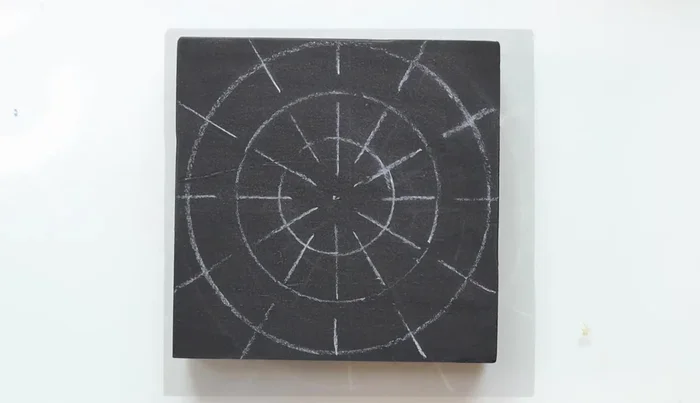
- Use a compass to draw three concentric circles within the segmented area, creating space for dotting.
- Remove any excess chalk from the surface to ensure proper paint adhesion.

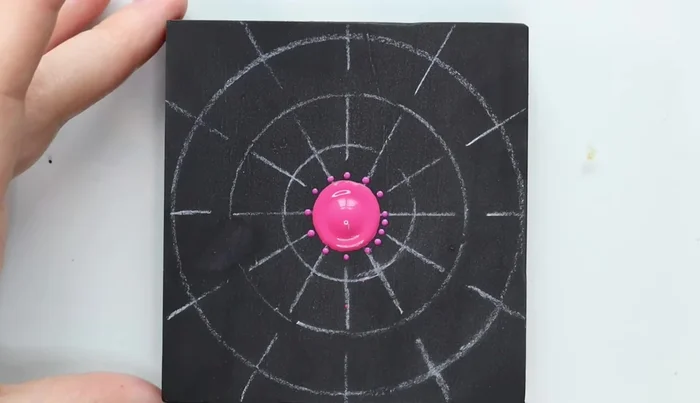
Prepare the Surface Create the Center and First Rows
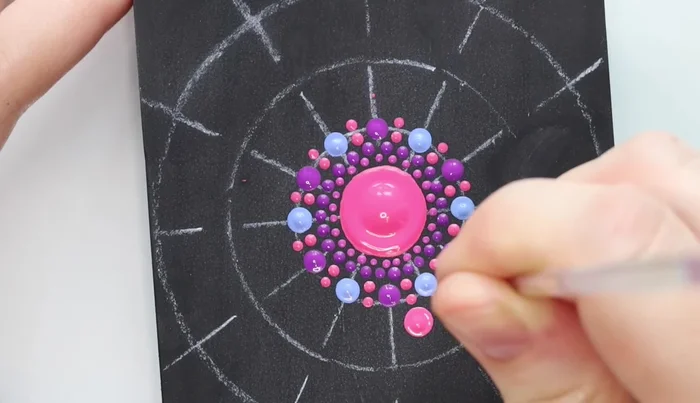
- Apply a center dot using a larger tool and your chosen color.
- Create a row of small dots using the small stylus tool along each segment, meeting at the center dot. Then, add dots in between.
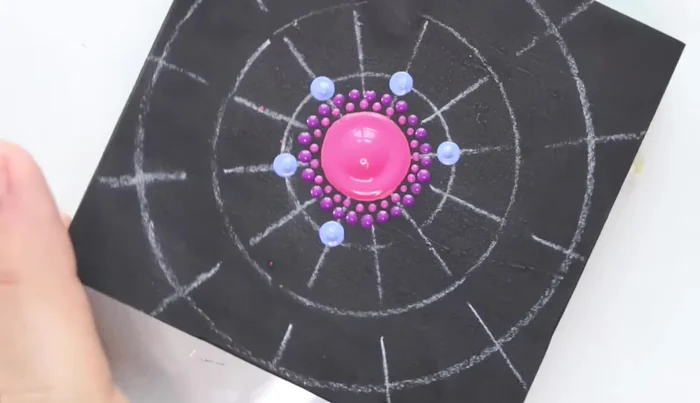
- Create a second row of larger dots using a different color, between the dots of the first row.
Create the Center and First Rows Expand with Additional Rows
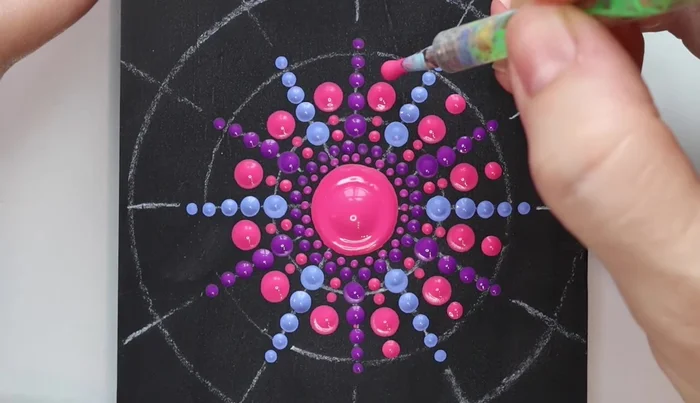
- Use the smallest clear rod to create dots on every other line, independently of the previous rows. Repeat with a different color.
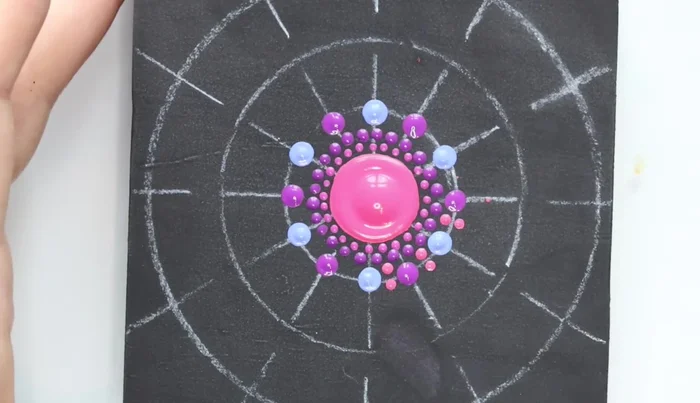
- Choose a stylus tool to fit two dots between the existing dots and apply.
- Use the next largest clear rod and create dots in the center of each section.
- Use the largest stylus tool to create four dots stemming from each of the previous dots, forming a star shape. Extend these with another color.
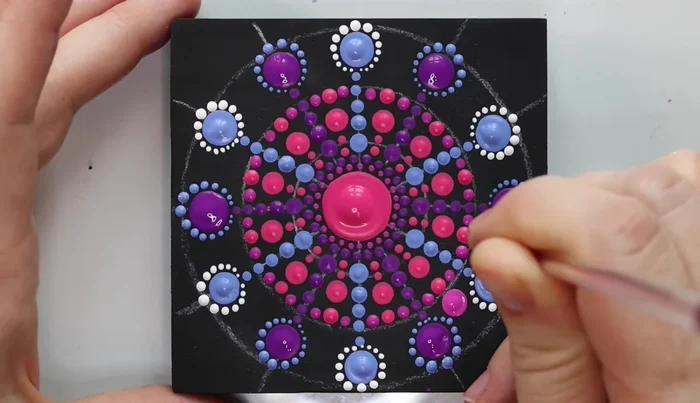
Expand with Additional Rows Complete Outer Circles
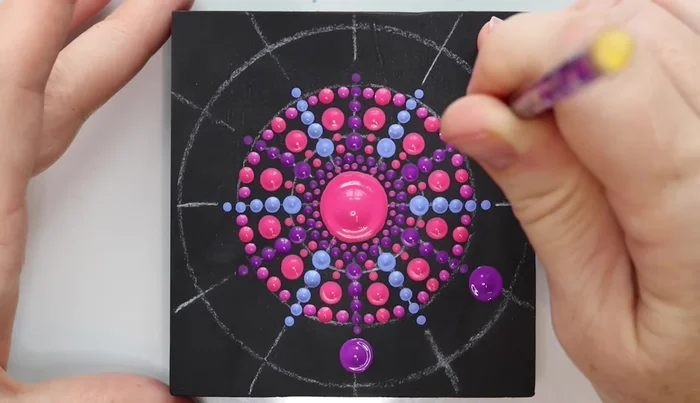
- Add a dot of pink to touch the outer edge of the circle, then add smaller dots on either side.
- Use a purple rod to add large dots, touching the outer circle, on every other line. Repeat with another color.
Complete Outer Circles Add Dotted Borders
- Create a dotted border around the large dots by applying dots from the bottom to the top, making them progressively smaller.
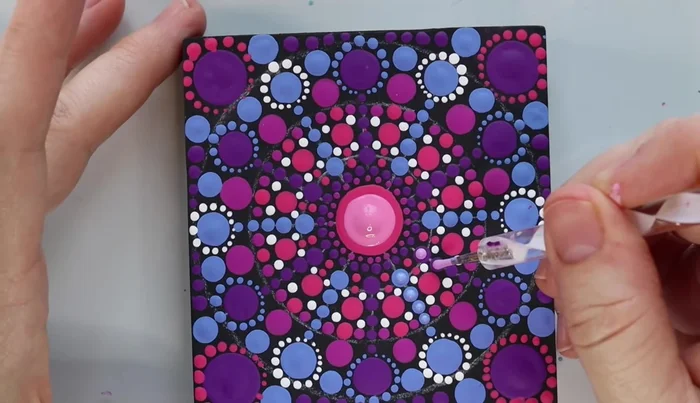
Add Dotted Borders Fill Negative Space
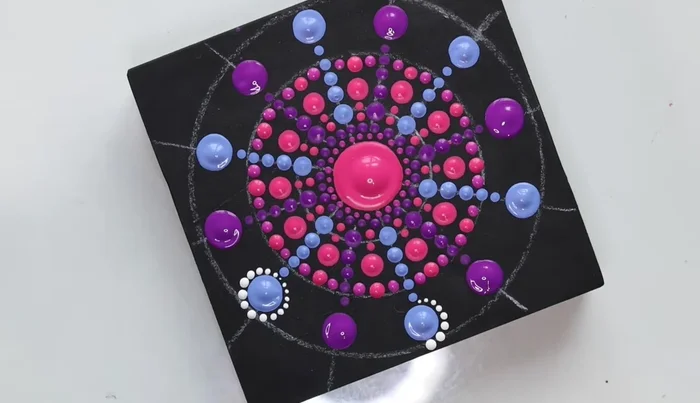
- Fill in the remaining negative spaces with dots, using various colors and sizes, paying attention to the overall balance and design.
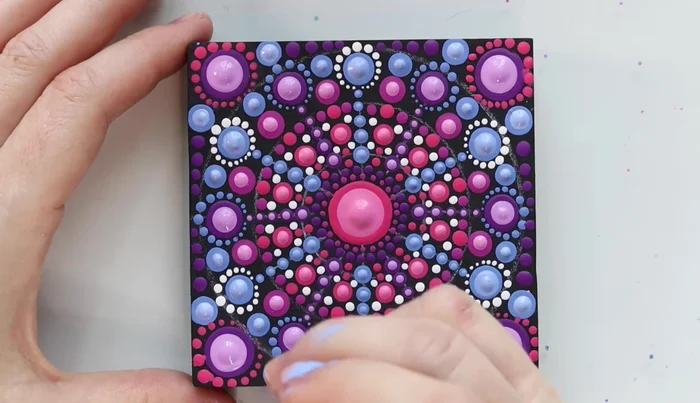
Fill Negative Space Add Finishing Touches
- Add smaller, lighter-colored dots on top of existing dots to add dimension and detail.
- Use a wet cloth or flat silicone tool to correct mistakes. Allow paint to dry before removing wet paint to avoid ruining previous work.
- Add final dots to fill any remaining negative space. Wipe off the stencil markings with a wet cloth. Apply matte varnish for a final finish (optional).
Add Finishing Touches


Read more: 7 Top Paint Color Trends for 2024: A Complete Guide with Free Downloadable Resource
Tips
- Allow paint to dry between layers to easily correct mistakes.
- Use a wet palette to keep your acrylic paints from drying out.
- Pay attention to negative space to achieve balance and visual interest.