Creating unique and personalized signage doesn't require a hefty budget or professional design skills. In fact, you can craft stunning custom signs using readily available materials and a little creativity – all for the price of a few dollars! This article explores the surprisingly effective "Dollar Store Method" for making your own DIY stencils, transforming inexpensive supplies into professional-looking results. Forget expensive pre-made stencils and embrace the affordability and personalization that this method offers. You'll be amazed at the impact you can make with a few simple materials found in your local dollar store.
Imagine crafting personalized welcome signs, stylish room décor, or even eye-catching business signage, all without breaking the bank. This guide will walk you through each step of the process, from selecting your materials to achieving clean, crisp lettering on various surfaces. Ready to unleash your inner artist and create personalized signs on a budget? Let's get started!
Preparation and Safety Guidelines
- Index dividers (dollar store)
- Exacto knife with sharp blade
- Cutting board
- Computer and printer
- Packing tape
- Acrylic paint
- Stencil brush
- Spray adhesive (optional)
- Sandpaper (220 grit)
- Clear wax (optional)
- Always use caution when working with sharp craft knives. Cut away from yourself and use a cutting mat to protect your work surface.
- Ensure adequate ventilation when using spray paint or other aerosol products. Work in a well-ventilated area or wear a respirator.
- Properly dispose of any sharp objects and leftover paint according to local regulations.
Step-by-Step Instructions
Prepare the Stencil Design
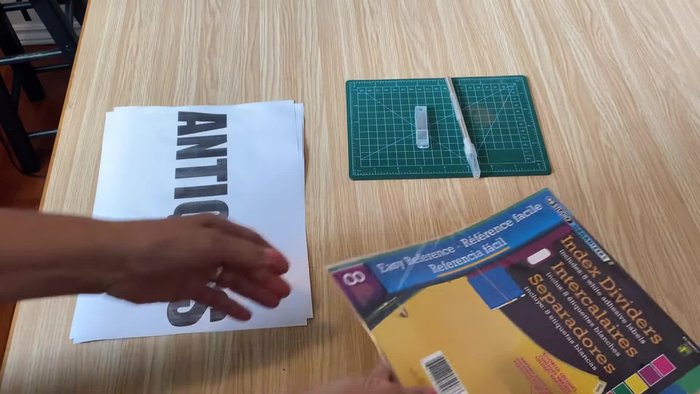
- Print your desired graphic on regular computer paper.
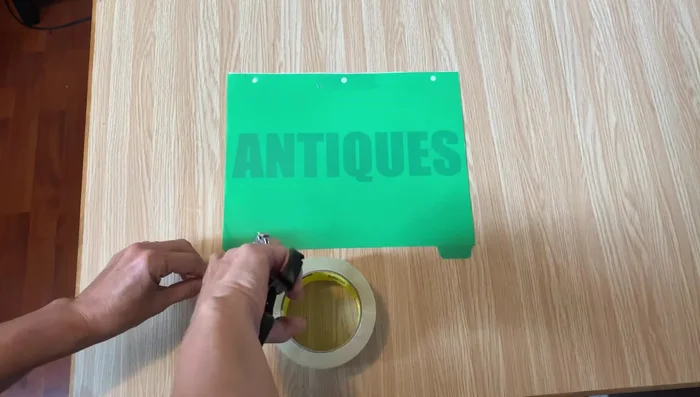
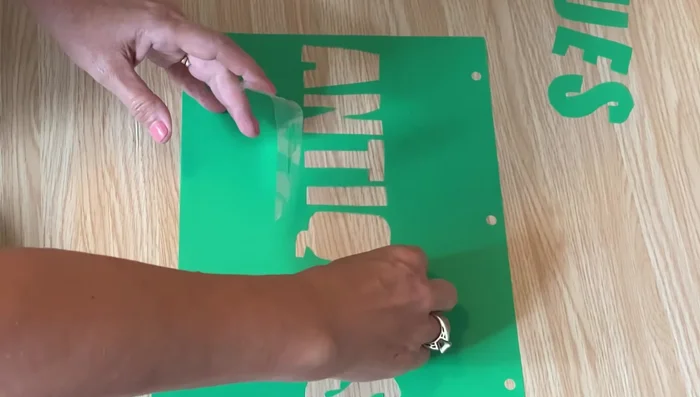
- Secure the printed graphic onto a clear plastic index divider using packing tape.

Prepare the Stencil Design Cut the Stencil
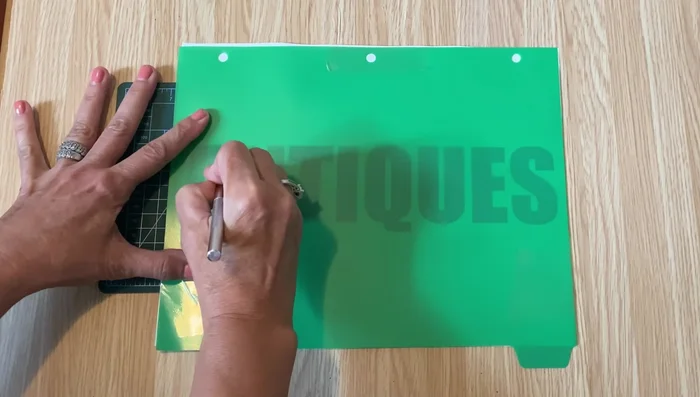
- Carefully cut out the graphic using a sharp Exacto knife and a cutting board.
- Remove the paper backing, leaving the stencil on the plastic.
- Secure any small cut-out pieces (like inner parts of letters) to the back of the stencil using packing tape.
Cut the Stencil Prepare the Stencil for Application
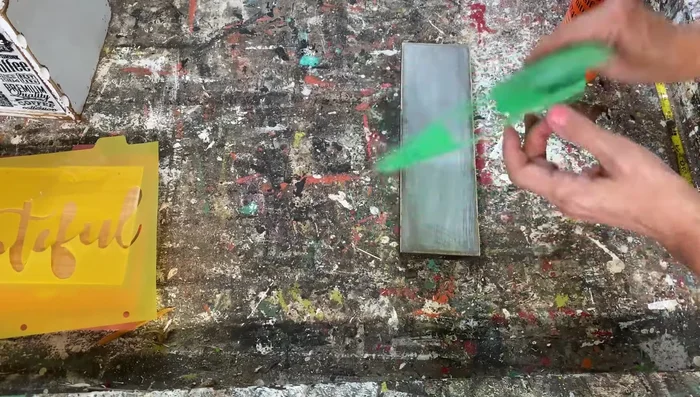
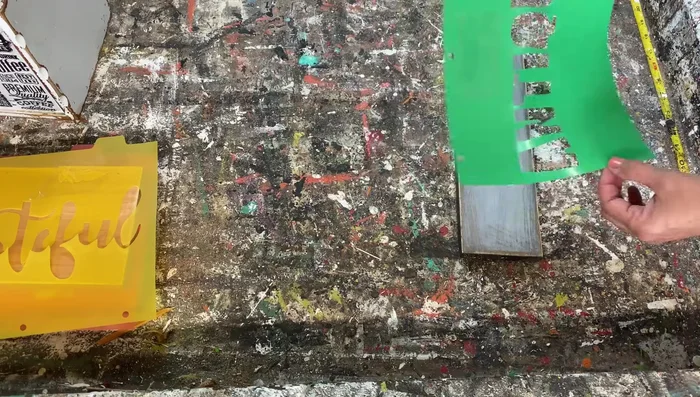
- Lightly spray the back of the stencil with spray adhesive (optional, but recommended for better adhesion).
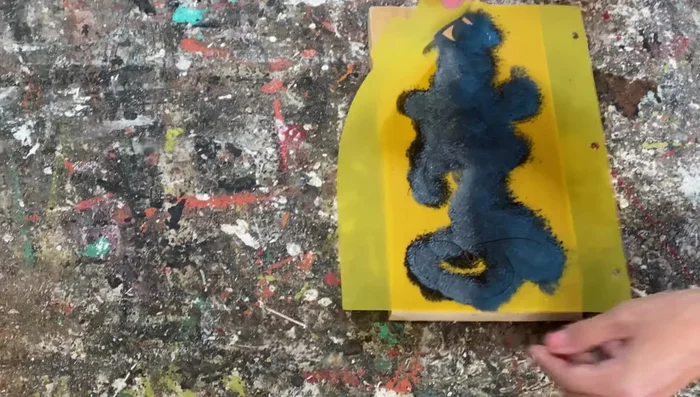
Prepare the Stencil for Application Apply the Stencil and Paint
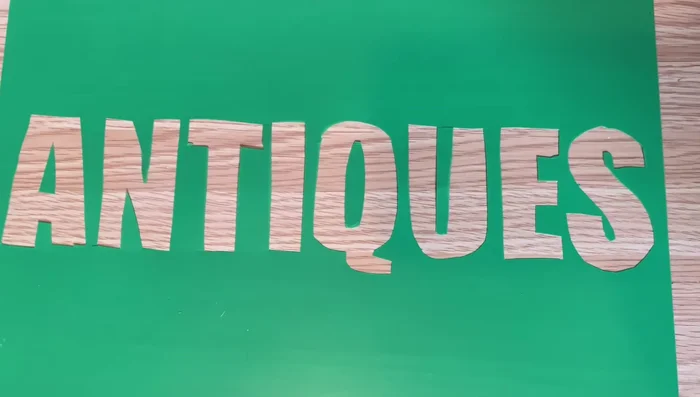
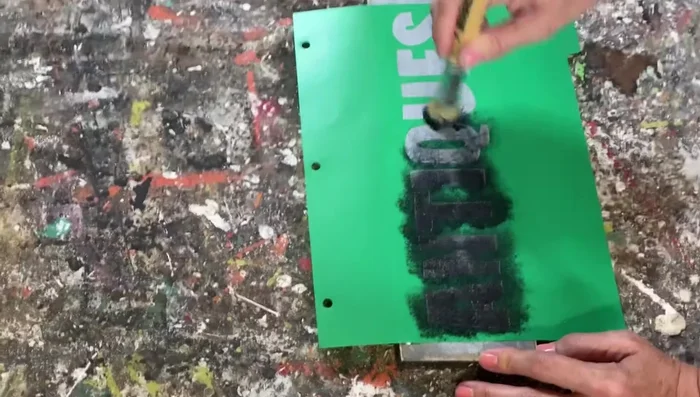
- Apply the stencil to your wooden surface and press firmly.
- Apply acrylic paint (or your preferred paint) using a stencil brush, using a dry brushing technique.
- Carefully peel off the stencil while the paint is still wet to avoid smearing.
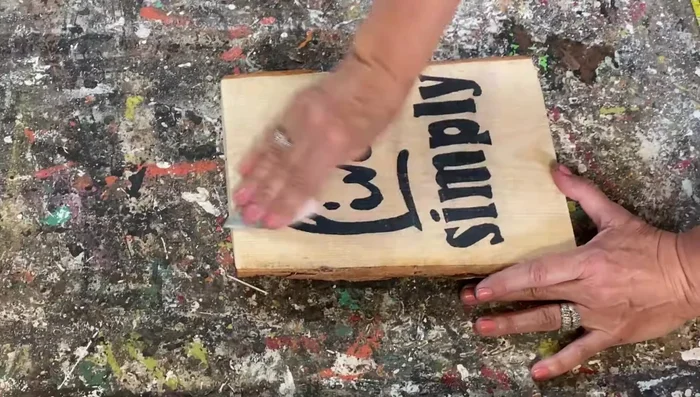
Apply the Stencil and Paint Finish and Distress the Sign
- Distress and antique the sign using sandpaper (220 grit).
- Apply clear wax or a homemade stain to finish the sign (optional).
Finish and Distress the Sign

Read more: Easy Origami Paper Box Tutorial: Step-by-Step Guide
Tips
- Use a sharp Exacto knife blade for clean cuts. Change the blade if it becomes dull.
- Ensure the index dividers are clear plastic for easy visibility of the graphic.
- Practice with a simple word first to get comfortable with cutting the stencil.
- Use spray adhesive on the stencil's back to prevent paint bleeding. Let it sit for about 60 seconds before applying the stencil.
- Peel off the stencil gently while the paint is still wet.