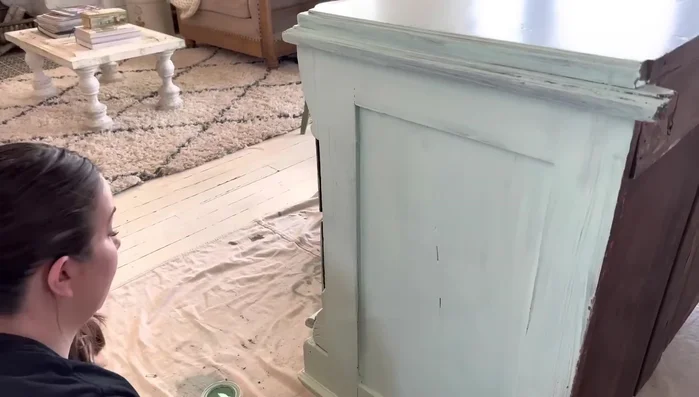
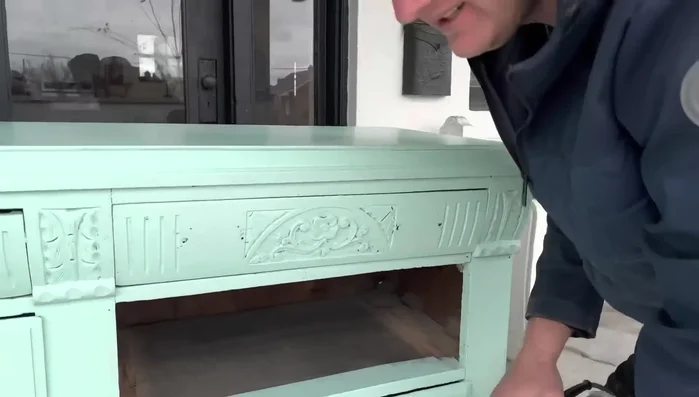
Unleash the hidden potential of a vintage mint armoire! These charming pieces of furniture, often found tucked away in antique shops or family attics, possess a timeless elegance that’s waiting to be rediscovered. A little bit of love and a dash of DIY magic can transform a dusty relic into a stunning centerpiece for your home. Imagine that beautiful mint green hue, perhaps slightly faded with age, brought back to life, showcasing the intricate details of its craftsmanship. The possibilities are endless, from a sleek modern update to a charming shabby chic restoration.
This comprehensive guide will walk you through a complete armoire makeover, from initial cleaning and repair to the final coat of paint and finishing touches. Get ready to roll up your sleeves and embark on a rewarding journey, transforming a forgotten treasure into a piece you'll cherish for years to come. Let’s dive into the step-by-step process!
Preparation and Safety Guidelines
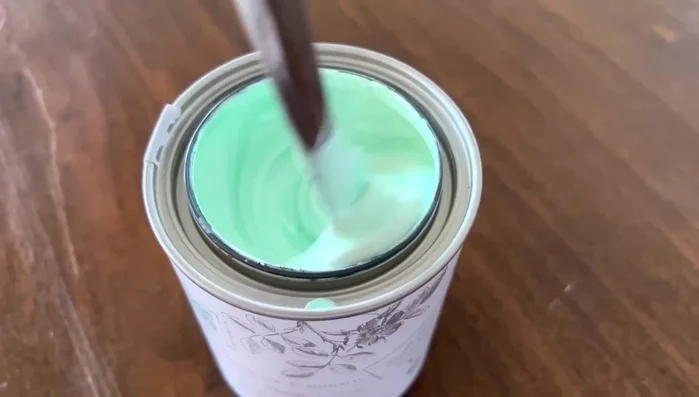
- Paint
- Dark Wax
- Clear Wax
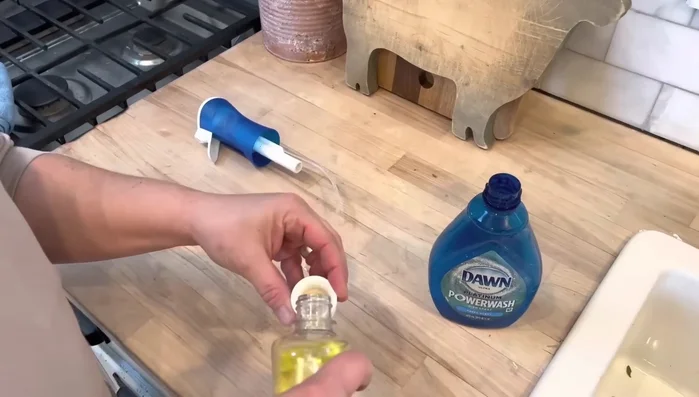
- Citrusolve or Dawn Powerwash
- Small artist brush
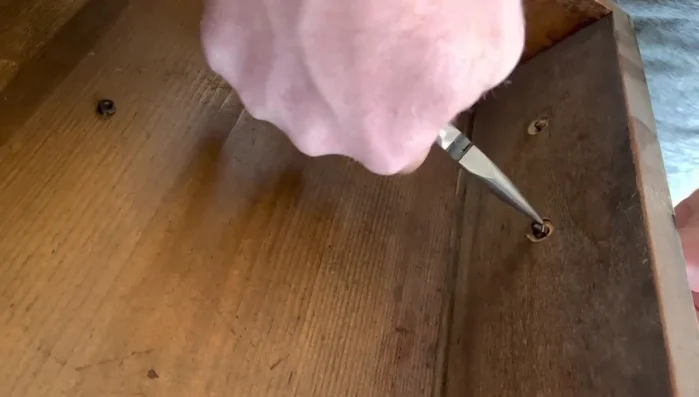
- Needle nose pliers
- Screwdriver
- Rag
- Always wear appropriate safety gear, including gloves and eye protection, when working with paints, sanding materials, and cleaning solutions.
- Ensure adequate ventilation when using paints, stains, and other potentially harmful chemicals. Work in a well-ventilated area or wear a respirator.
- Before starting any major work, check for and address any structural issues. A weakened armoire could pose safety risks during the makeover process.
Step-by-Step Instructions
Preparation
- Remove existing hardware
- Clean the armoire

Preparation Painting
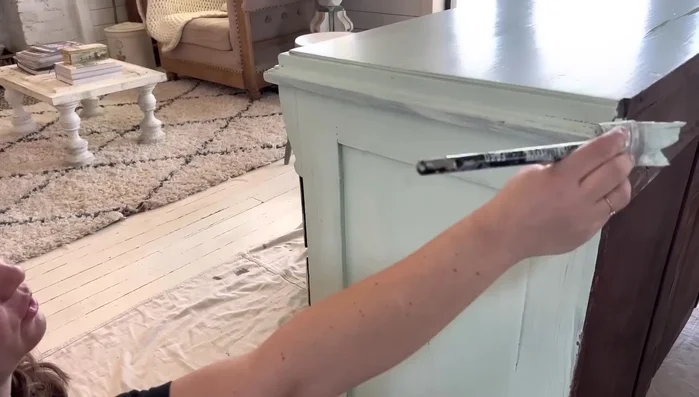
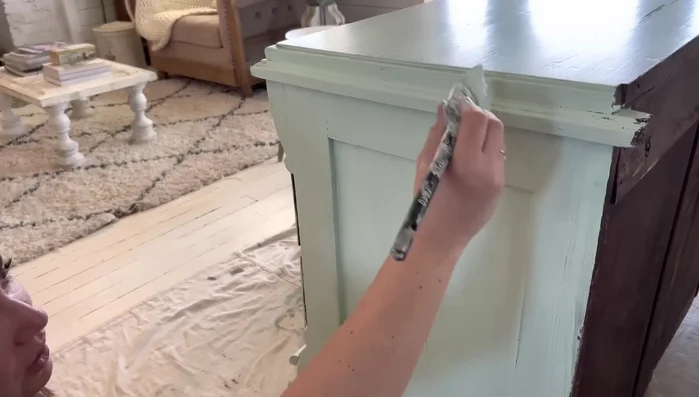
- Apply the first coat of paint
- Apply subsequent coats of paint until desired coverage is achieved
Painting Distressing and Waxing
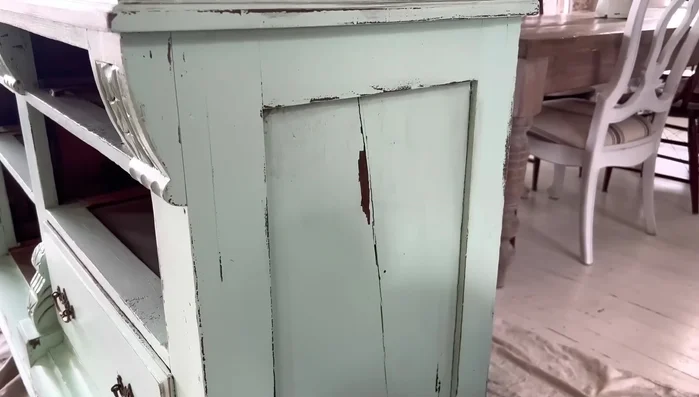
- Distress the paint (optional)
- Apply dark wax
- Wipe back excess dark wax
- Apply clear wax to blend and control dark wax application (optional)
Distressing and Waxing Finishing Touches
- Reattach hardware
Read more: 7 Top Paint Color Trends for 2024: A Complete Guide with Free Downloadable Resource
Tips
- Stir the paint well to ensure even color and consistency.
- Use a small artist brush for precise application of dark wax.
- Work in small sections when applying dark wax and wipe back immediately.
- Clear wax can help reactivate and blend dark wax if applied soon after dark wax application.