Step back in time and capture your family's unique essence with the timeless art of Victorian silhouettes! This captivating craft project offers a delightful blend of history, creativity, and cherished memories, resulting in a beautiful and enduring family portrait. Imagine the elegant simplicity of these shadowy profiles, reminiscent of a bygone era, adorning your walls as a testament to family unity and artistic endeavor. The delicate balance of light and shadow creates an air of mystery and sophistication, making each silhouette a miniature work of art.
This enchanting project is surprisingly accessible, even for those with no prior artistic experience. Forget expensive professional photographers; we'll guide you through creating your own stunning Victorian-style silhouettes, transforming ordinary photographs into elegant works of art. Ready to embark on this creative journey? Let's delve into the step-by-step process and learn how to craft your very own family silhouette masterpiece.
Preparation and Safety Guidelines
- Old frames (with mounts preferred)
- Masking tape
- Scalpel/Craft knife
- Winsor Newton Acrylic Black paint (or similar)
- Varnish
- Watercolor paper (or black craft paper)
- Pencil
- Small scissors
- PVA glue
- Laptop (or lightbox)
- Camera
- Use only blunt-tipped scissors or craft knives when cutting the silhouette shapes to avoid injury. Adult supervision is essential, especially with children.
- Always work in a well-ventilated area, especially if using spray adhesive or paints. Avoid inhaling fumes.
- Handle sharp objects like pins or needles with extreme care if you choose to use them for mounting or detail work. Keep them out of reach of children.
Step-by-Step Instructions
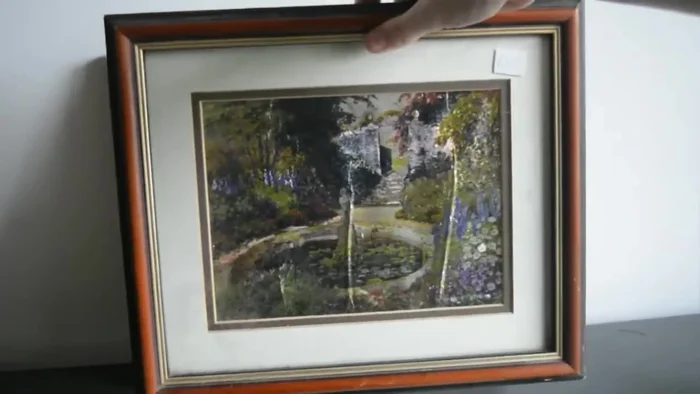
Frame Preparation
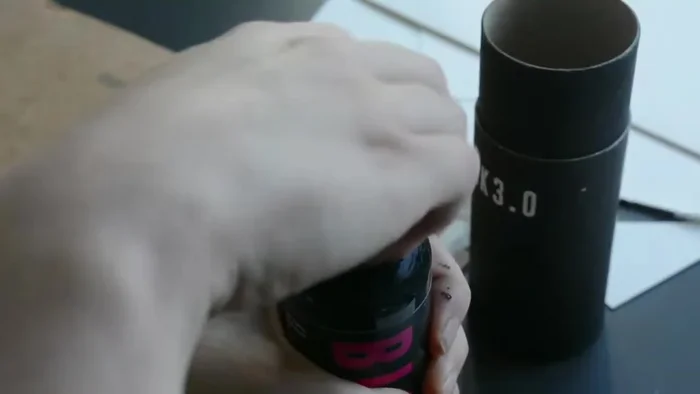
- Gather and prepare old frames. Remove backings and clean frames.
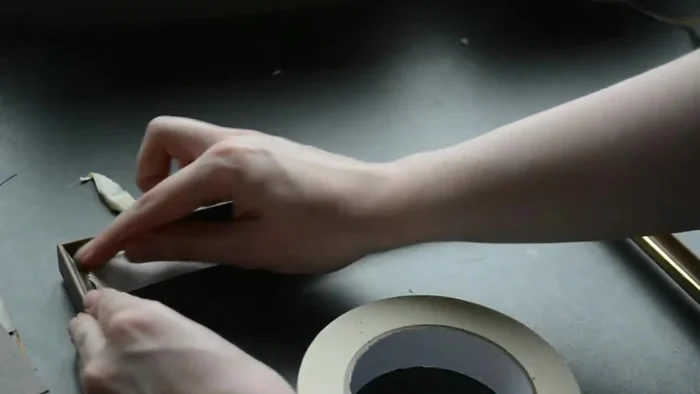
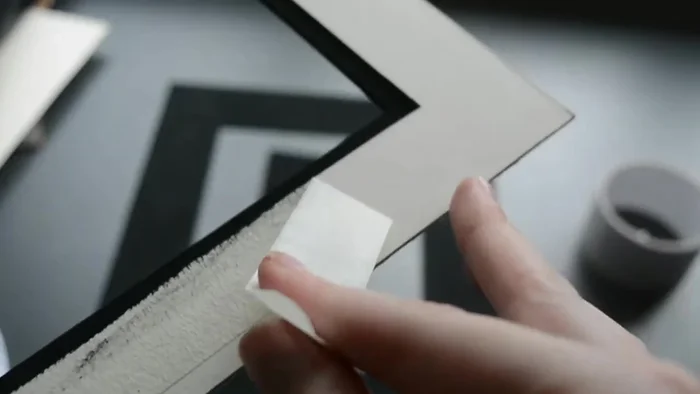
- Mask gold edges on the frames and paint the frames black. Apply varnish for protection.

Frame Preparation Mount Preparation
- Prepare mounts. Paint them black (or white and then black/gold details) or create your own oval mounts from cardboard.
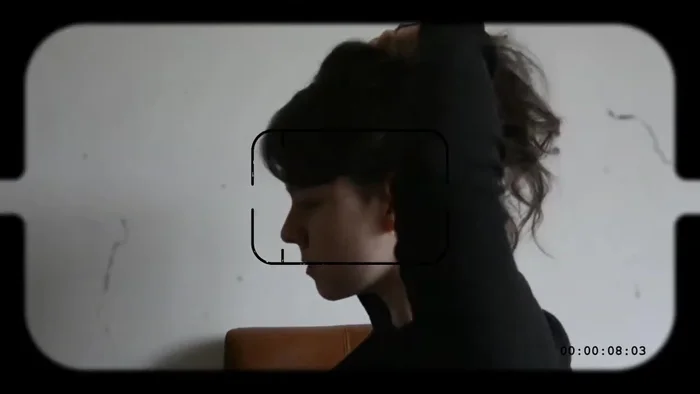
Mount Preparation Photograph and Trace
- Take profile photos against a neutral background.
- Trace the profile photos onto watercolor paper (or black craft paper). Refine the details of the sketches.
Photograph and Trace Silhouette Creation
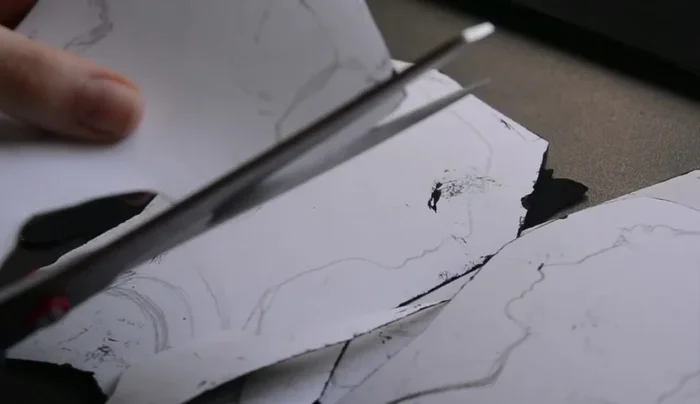
- Paint the back of the paper black. (Skip this step if using black craft paper).
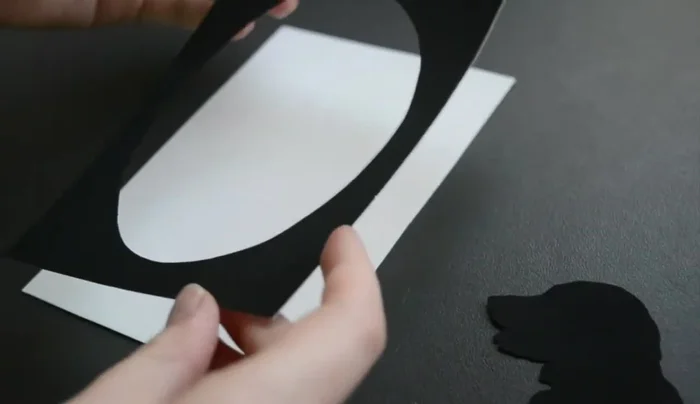
- Carefully cut out the silhouette shapes, using a scalpel for fine details. (Moving the paper while cutting helps).
Silhouette Creation Assembly
- Assemble the silhouettes with mounts and frames using PVA glue.
Assembly
Read more: 7 Top Paint Color Trends for 2024: A Complete Guide with Free Downloadable Resource
Tips
- Use frames with mounts for a more authentic look.
- Masking tape is crucial for neat paintwork.
- Pick out hair and clothing details to enhance the silhouette's realism.
- Use a lightbox or laptop screen to trace photos easily.
- Smaller scissors may be more suitable for cutting intricate details.