Forget expensive, mass-produced party decorations! This year, add a touch of handmade charm and personality to your celebrations with DIY sewn paper garlands. These delightful decorations are surprisingly simple to create, offering a fun and affordable way to elevate any festive occasion, from birthdays and weddings to holiday gatherings. The beauty lies in their versatility – customize the colours, patterns, and shapes to perfectly match your party theme, creating a truly unique and memorable ambiance. Imagine strings of cheerful triangles, delicate hearts, or even intricate snowflakes, all crafted by your own hands.
The process is incredibly rewarding, allowing for creativity and personalization at every stage. Ready to transform plain paper into a stunning party centerpiece? Let's dive into the step-by-step guide and learn how to craft your own exquisite sewn paper garland.
Preparation and Safety Guidelines
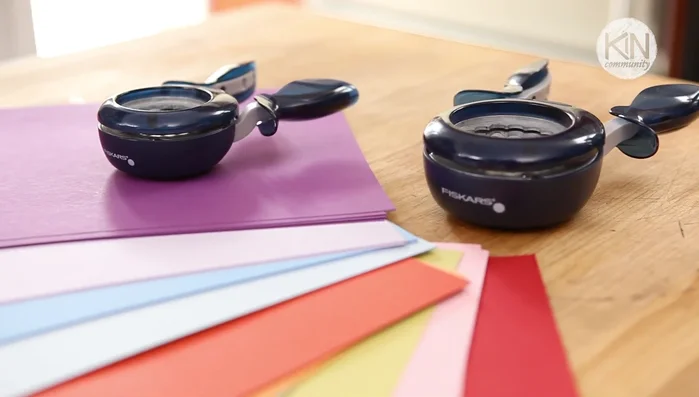
- Paper
- Thread
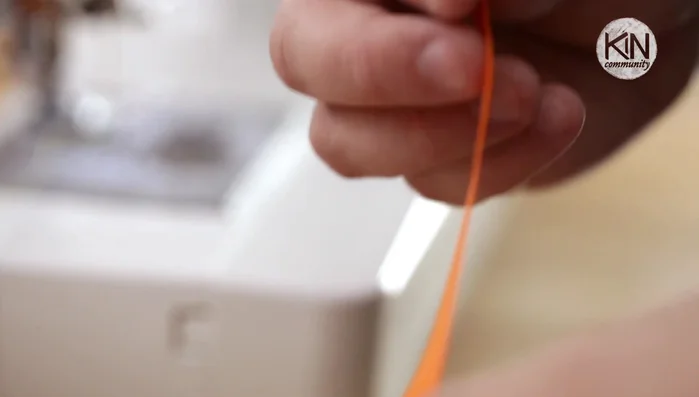
- Ribbon
- Sewing Machine
- Paper Punch (or Scissors)
- Always supervise children if they are involved in any part of the process, especially when using scissors or needles.
- Use a sharp needle and appropriate thread weight to prevent the paper from tearing.
- Avoid using paper with sharp edges or potentially harmful embellishments, especially if the garland will be within reach of young children.
Step-by-Step Instructions
Choose and Prepare Paper
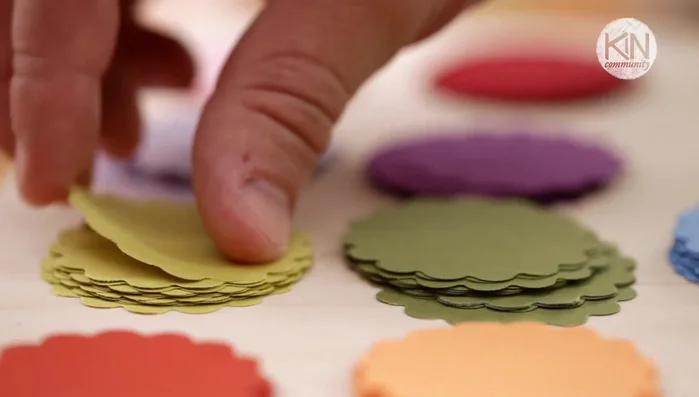
- Select your paper. You can use copy paper, recycled magazines, old cards, or construction paper.
- Cut or punch out your desired shapes. A paper punch is recommended for efficiency and uniformity.

Choose and Prepare Paper Create First Hanging Loop
- Take 8 inches of ribbon, fold it in half, and sandwich the ends between two paper shapes. Sew a couple of back stitches to secure, then sew a straight line.
Create First Hanging Loop Assemble the Garland
- Pair up your shapes in sets of two and feed them through the sewing machine, sewing a straight line down the middle. Leave a couple of stitches between each set for movement.
Assemble the Garland Create Second Hanging Loop
- Create the second hanging loop at the end of the garland, using the same method as step 3.
Add 3D Detail (Optional)
- Enhance the garland's look by folding the top piece of paper from each pair back on itself along the seam to create a 3D effect.

Read more: Easy Origami Paper Box Tutorial: Step-by-Step Guide
Tips
- Use a paper punch for faster and more uniform shapes.
- Leave space between the sewn paper shapes for better movement and a less solid look.
- Garlands can be any length you desire.
- Store garlands neatly by folding them and storing them in a container.