Tired of generic labels and markings on your handmade creations? Yearning for a unique, personalized touch that truly reflects your artistic spirit? Then crafting your own polymer clay stamp is the perfect solution! Imagine the satisfaction of imprinting your distinctive signature onto everything from handcrafted soaps and candles to pottery and greeting cards, instantly adding a professional and memorable flair. This isn't just about stamping; it's about elevating your handmade goods and injecting them with a piece of your individual style.
Polymer clay offers an incredibly versatile and forgiving medium for creating custom stamps, allowing for intricate detail and a surprisingly durable finished product. This simple yet rewarding project requires minimal supplies and surprisingly little experience. Ready to discover how to design, create, and use your very own personalized signature stamp? Let's dive into the step-by-step process and transform your crafting game!
Preparation and Safety Guidelines
- Polymer clay (Primo clay used in example)
- Rolling pin
- Ball-ended tool
- Cutting tool
- Baking oven
- Tile
- Polymer clay needs to be baked according to the manufacturer's instructions to harden properly. Improper baking can result in a weak or unusable stamp.
- Always work in a well-ventilated area as polymer clay fumes can be irritating. Avoid inhaling the fumes during baking and handling.
- Use oven mitts or gloves when handling the hot clay and the baking tray after removing it from the oven to avoid burns.
Step-by-Step Instructions
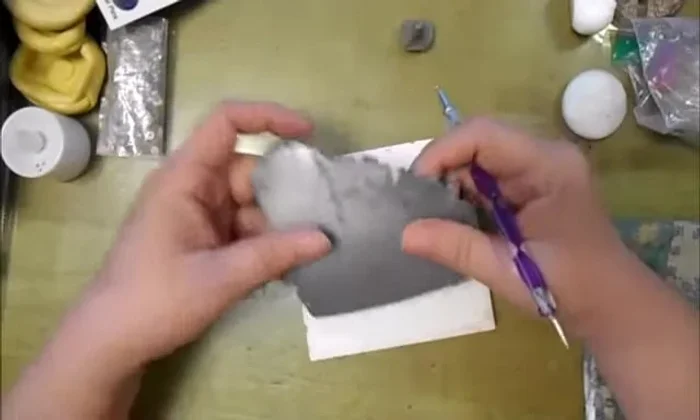
Prepare the Clay
- Roll out polymer clay to about 4mm thickness. It shouldn't be thinner.
- Cut a piece of clay to the desired size for your stamp.
- Shape the clay into a general shape for your initials or design.

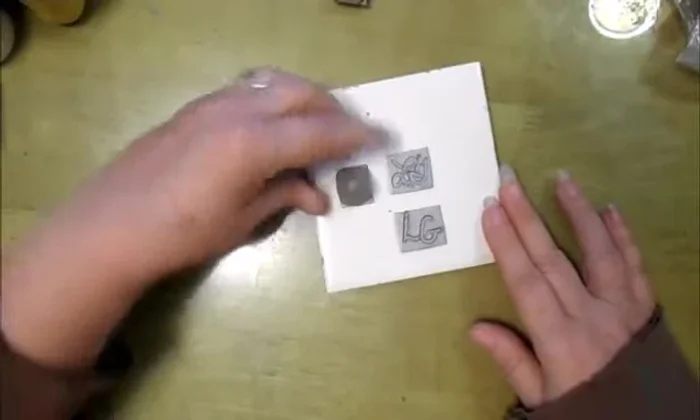
Prepare the Clay Create the Stamp Design
- Using the ball-ended tool (larger end), indent your design into the clay. Press firmly to create a deep impression.
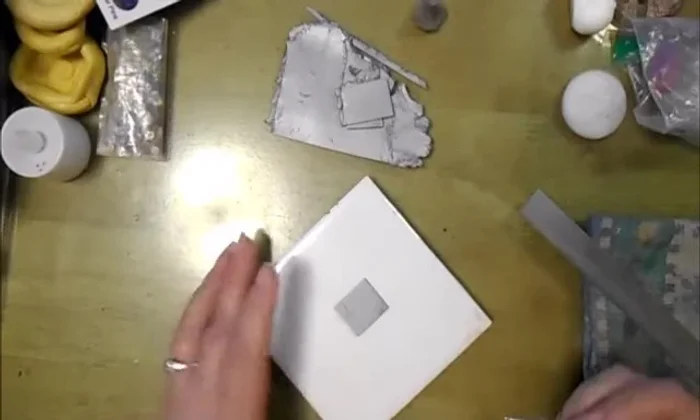
Create the Stamp Design First Bake
- Bake the clay at 275°F (135°C) for 10-15 minutes.
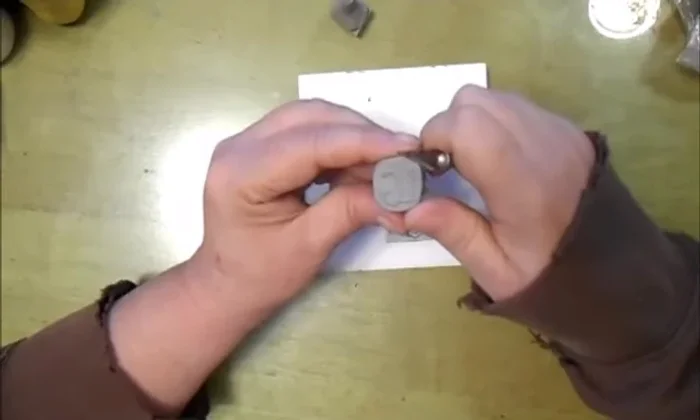
First Bake Test the Stamp
- After baking, firmly press the stamp onto a small block of clay, ensuring there are no lip or excess clay around the edges. Rock the stamp gently in both directions for a good impression.
- If needed, carefully remove any excess clay to ensure clean edges.
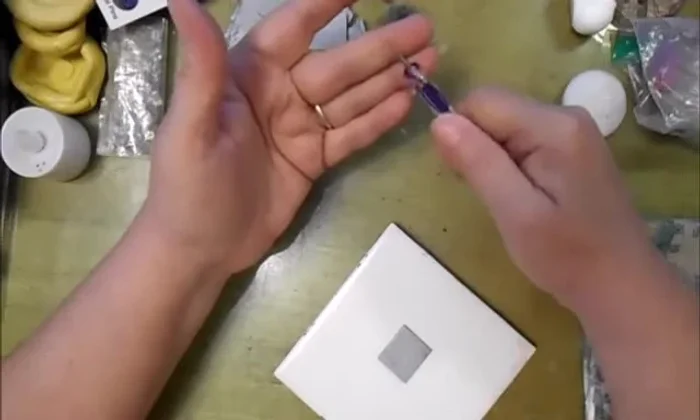
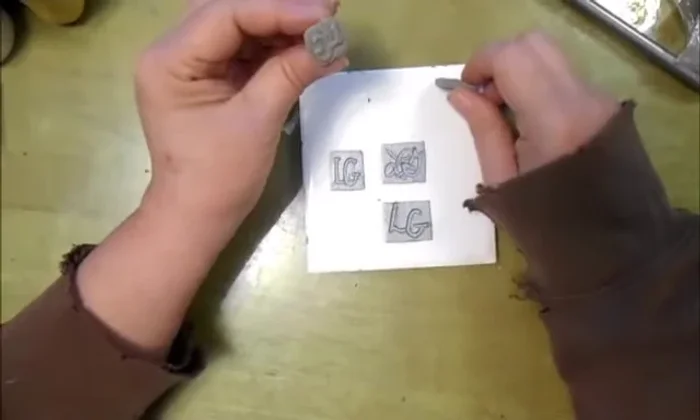
Test the Stamp Second Bake
- Bake the stamped clay again.
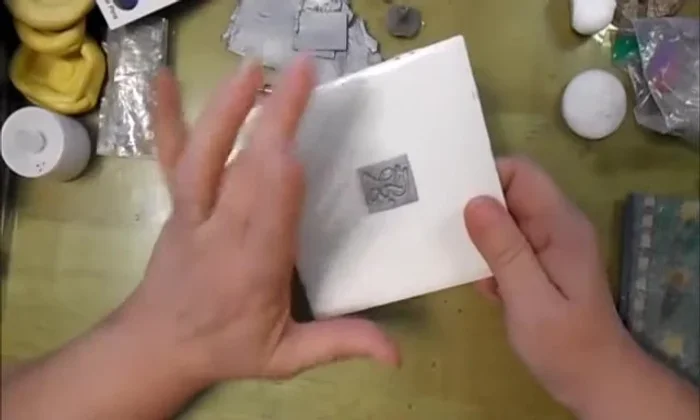
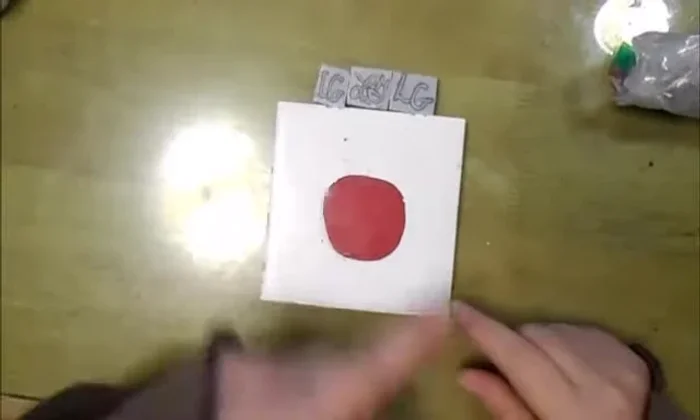
Second Bake Use Your Custom Stamp
- Once cooled, use your new custom stamp on the back of your polymer clay pendants, making sure to stamp on a small block of clay, not the pendant directly.
Use Your Custom Stamp

Read more: Hang Your Clay Creations: The No-Hole Hanger Method
Tips
- Don't worry about the clay blowing out on the sides; it'll be trimmed later.
- Avoid creating a lip around the edges of your stamp during the pressing process. This will result in a cleaner stamp.
- Roll the stamp evenly before lifting it off the tile to prevent raw edges from stamping into your piece.
- Stamp onto a separate small block of clay first, then attach this block to the pendant for a cleaner finished result.