Are you looking for a unique and affordable way to add a touch of handmade charm to your home décor? Look no further than this easy DIY project! Creating your own play clay candle holders is a fun and surprisingly simple craft, perfect for beginners and seasoned crafters alike. This project allows for incredible personalization; let your creativity run wild with colors, shapes, and textures to match your existing style or create something entirely new. Imagine the warm glow of candlelight filtering through your own handcrafted masterpiece – a truly satisfying feeling! The best part? You likely already have most of the materials you need at home.
This tutorial will guide you through the entire process of making your very own play clay candle holder, from preparing the clay to adding those final, decorative touches. Get ready to unleash your inner artist and let's dive into the step-by-step instructions below!
Preparation and Safety Guidelines
- Play-Doh (or similar modeling clay)
- Rolling pin or glass jar
- Spiky tool
- Spoon-shaped tool
- Water
- Always supervise children during this project. Play clay can be a choking hazard for young children.
- Never leave burning candles unattended. Place the candle holder on a heat-resistant surface away from flammable materials.
- Ensure the clay is completely dry before placing a lit candle inside. Damp clay can catch fire.
Step-by-Step Instructions
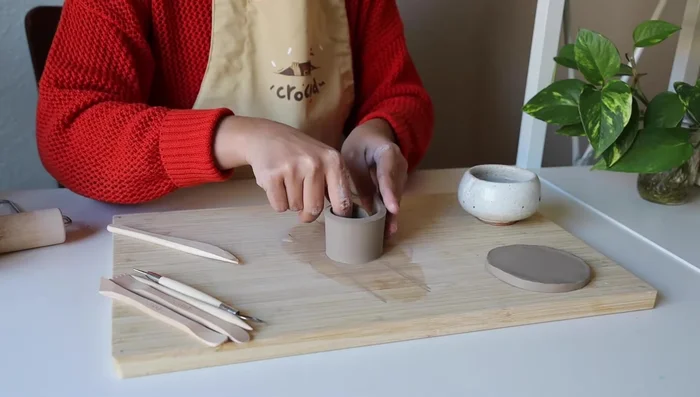
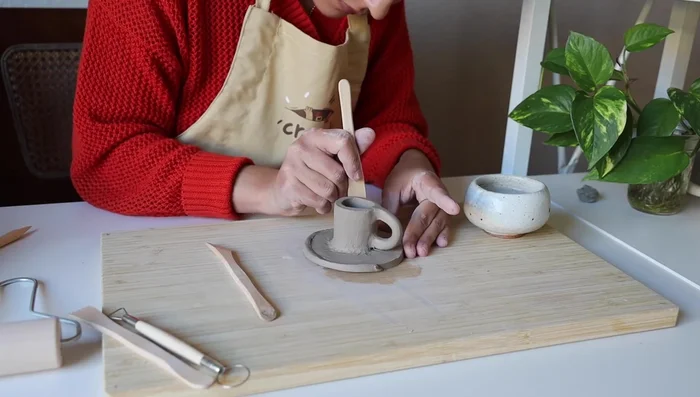
Prepare the Clay
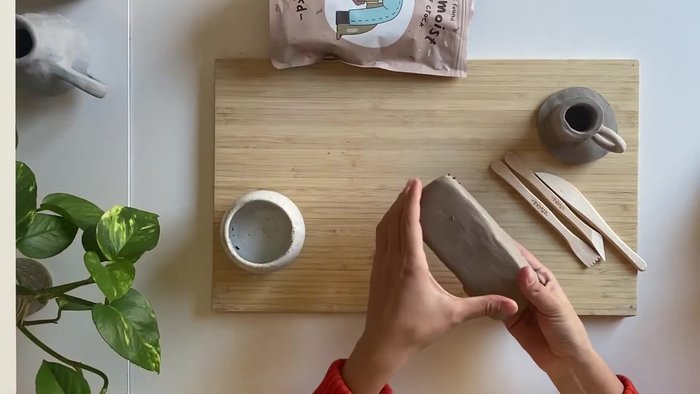
- Tear off one-fourth of a block of play-Doh, and set aside the rest.
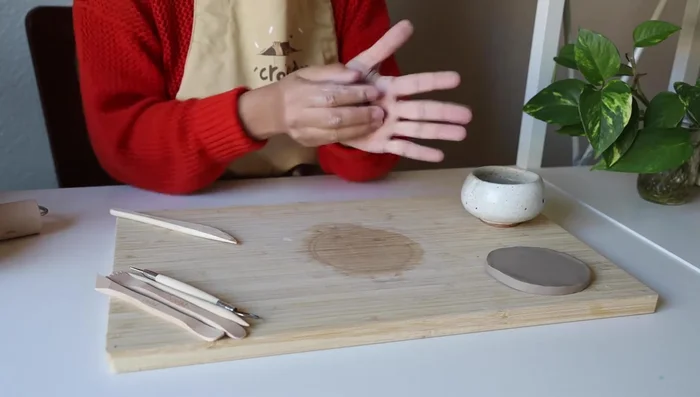
- Warm and roll the clay into a ball by smacking it against your palms.
- Flatten the clay ball into a smooth slab, about a quarter of an inch thick (3/4 cm). You can use a rolling pin, glass jar, or your hands.

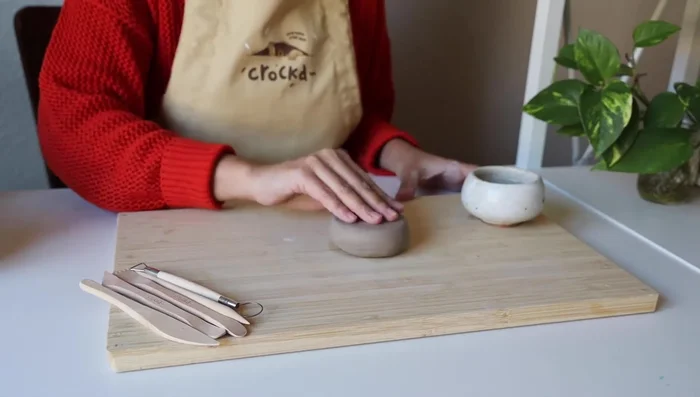
Prepare the Clay Create the Base
- Carve out the shape for the candle holder base (circle, square, etc.).
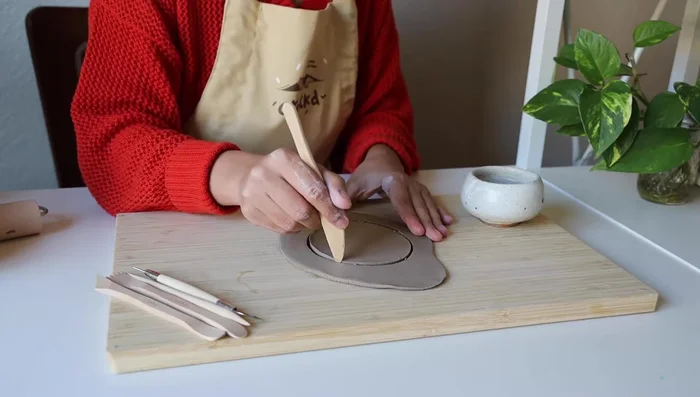
Create the Base Shape the Candle Holder
- Carve out a rectangular shape for the candle holder from another slab of clay.
- Roll the rectangle into a cylinder, trimming excess clay. Taper the ends if desired.
- Score both ends of the cylinder, apply water, and attach the ends to form a complete cylinder. Use a tool to blend the seam.
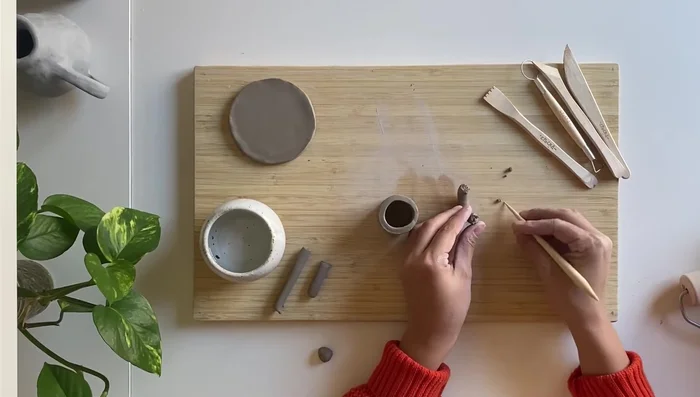
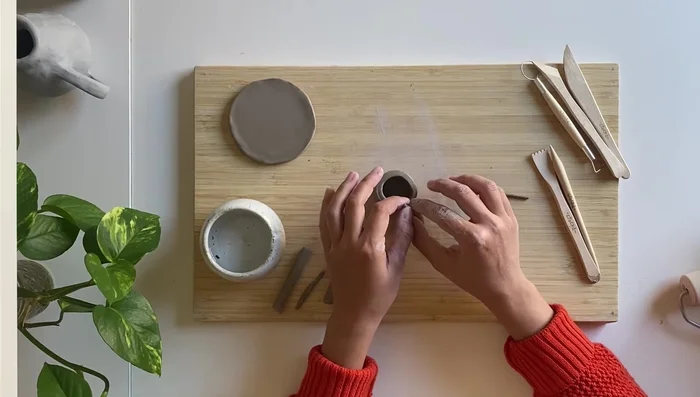
Shape the Candle Holder Make and Attach the Handle
- Roll a small ball of clay into a coil, trim and shape it into a handle. Score the ends and attachment area on both handle and candle holder.
- Attach the handle to the candle holder or base, apply water to the scored areas and blend the seam.
- Reinforce the handle by wrapping a small coil around it, and blend into the main piece.
Make and Attach the Handle Assemble the Candle Holder
- Attach the candle holder to the base. Score both the base and the candle holder, apply water, and attach. Blend the seam with another small coil.
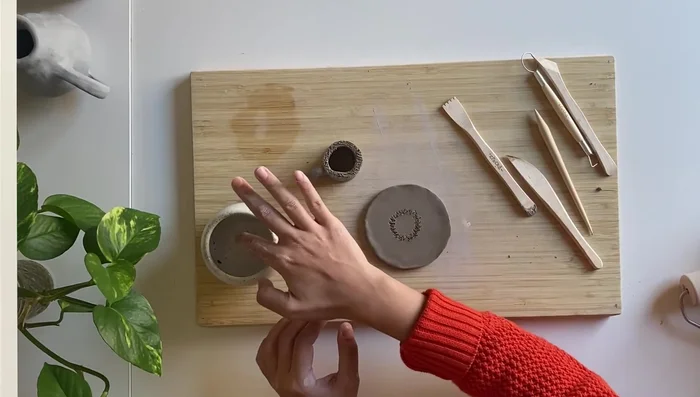
Assemble the Candle Holder Finishing Touches
- Trim and smooth any excess clay until the piece is finished.
Finishing Touches


Read more: Hang Your Clay Creations: The No-Hole Hanger Method
Tips
- Ensure even thickness when rolling out the clay for a professional look.
- Use water to help bond the clay pieces together.
- Use your fingers or a spoon tool to blend seams for a smooth finish.