In today's digital age, where photos often live solely on hard drives and cloud storage, there's a certain magic in holding a tangible album filled with cherished memories. Creating a DIY photo book offers a deeply satisfying experience, allowing you to curate your favorite images, personalize their presentation, and craft a unique keepsake that truly reflects your style and storytelling. Forget generic photo albums; this guide empowers you to build something extraordinary, a visually stunning and emotionally resonant testament to life's precious moments.
From selecting the perfect photographs and choosing the right materials, to mastering binding techniques and adding those special, personalized touches, we’ll walk you through each step of the process. Ready to transform your cherished photos into a stunning handmade album? Let's dive into this step-by-step guide to creating your own magnificent DIY photo book.
Preparation and Safety Guidelines
- High-quality printer (inkjet or laser)
- A3 paper (archival matte)
- Bone folder (or similar tool)
- Awl (or needle/nail)
- Strong PVA glue
- Bookbinder's thread
- Book press
- Book cloth
- Gray board (2mm thick)
- Double-sided tape
- Ruler
- Scissors
- Always use acid-free paper and photo-safe adhesives to prevent your photos from deteriorating over time. Regular paper and glue can cause discoloration and damage.
- If using heat tools like embossers or laminators, closely follow manufacturer instructions to avoid burns or damaging your equipment and materials.
- Work in a clean, well-ventilated area to avoid damaging your photos with dust or fumes from adhesives or inks.
Step-by-Step Instructions
Planning and Design
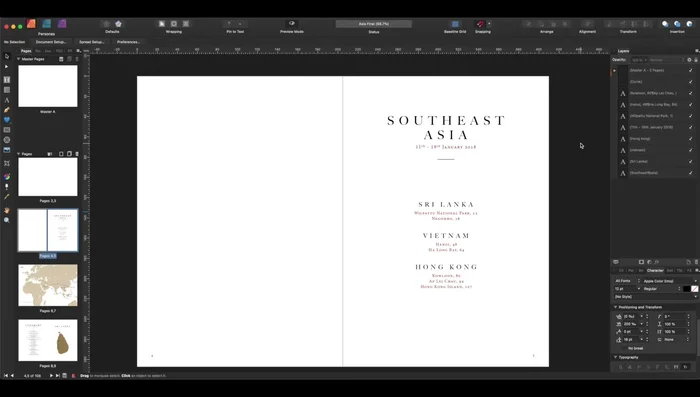
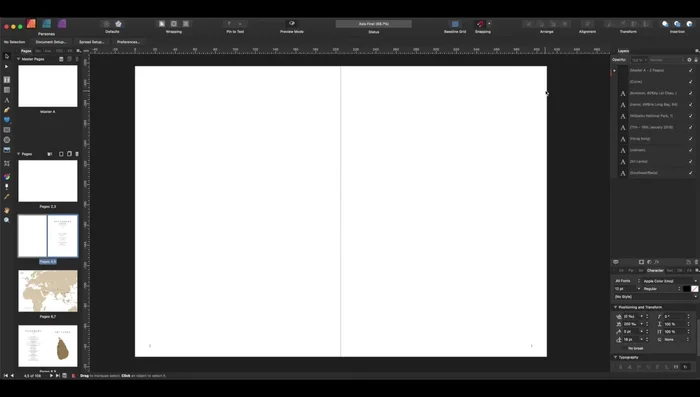
- Determine book size, orientation, and printer capabilities (borderless printing, maximum print size).
- Create pages in design software (Affinity Publisher, Photoshop, InDesign, etc.), considering fonts, margins, white space, and overall aesthetic.

Planning and Design Printing and Preparation
- Print pages double-sided (if printer allows), correct colors if necessary (using Photoshop for color correction is mentioned).
Printing and Preparation Signature Creation
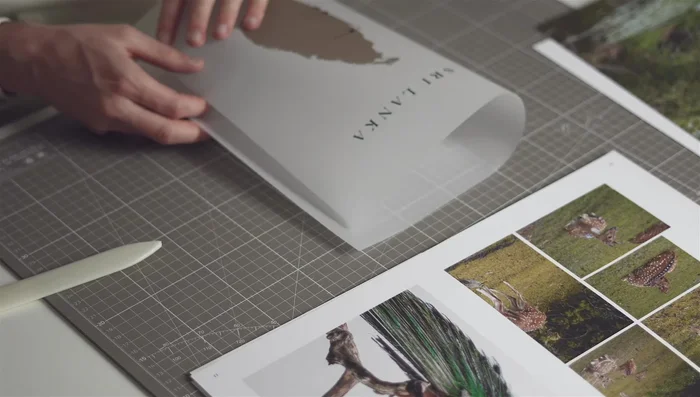
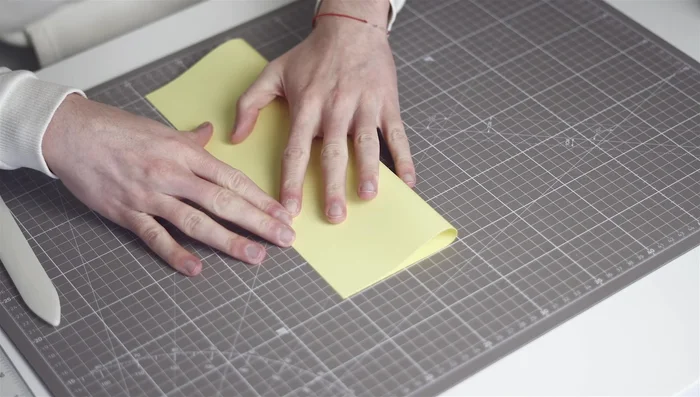
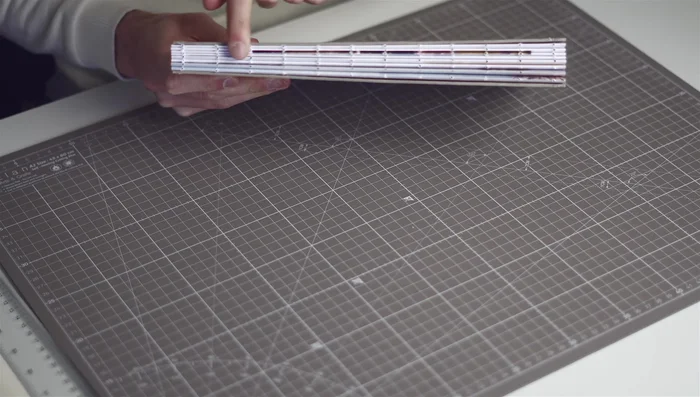
- Fold pages carefully, checking page numbers. Assemble pages into signatures (3 sheets per signature in this example).
Signature Creation Binding Preparation
- Create a template for hole placement and pierce holes into the spines of the signatures.
- Stitch signatures together using bookbinder's thread and a needle, keeping tension consistent. Secure knots at the beginning and end.
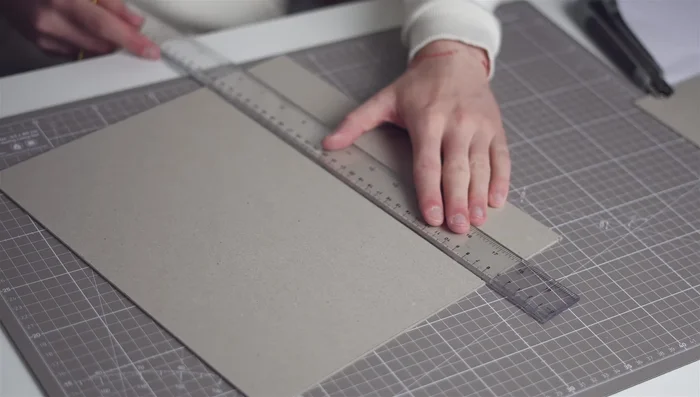
Binding Preparation Cover Creation
- Cut and prepare boards for cover. Prepare book cloth with heat-transferred artwork. Attach boards to linen using double-sided tape and glue for edges.
Cover Creation Assembly and Finishing
- Apply PVA glue to the spine and clamp the signatures. Attach a mole, ribbon, and headbands.
- Attach endsheets to the book. Glue the book to the prepared cover, letting the glue dry completely.
- Create a pocket for memorabilia.
Assembly and Finishing


Read more: Easy Origami Paper Box Tutorial: Step-by-Step Guide
Tips
- Use archival, acid-free paper for longevity.
- Consider using transparent paper for added visual depth and elegance.
- Check page numbers carefully during folding and signature assembly.
- Use a bone folder for precise folding.
- Keep thread taut while stitching.