Parties are always more fun with festive decorations, and what better way to add a touch of cheer than with personalized party hats? Forget expensive store-bought options; creating your own DIY party hats is a surprisingly simple and rewarding craft project, perfect for individuals, families, or even groups of friends getting together before a celebration. This fun activity allows for boundless creativity, letting you tailor your hats to match any theme, color scheme, or personal style. From simple cone shapes to elaborate designs, the possibilities are endless.
Making your own party hats is not only cost-effective but also a fantastic way to involve everyone in the pre-party excitement. Whether you're planning a birthday bash, a holiday gathering, or just a casual get-together, homemade party hats add a unique and personal touch that store-bought options simply can’t replicate. Ready to get started on creating your own festive headwear? Let's dive into the easy step-by-step instructions below!
Preparation and Safety Guidelines
- Party paper plates
- Glue
- Scissors
- Colored silk paper
- Sharp instrument (e.g., hole punch)
- String
- Adult supervision is required, especially when using scissors, glue, and other potentially hazardous crafting materials.
- Ensure all materials are age-appropriate and non-toxic. Avoid small parts that could pose a choking hazard for young children.
- Always allow glue and paint to dry completely before wearing the hats to prevent skin irritation or staining.
Step-by-Step Instructions
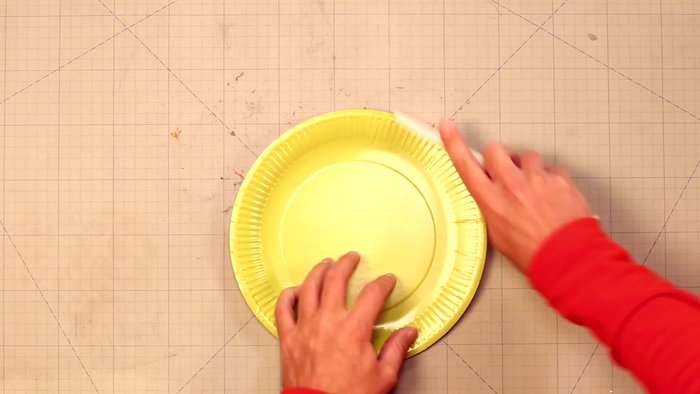
Prepare the Paper Plate
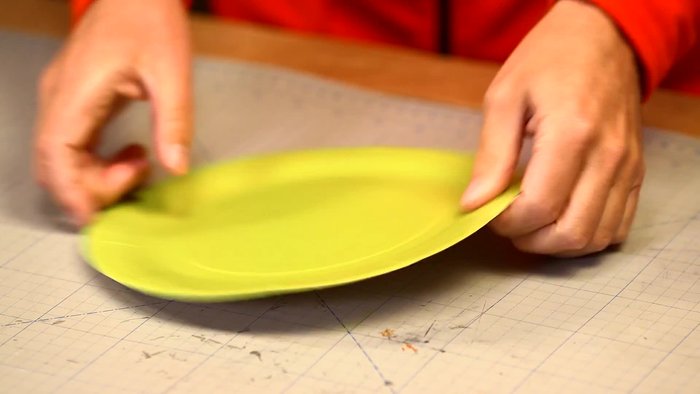
- Smooth the paper plate to make folding easier.
- Fold the plate and cut it in two.

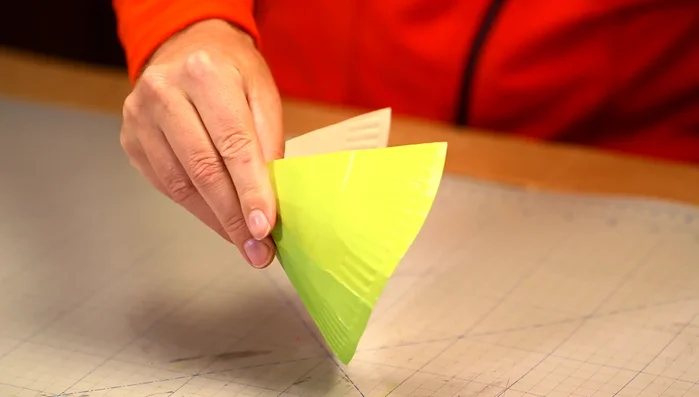
Prepare the Paper Plate Assemble the Cone
- Apply glue to one side of a half-plate and stick it to the other half to form a cone shape.
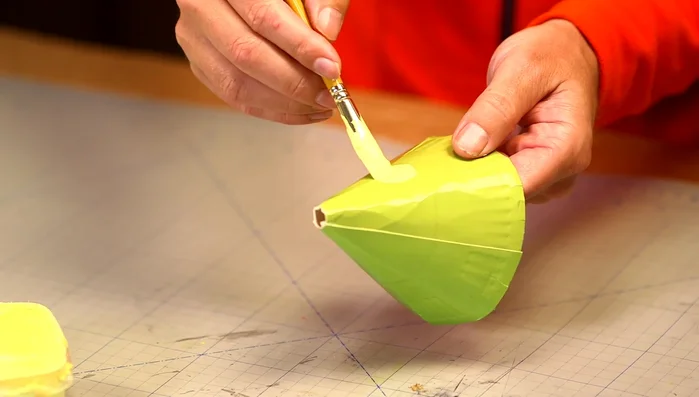
Assemble the Cone Decorate the Hat
- Decorate the hat (e.g., with yellow spots).
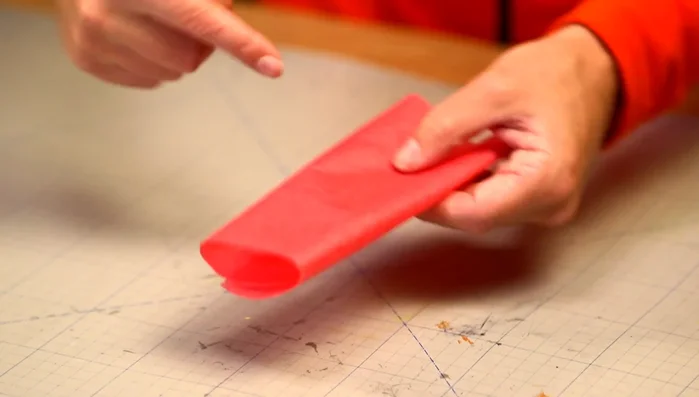
Decorate the Hat Make the Hatband
- fold it, cut it into stripes, and roll it up.
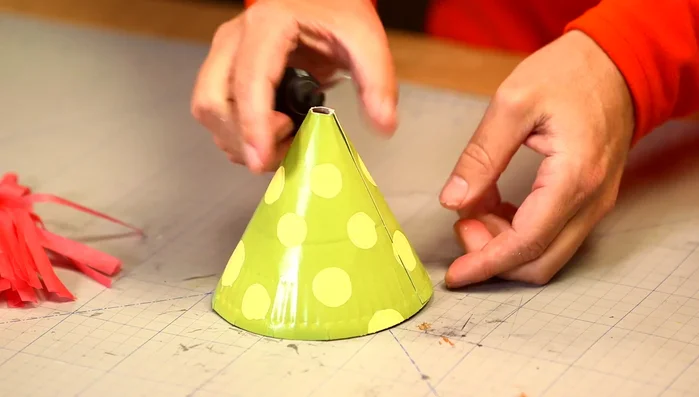
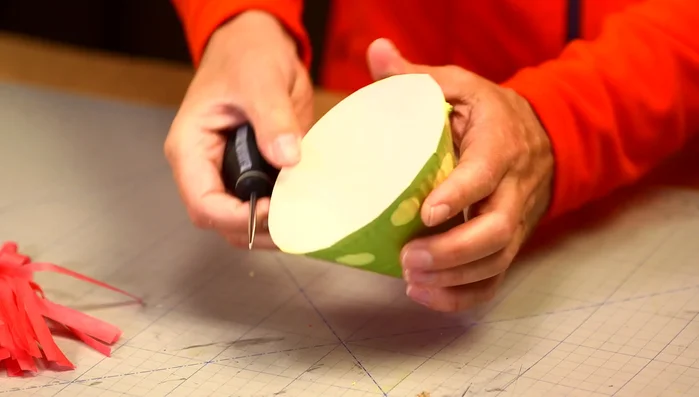
Make the Hatband Attach the Chin Strap
- Poke two holes on the sides of the hat using a sharp instrument.
- Make a string and thread it through the holes to create a chin strap.
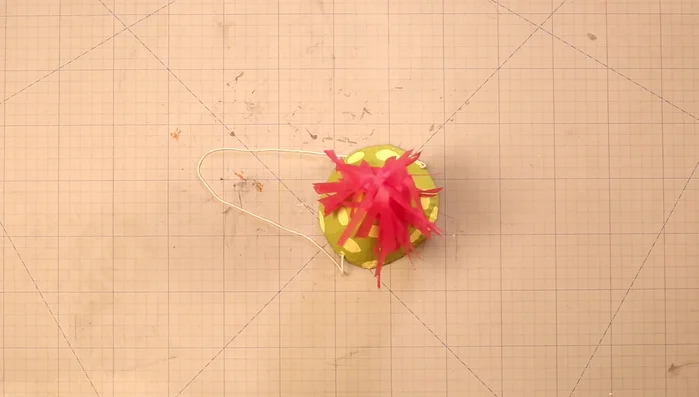
Attach the Chin Strap Add Finishing Touches
- Glue the paper frills to the top of the hat.
Add Finishing Touches
Read more: Easy Origami Paper Box Tutorial: Step-by-Step Guide
Tips
- Use a dry hat to swap with a wet one while the glue dries.