The holiday season is upon us, and what better way to embrace the festive spirit than by crafting your own unique decorations? Forget the generic store-bought wreaths; this year, create a stunning, personalized winter wonderland with a DIY paper wreath crafted using your Cricut machine. This project is surprisingly simple, yet yields incredibly impressive results, allowing you to showcase your creativity and add a touch of handmade charm to your home. The intricate designs achievable with a Cricut offer endless possibilities, letting you tailor your wreath to perfectly match your existing décor or create a completely new festive aesthetic.
Imagine a beautiful, bespoke wreath adorned with snowflakes, pine branches, or even personalized messages, all crafted from the precision of your Cricut. This detailed guide will walk you through each step, from designing your perfect winter scene to assembling the finished masterpiece. Ready to transform plain paper into a breathtaking holiday decoration? Let's dive into the step-by-step process!
Preparation and Safety Guidelines
- 65-pound paper or cardstock
- Cricut cutting machine
- Wreath form (foam)
- Ribbon
- Hot glue gun
- Hot glue sticks
- Silicone finger protectors
- Always supervise children when using crafting tools like cutting machines and sharp scissors. Keep blades and tools out of reach when not in use.
- Use caution when handling hot glue. Work on a heat-resistant surface and avoid touching the glue until it has completely cooled.
- Ensure proper ventilation when using spray adhesive or other potentially strong-smelling crafting supplies. Work in a well-ventilated area or wear a respirator if necessary.
Step-by-Step Instructions
Prepare the Wreath Pattern
- Download the free SVG file for the winter wreath pattern from Jennifer McGuire Ink's blog.
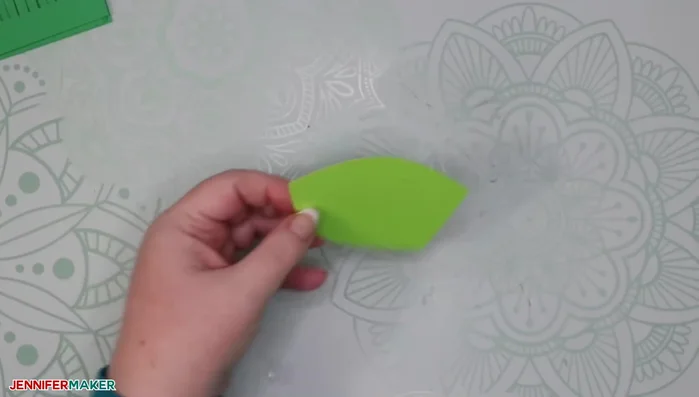
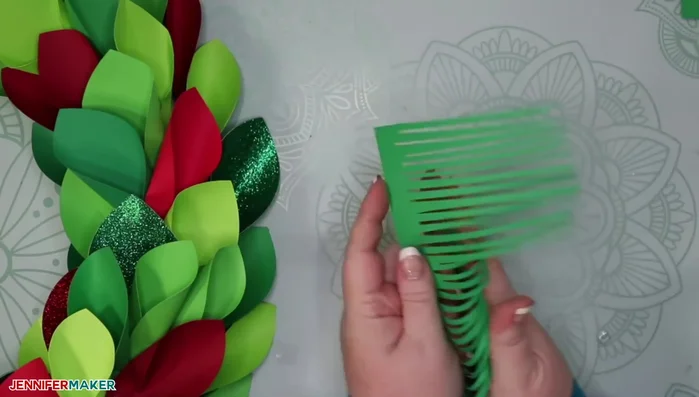
- Upload the SVG file to Cricut Design Space. Cut the leaves using various complementary colors of cardstock.

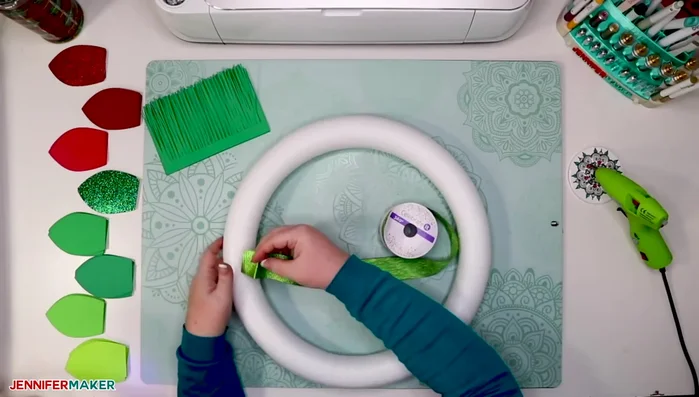
Prepare the Wreath Pattern Prepare the Wreath Form
- Wrap the foam wreath form with ribbon, securing the ends with hot glue.
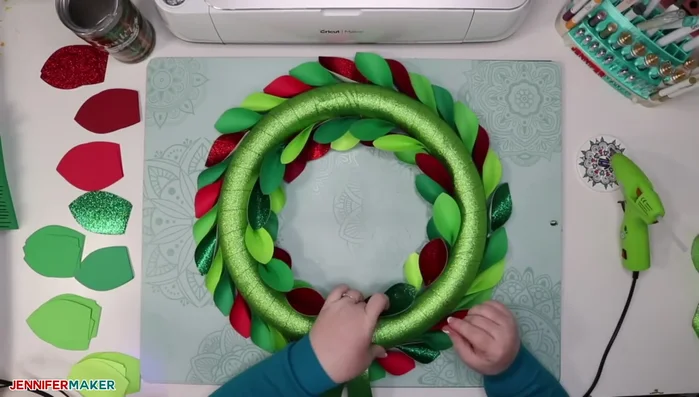
Prepare the Wreath Form Attach Outer Layer of Leaves
- Fold about half of each color of leaves in half and glue them to the outer edge of the wreath form, maintaining uniform spacing (about 1.5-inch gaps).
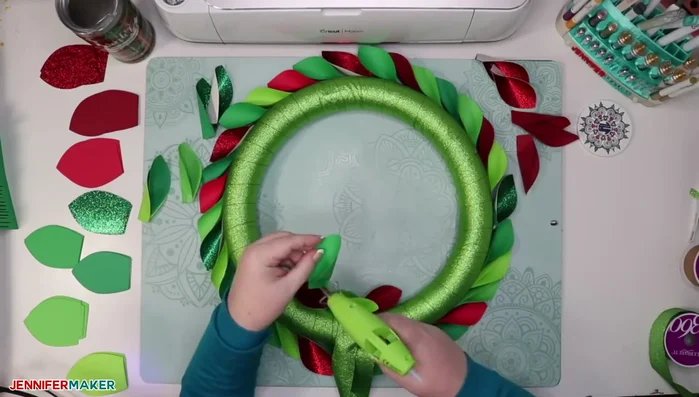
Attach Outer Layer of Leaves Attach Inner Layer of Leaves
- Glue the remaining leaves to the inner edge of the wreath form, alternating between parallel and angled upward positioning.
Attach Inner Layer of Leaves Add Centerpiece Leaves
- Create tri-fold leaves and glue them to the top of the wreath form in a V-shape (or W-shape for larger wreaths), overlapping and pointing slightly outward.
Add Centerpiece Leaves Add Decorations (Optional)
- Add spruce sprigs and other decorations (optional) by curling the sprigs, gluing them at the base, and tucking them into the wreath.
Add Decorations (Optional) Seal the Wreath (Optional)
- Seal with a UV sealer to prevent fading (optional, recommended for outdoor use).
Read more: Easy Origami Paper Box Tutorial: Step-by-Step Guide
Tips
- Wear silicone finger protectors to avoid burns from the hot glue gun.
- Consolidate mats in Cricut Design Space to minimize cutting time and paper waste.
- Uniform spacing is key for a professional-looking wreath.
- Use at least six yards of ribbon for a 16-inch wreath.
- Experiment with different colors and designs for various seasons.