Transforming ordinary household items into elegant decorations is a rewarding crafting experience, and today we're tackling a project that's both surprisingly easy and incredibly chic: DIY flower napkin rings made from humble paper towel holders! These charming rings offer a unique and budget-friendly way to elevate your table setting for any occasion, from casual dinners to special celebrations. Forget expensive store-bought embellishments; with just a few simple supplies and a little creativity, you can create stunning napkin rings that will impress your guests and add a personalized touch to your gatherings.
Forget fumbling with complicated instructions; this project is remarkably straightforward. The beauty of this craft lies in its simplicity and adaptability; you can customize the flower designs and colors to perfectly match your décor. Ready to learn how to turn these everyday items into floral masterpieces? Let's dive into the step-by-step process and create some beautiful, blossoming napkin rings!
Preparation and Safety Guidelines
- Paper towel holder
- Scissors
- Paint
- Paintbrush
- Aleene's clear gel
- Decorative paper (with flowers and stripes)
- Micro mini beads
- Always supervise children when using sharp objects like scissors or craft knives. Keep them away from small parts that could be choking hazards.
- Use caution when handling hot glue. Allow the glue to cool slightly before touching and work in a well-ventilated area to avoid fumes.
- Ensure the paper towel holder is clean and free of any residue before beginning the crafting process to prevent staining or transferring odors to your napkins.
Step-by-Step Instructions
Prepare Napkin Ring Bases
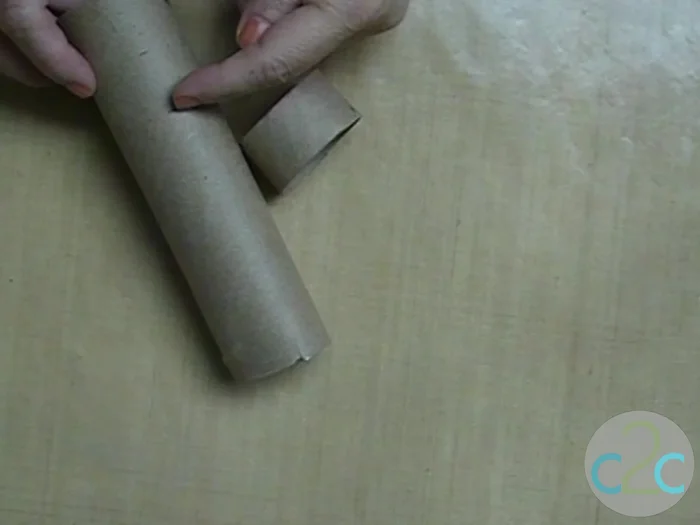
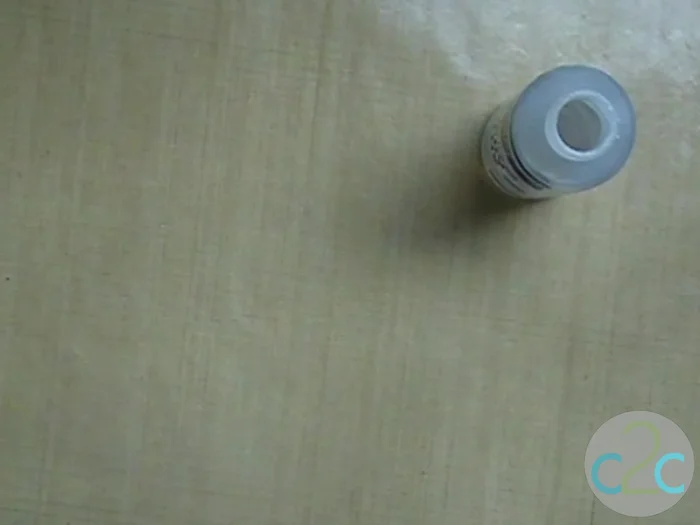
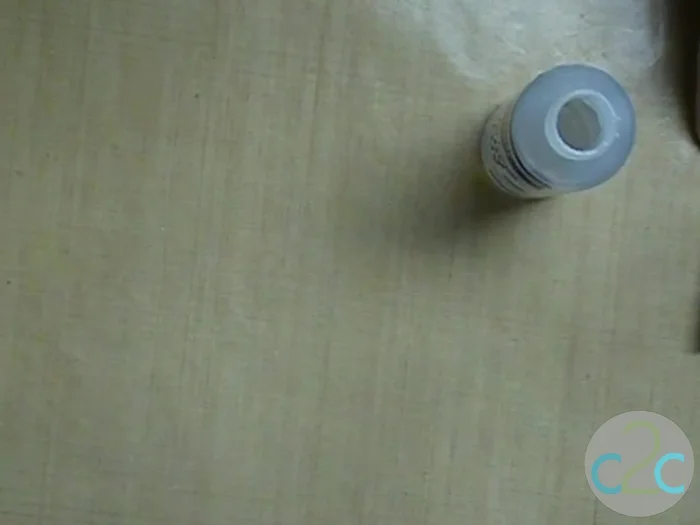
- Measure and cut the paper towel holder into 1-inch increments to create the napkin ring bases.
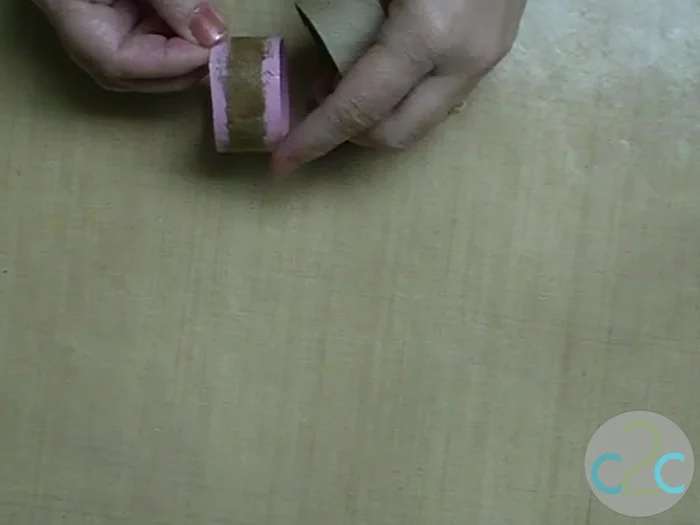
- Paint the outside and inside edges of each napkin ring base.

Prepare Napkin Ring Bases Cover Bases with Decorative Paper
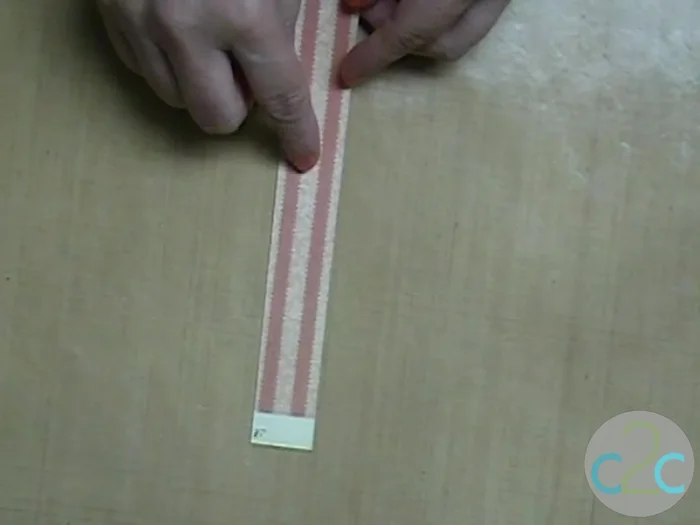
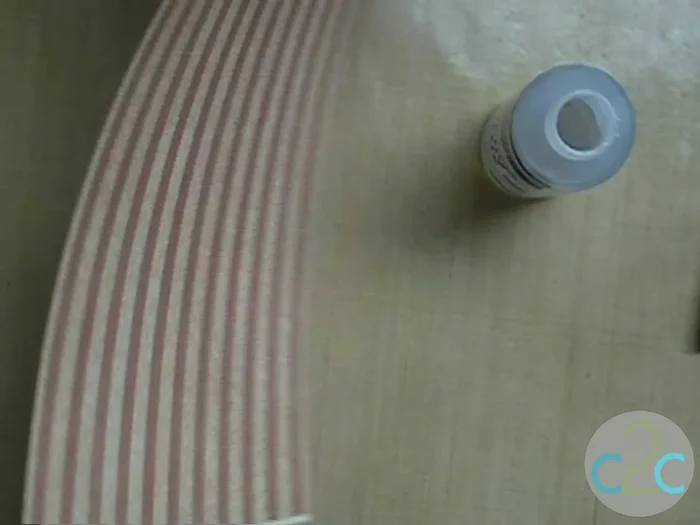
- Cut your decorative paper into 1-inch wide strips.
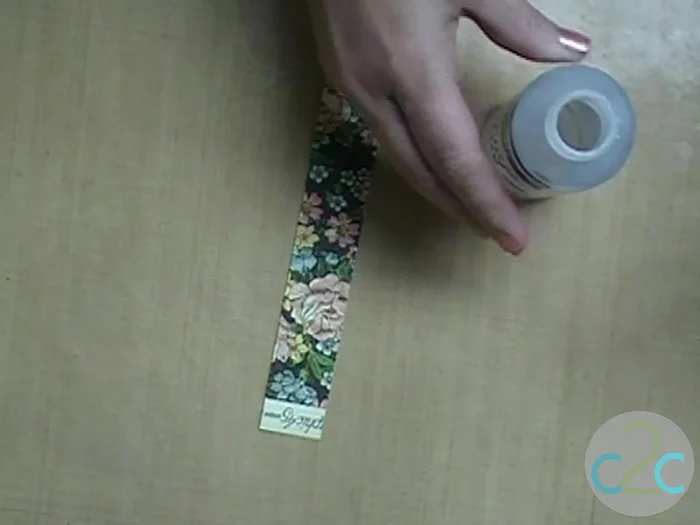
- Apply Aleene's clear gel to the outside of a napkin ring base. Glue a paper strip around it, wrapping it completely and trimming off the excess.
- Apply clear gel to the inside of the napkin ring, securing the excess paper strip.
- Let the glued napkin ring dry completely.
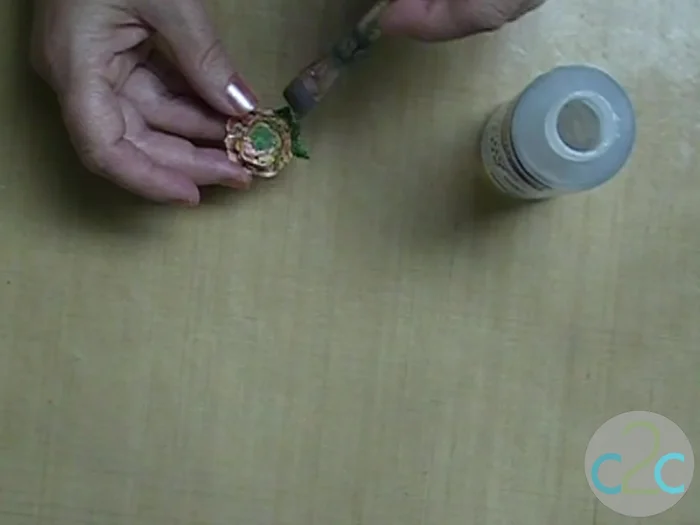
Cover Bases with Decorative Paper Create Flower Decorations
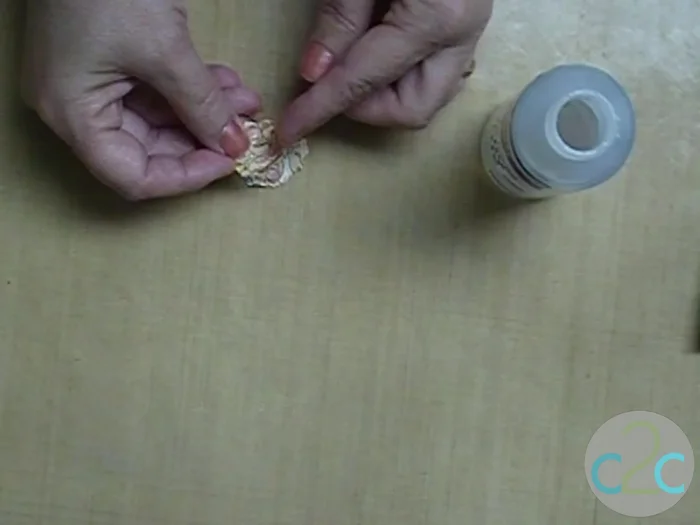
- Cut out several flowers and leaves from your decorative paper. For the bottom layer, leave the leaf intact. Cut some lines into the top two layers to add dimension.
- Glue three layers of flowers together, adding clear gel and micro mini beads to the center and leaf for added detail.
- Let the flower decoration dry completely. Then, apply more clear gel to the entire flower to seal and strengthen it.
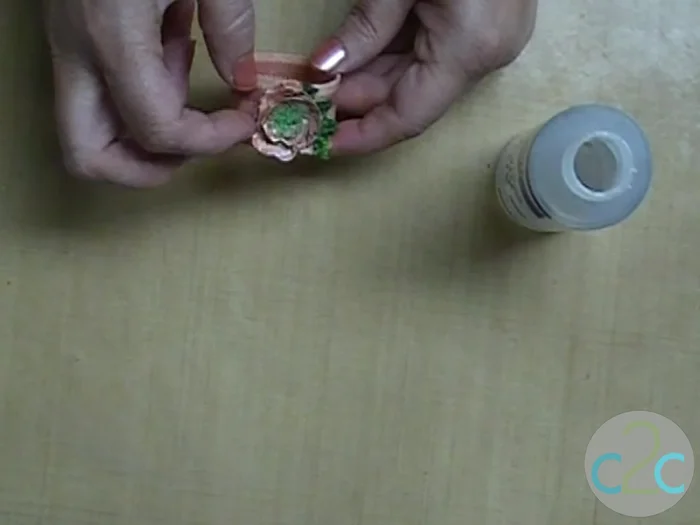
Create Flower Decorations Assemble Napkin Rings
- Attach the dried flower decoration to your dried napkin ring.
Assemble Napkin Rings
Read more: Easy Origami Paper Box Tutorial: Step-by-Step Guide
Tips
- Aleene's clear gel dries strong, making the napkin rings durable.
- Adding multiple layers to the flower decorations creates dimension and visual interest.
- Using clear gel to seal the flowers adds strength and protects the design.