Mother's Day is just around the corner, and while a heartfelt card is always appreciated, wouldn't a beautiful, handmade gift add that extra special touch? This year, surprise your mom with a stunning bouquet of paper roses crafted with remarkably little effort. Forget expensive florists and complicated instructions; we're unveiling the fastest and easiest method for creating charming paper roses, perfect for even the most novice crafter. These delicate blooms require minimal materials and surprisingly little time, making them a delightful and achievable project for anyone, regardless of their crafting experience.
This incredibly simple technique will have you creating a breathtaking bunch in minutes, transforming ordinary paper into elegant, long-lasting flowers. Ready to impress Mom with a gorgeous handmade gift she'll cherish? Let's dive into the step-by-step instructions and learn how to make these easy DIY paper roses.
Preparation and Safety Guidelines
- Sheet of paper (construction paper or colored paper optional)
- Scissors
- Glue stick or liquid glue
- Tape (optional)
- Skewer or toothpick (optional)
- Use sharp scissors with caution, keeping fingers away from the blades to avoid cuts.
- Supervise children closely if they are participating. Paper crafting involves sharp objects and small parts that could be a choking hazard.
- Be mindful of the type of paper used. Some papers may be more difficult to work with or may fray easily. Thicker paper may require more effort to roll tightly.
Step-by-Step Instructions
Prepare the Paper
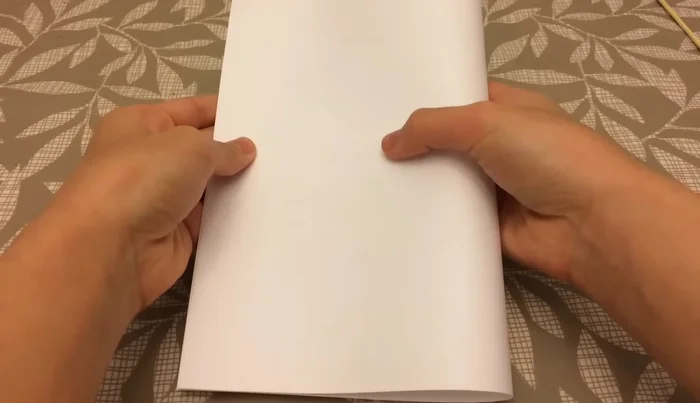
- Fold a sheet of paper in half horizontally, creating a crease.
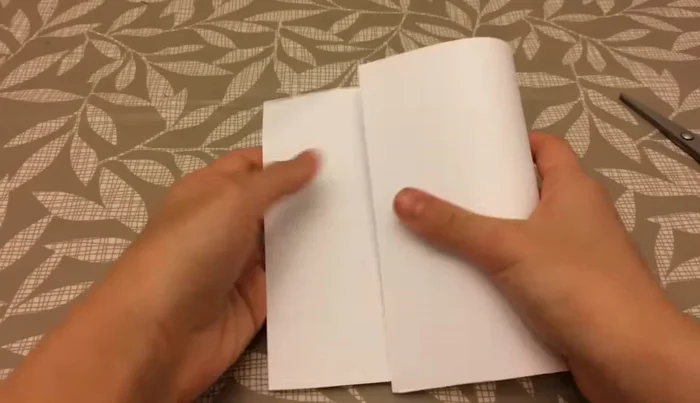
- Cut the folded paper in half.
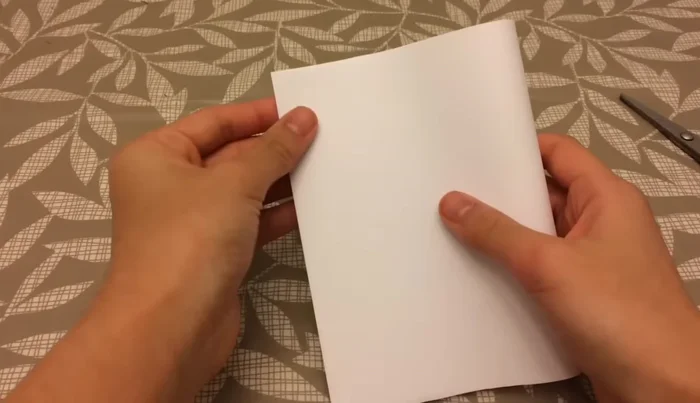
- Take one half, fold it in half horizontally again, and crease.

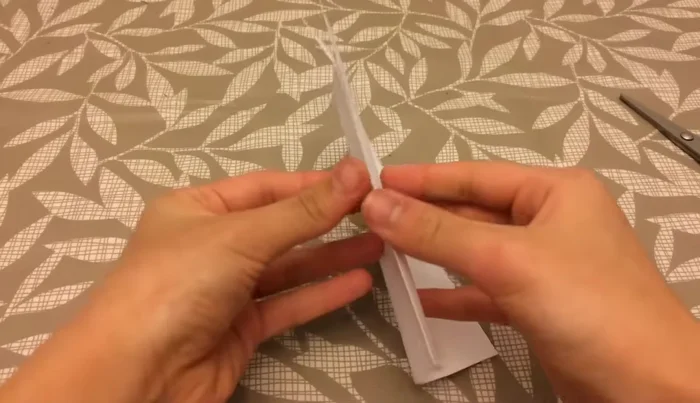
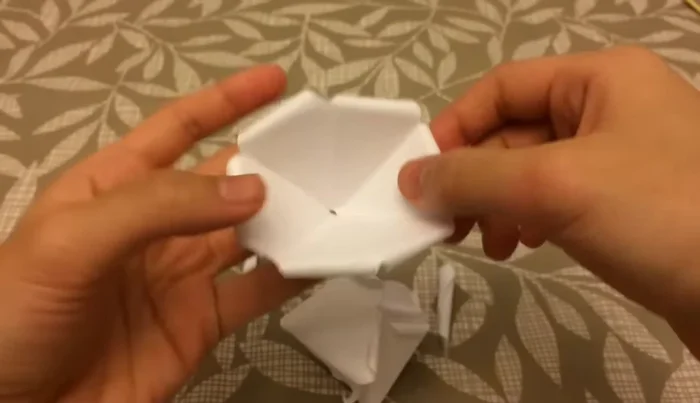
Prepare the Paper Create the Petal Base
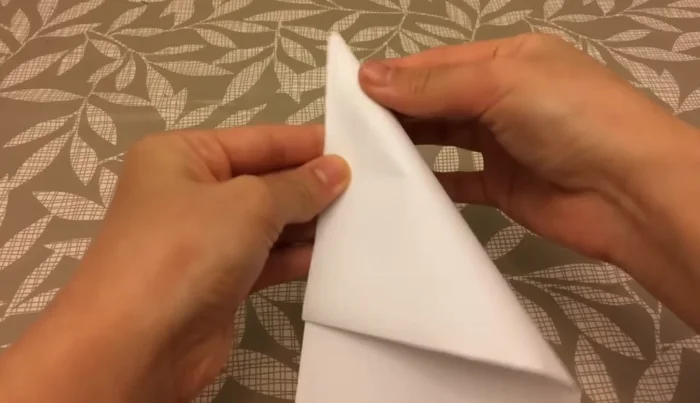
- Fold the halved paper into a triangle, creasing well.
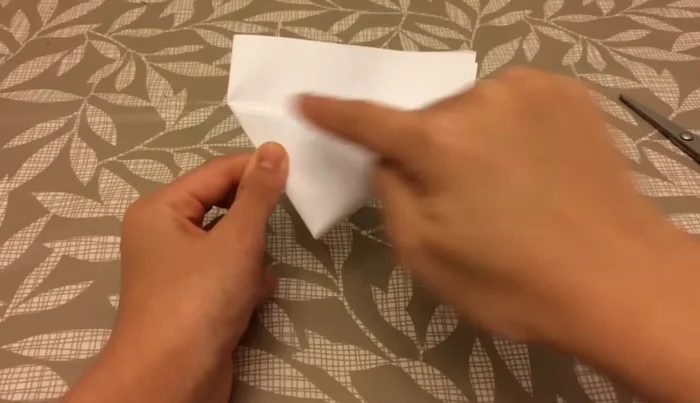
- Fold one corner of the triangle to the opposite corner to make a smaller triangle.
- Fold one flap over to form a tiny triangle, then fold the remaining flap behind.
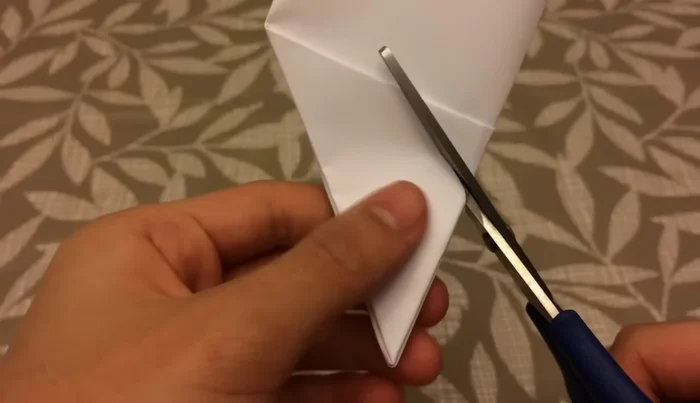
Create the Petal Base Cut the Petals
- Cut out petals from the folded shape, ensuring the top remains flat. The number of petals increases with each layer .
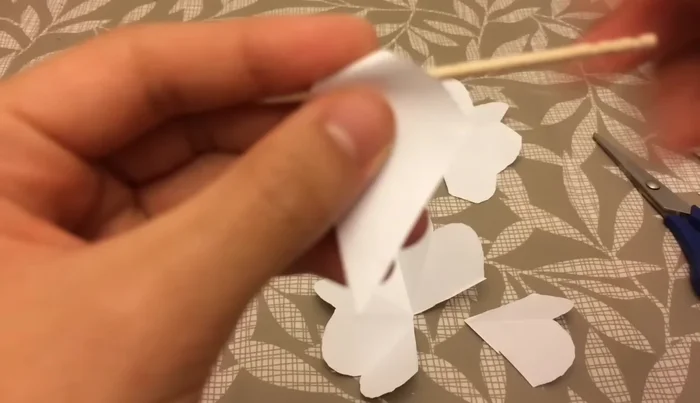
Cut the Petals Shape the Petals
- Use a skewer or toothpick to curl each petal outward, then curl inwards from one side to create a spiral effect.
Shape the Petals Assemble the Rose
- Glue the petals together, starting with the smallest (one petal) and layering them to create the rose shape. The number of petals on each layer (1, 2, 3, 4, etc.) creates the rose layers.
- Assemble the rose by layering the petals, gluing the smaller petals inside the larger ones.
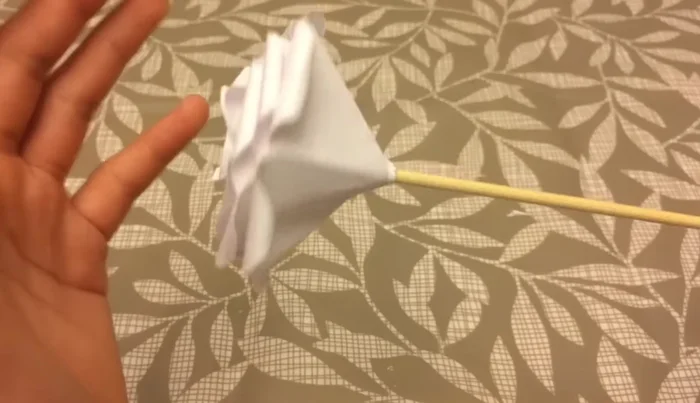
Assemble the Rose Add a Stem (Optional)
- Insert a skewer or toothpick into the base of the rose to create a stem. Secure with tape if needed.
Add a Stem (Optional)

Read more: Easy Origami Paper Box Tutorial: Step-by-Step Guide
Tips
- Use a ruler and xacto knife for precise cuts if desired.
- Use a previously cut petal as a template to ensure consistent petal size.
- For a neater finish, make a small slit in the base of the rose before inserting the stem to prevent it from unraveling.