Tired of the same old handbags? Yearning for a unique accessory that reflects your personal style without breaking the bank? Then look no further! This tutorial will guide you through creating a truly elegant DIY paper purse, perfect for adding a touch of sophistication to any outfit or occasion. Forget expensive designer bags; with just a few simple supplies and a little creativity, you can craft a beautiful and surprisingly sturdy purse that's uniquely yours. The process is easier than you think!
We've broken down the entire project into three straightforward steps, making it accessible for crafters of all skill levels. From choosing your paper to adding finishing touches, this guide will walk you through each stage with clear instructions and helpful images, ensuring you achieve a stunning result. Ready to transform ordinary paper into an extraordinary accessory? Let's dive into the step-by-step process now!
Preparation and Safety Guidelines
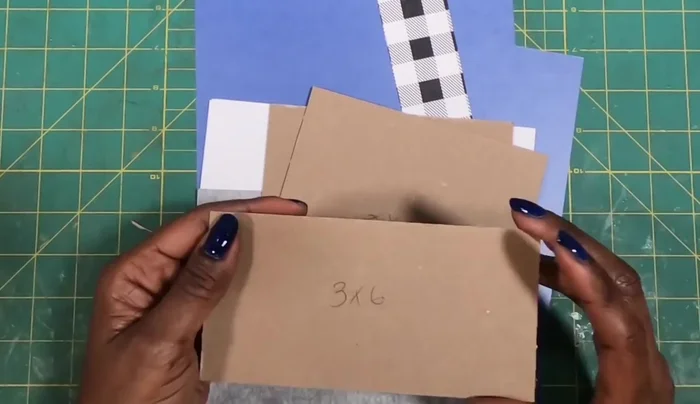
- Chipboard
- Paper
- Scissors
- Bone folder
- Glue
- Double-sided tape (optional)
- Paper towel
- Ruler
- Scoring tool
- Craft knife or blade
- Hot glue gun (optional)
- Magnets (optional)
- Small embellishments (optional)
- Use sharp scissors with caution, keeping fingers away from the blades to prevent cuts.
- Adult supervision is recommended, especially for children participating in this craft.
- Avoid using excessively wet glue, as it can weaken the paper and cause the purse to become misshapen.
Step-by-Step Instructions
Prepare Materials
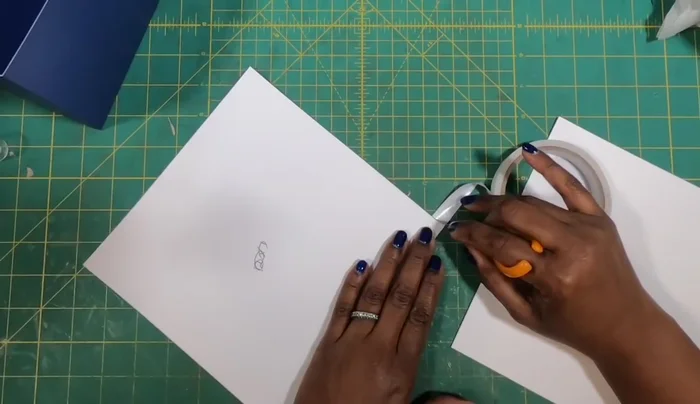
- Cut and score chipboard and paper to the specified dimensions. (See transcript for measurements)

Prepare Materials Construct Purse Body
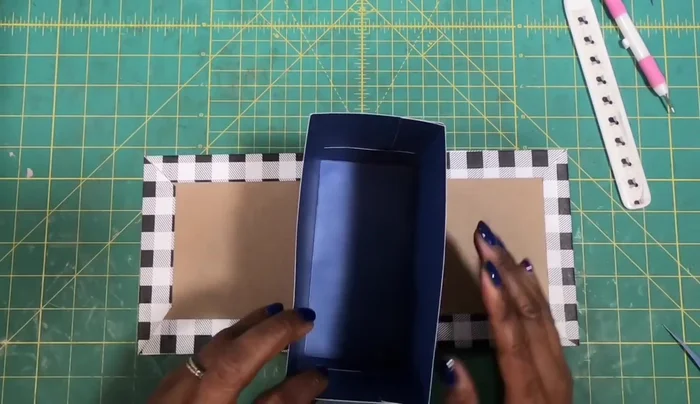
- Glue and assemble the two larger cardstock pieces, creating the main structure of the purse. Trim excess tabs as shown.
Construct Purse Body Create and Attach the Outer Jacket
- Attach the napkin-covered cardstock pieces to create the outer layer. Glue the chipboard pieces to form the structure within the jacket.
- Glue the jacket to the purse body. Ensure everything is aligned and pressed firmly.
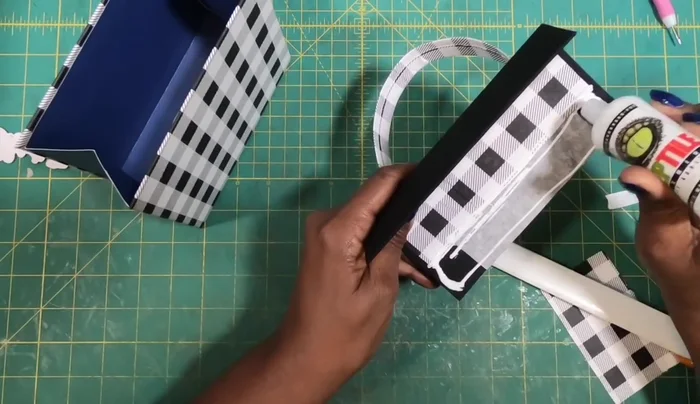
Create and Attach the Outer Jacket Add the Handle
- Fold a strip of cardstock into thirds, glue it, and attach it to the top of the purse.
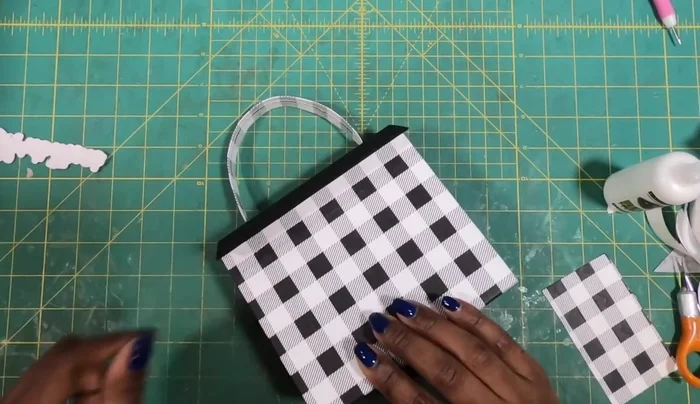
Add the Handle Create and Attach the Lid
- Construct the lid using smaller pieces of chipboard and paper, following the shown folding and gluing techniques.
- Glue the lid to the top of the purse body.
Create and Attach the Lid Finishing Touches
- Attach magnets or other closures. Add any desired embellishments (e.g., brooch).
Finishing Touches


Read more: Easy Origami Paper Box Tutorial: Step-by-Step Guide
Tips
- Use a bone folder to create crisp folds and ensure strong adhesion.
- Apply glue to one side of each piece at a time to avoid mess and allow for adjustments.
- For a cleaner look, use a paper towel to remove excess glue.
- Use a protective sealer (optional) on the inside of the bag before assembling for durability.