In today's world, face masks remain a significant part of our lives, whether for hygiene, protection, or simply a fun fashion statement. Commercially produced masks can be expensive and often come with questionable environmental impacts. Fortunately, crafting your own masks at home is surprisingly easy, affordable, and allows for complete customization! You can choose your favorite fabrics, patterns, and even add personal touches like embroidery or embellishments. This empowers you to create masks that perfectly suit your needs and style, all while reducing waste.
Forget complicated instructions and expensive materials; creating your own comfortable and effective paper masks is simpler than you might think. This simple DIY guide will walk you through a straightforward process, utilizing readily available materials to produce stylish and functional masks. Let's dive into the step-by-step instructions below and start crafting your very own personalized paper face masks.
Preparation and Safety Guidelines
- Paper
- Pen
- Scissors
- String
- Stapler
- Masking Tape
- Always wash your hands thoroughly before and after handling materials and the finished mask. This prevents contamination and the spread of germs.
- Paper masks are not a substitute for medical-grade PPE. They offer minimal protection and should not be used in healthcare settings or high-risk environments.
- Dispose of used paper masks properly in a lined trash bin. Do not reuse them.
Step-by-Step Instructions
Prepare the Paper
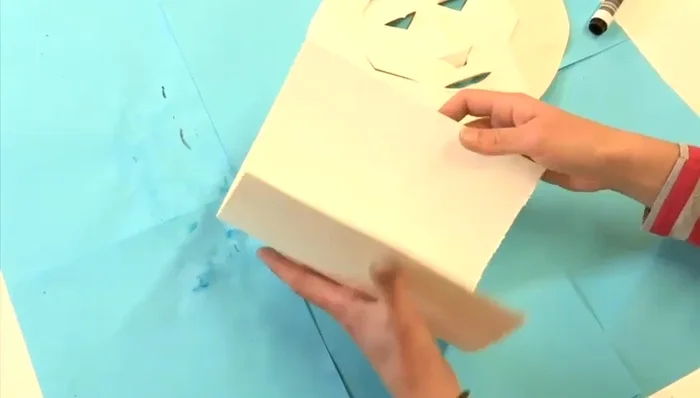
- Fold a piece of paper in half.

Prepare the Paper Sketch the Design
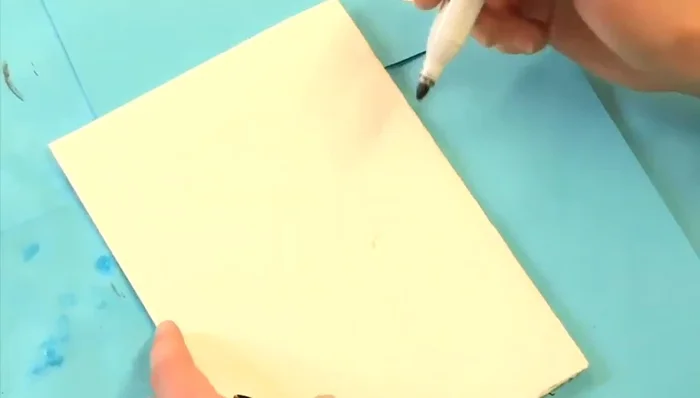
- Draw the facial features (nose, eyes, eyebrows, mouth, chin) onto the folded paper. This will create symmetrical features when unfolded.
Sketch the Design Cut Out the Features
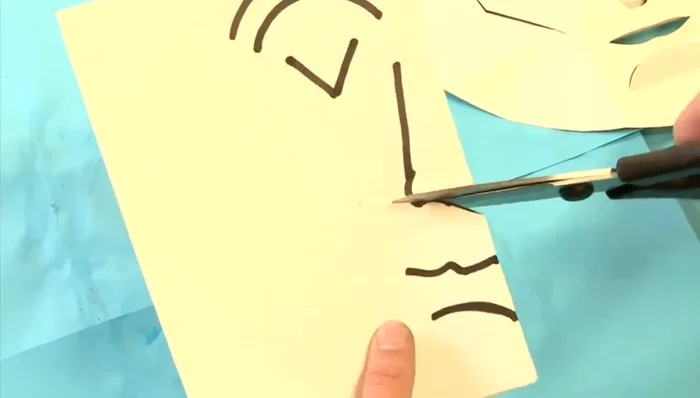
- Cut along the drawn lines, carefully cutting out the eye, eyebrow, and mouth shapes. You can fold and refold the paper to make cutting easier.
Cut Out the Features Refine the Mask Shape
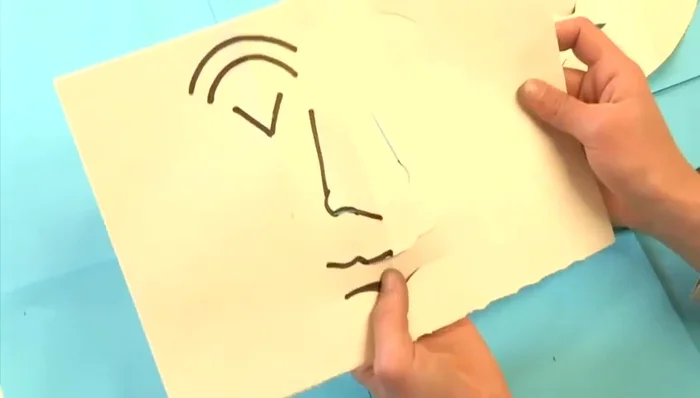
- Unfold the paper to reveal the cut-out face shape. Cut around the face shape to refine the mask's overall shape for a better fit on your face. Folding the mask in half will help you achieve symmetry.
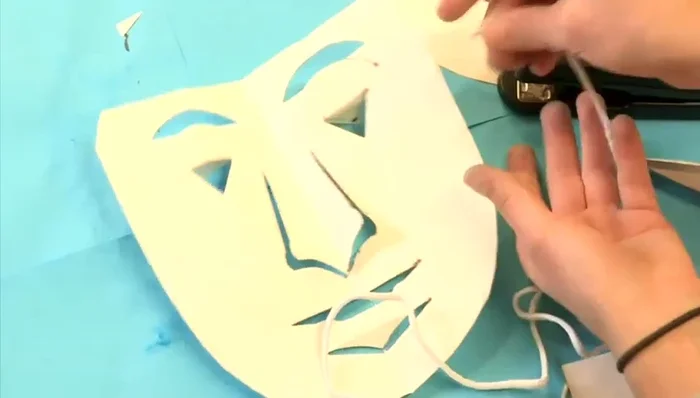
Refine the Mask Shape Attach the Strings
- Position the string on the back of the mask near the top of the eyes and staple it in place. Repeat on the other side. Cover staples with masking tape for comfort.
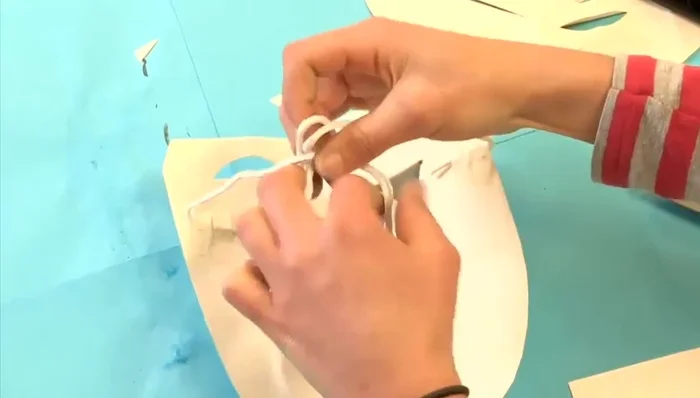
Attach the Strings Adjust and Wear
- Tie the strings at the back to adjust the fit around your face. The mask is ready to wear!
Adjust and Wear
Read more: Easy Origami Paper Box Tutorial: Step-by-Step Guide
Tips
- Use colored paper or decorate the mask after creation.
- Fold the paper to make cutting easier and ensure symmetry.
- Get a nice symmetrical cut for the mask shape by folding it in half.