Transform your space with the enchanting glow of DIY paper lanterns, elevated to breathtaking beauty with a stunning floral theme. Forget expensive store-bought decorations; this project offers a creative outlet and a cost-effective way to add a touch of elegance and whimsy to any room, event, or even outdoor space. Imagine soft, warm light filtering through delicately crafted paper flowers, creating a magical ambiance that captivates the eye and soothes the soul. The possibilities are endless, from romantic dinner parties to vibrant children's birthdays, and the personalized touch makes each lantern truly unique.
This delightful project combines the simple charm of paper lanterns with the vibrant allure of flowers, resulting in a truly captivating decoration. Whether you're a seasoned crafter or a complete beginner, the simple techniques detailed below will guide you step-by-step through the process of creating these stunning floral paper lanterns. Prepare to be amazed by the transformation as ordinary lanterns are reborn into breathtaking works of art.
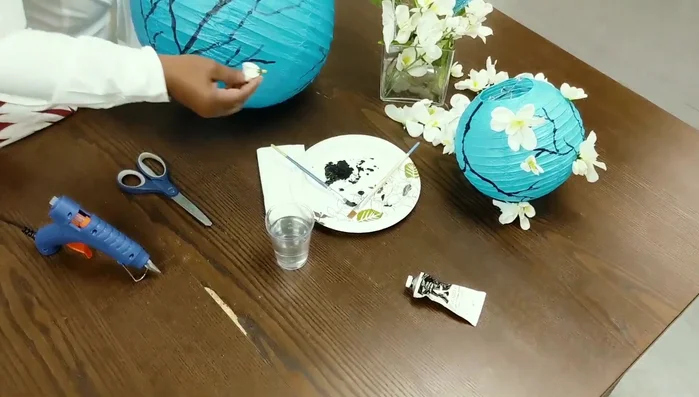
Preparation and Safety Guidelines
- Paper lanterns
- Deconstructed flowers
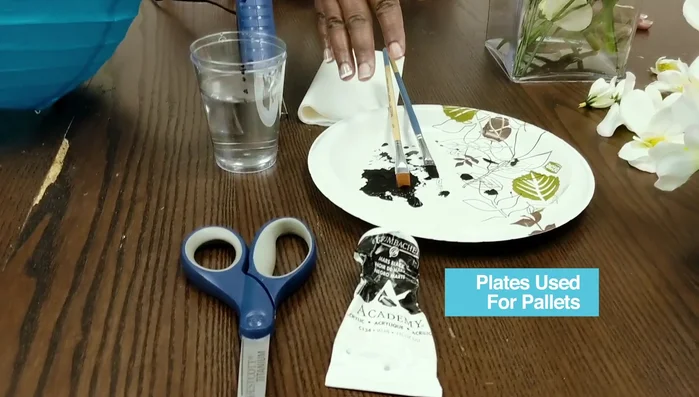
- Plate
- Glue gun
- Acrylic paint
- Water
- Paintbrush
- Scissors
- Always supervise children when working with hot glue guns or sharp craft tools. Keep them away from lit lanterns.
- Use caution when handling candles or tea lights inside paper lanterns. Never leave lit lanterns unattended and keep them away from flammable materials.
- Ensure adequate ventilation when using spray adhesive or paints to prevent inhaling harmful fumes.
Step-by-Step Instructions
Prepare Materials
- Deconstruct flowers and lay them on a table.

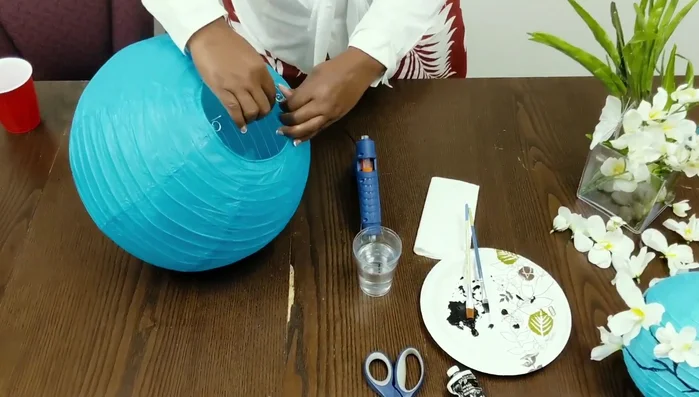
Prepare Materials Assemble Lantern
- Insert the small part of the lantern into the top hole and push it through.
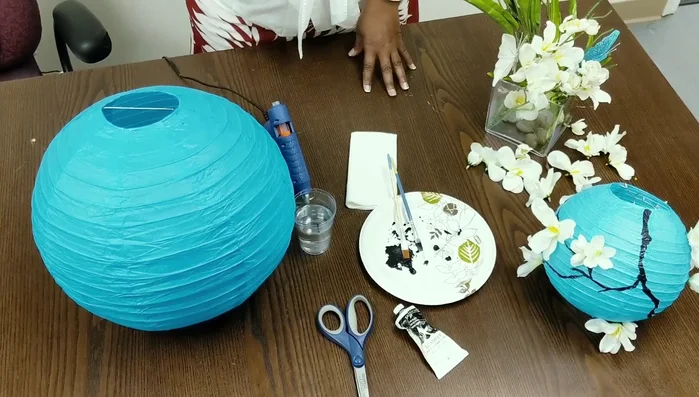
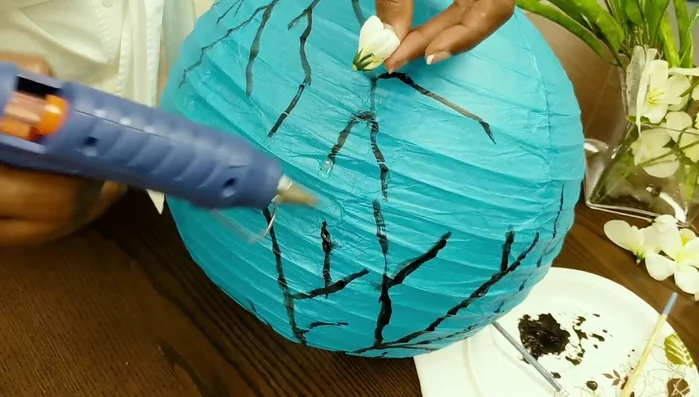
Assemble Lantern Paint the Tree
- Mix acrylic paint with water and use a paintbrush to draw an upward-growing tree starting from the bottom, making the bottom thicker than the top.
- If you accidentally punch a hole in the lantern, don't worry; you can cover it later.
Paint the Tree Prepare Flowers
- Cut off any excess plastic parts from the deconstructed flowers.
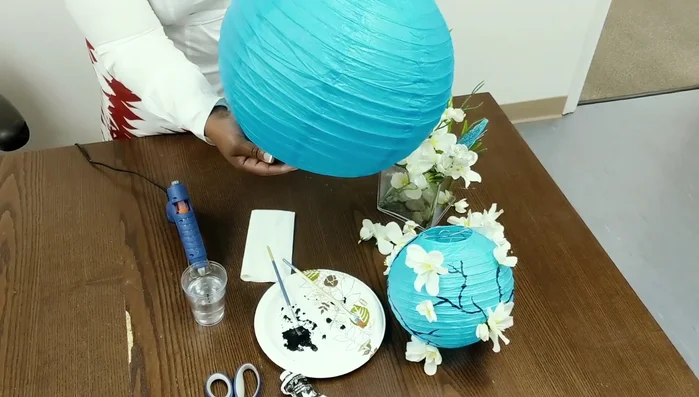
Prepare Flowers Attach Flowers
- Apply hot glue to the lantern's branches and attach the flowers, holding them open as needed until the glue sets.
Attach Flowers
Read more: 7 Top Paint Color Trends for 2024: A Complete Guide with Free Downloadable Resource
Tips
- Don't be afraid to experiment with different paint types; acrylic, watercolor, or even butter-based paints work well.
- There's no right or wrong way to paint the tree; let your creativity flow.
- If you have damaged paper lanterns, this project is a perfect way to upcycle them.