Transform your space with the effortless elegance of a DIY paper garland! Forget expensive store-bought decorations – creating your own stunning garland is surprisingly simple, affordable, and incredibly rewarding. Whether you're planning a birthday bash, a festive holiday celebration, or just want to add a touch of whimsy to your everyday life, a handcrafted paper garland offers a unique and personalized touch that instantly elevates any environment. The possibilities are endless, from classic colors to bold patterns, allowing you to perfectly match your aesthetic and create a truly showstopping centerpiece.
This versatile craft is perfect for all skill levels, requiring only a few basic materials and a little bit of patience. From simple triangles to intricate shapes, you can tailor the design to your exact preferences, making it a fantastic project for both adults and children. Ready to get started on creating your own eye-catching masterpiece? Let's dive into the step-by-step process!
Preparation and Safety Guidelines
- Cutting mat
- Vellum paper
- Pearlescent card stock
- Pencil
- Leaf template
- Scissors
- Scoring template (from bhg.com)
- Bone folder
- String
- Round paper punch
- Red card stock
- White floral wire
- Hot glue gun
- Always supervise children when using scissors, glue, and other crafting tools. Keep small items away from young children to prevent choking hazards.
- Use caution when working with sharp scissors. Cut away from yourself and others. Consider blunt-ended scissors for younger crafters.
- Ensure adequate ventilation when using spray adhesive or other potentially strong-smelling materials. Work in a well-ventilated area or outdoors.
Step-by-Step Instructions
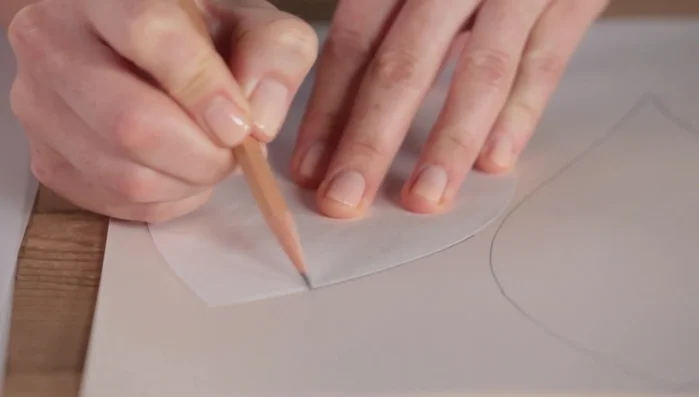
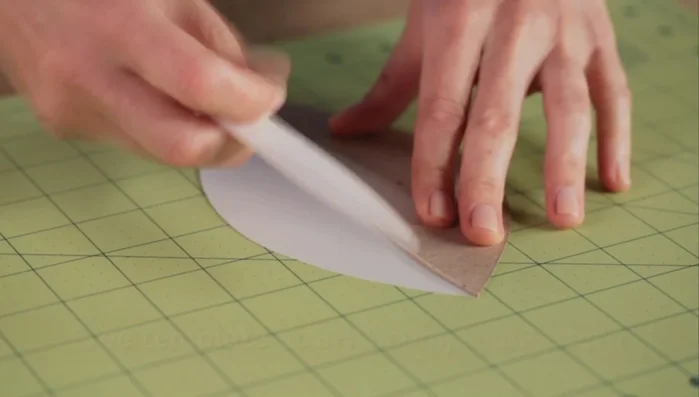
Prepare the Leaves
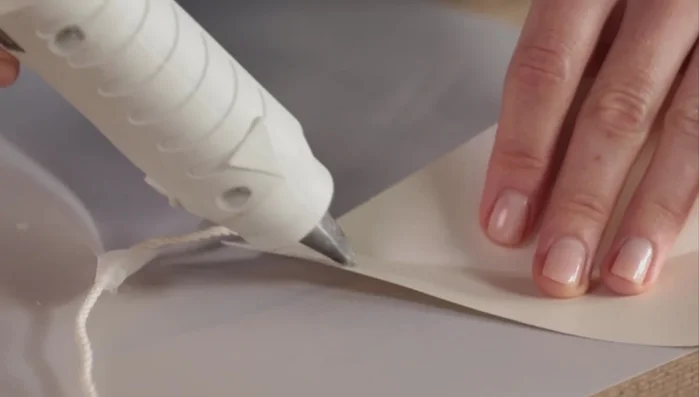
- Trace the leaf template onto both Vellum and card stock and cut them out.
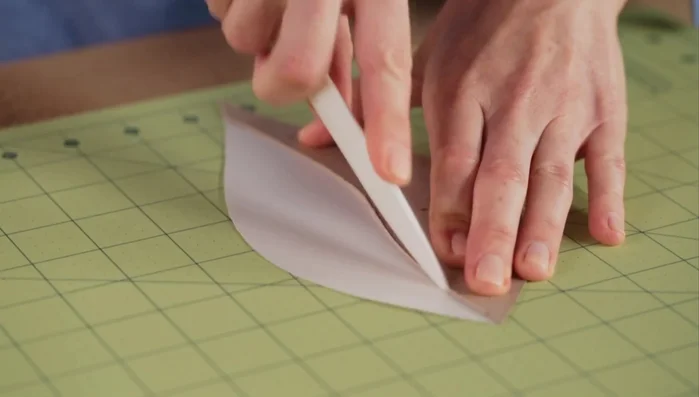
- Use the scoring template to score each leaf several times using a bone folder on a cushioned surface.
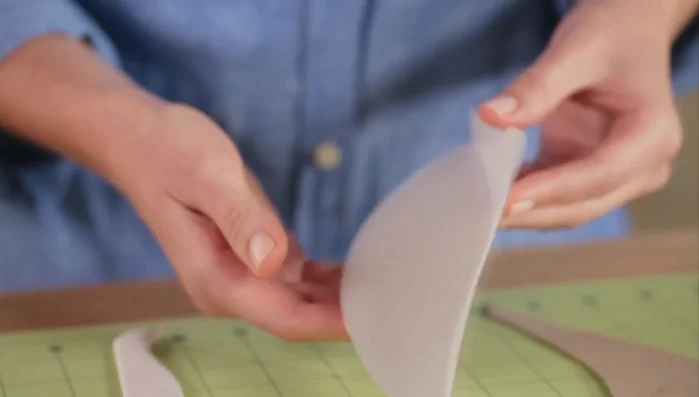
- Gently fold the leaf along the score line.
- Repeat to make several more leaves.

Prepare the Leaves Assemble the Garland
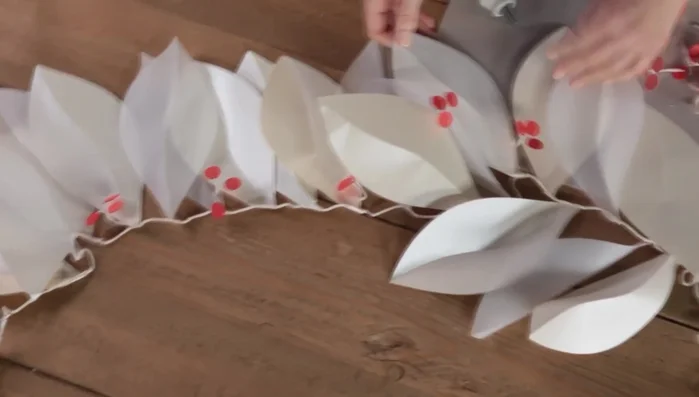
- Attach the stems of the leaves to a piece of string, alternating Vellum and card stock leaves.
Assemble the Garland Make Berry Clusters
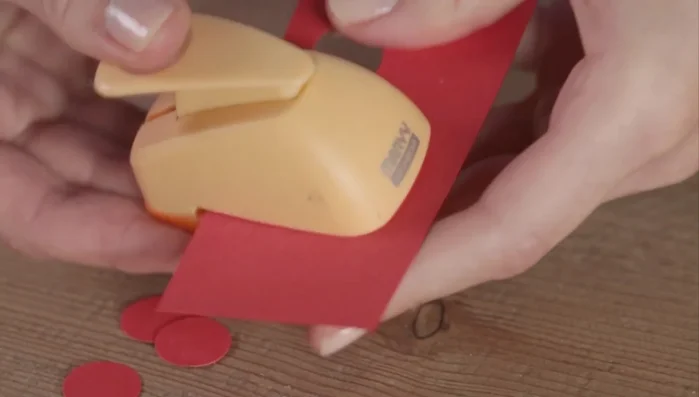
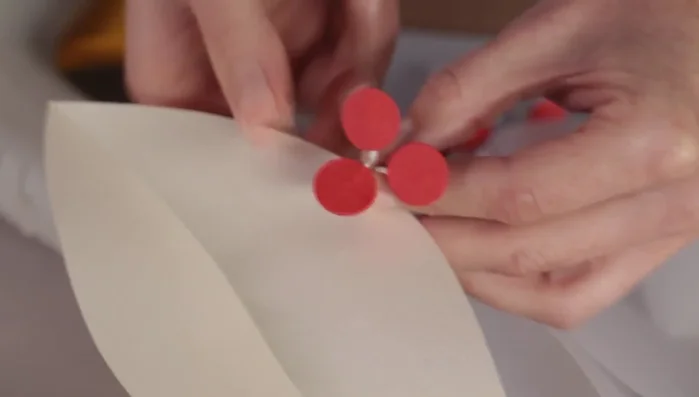
- Make several circles from red card stock using a paper punch.
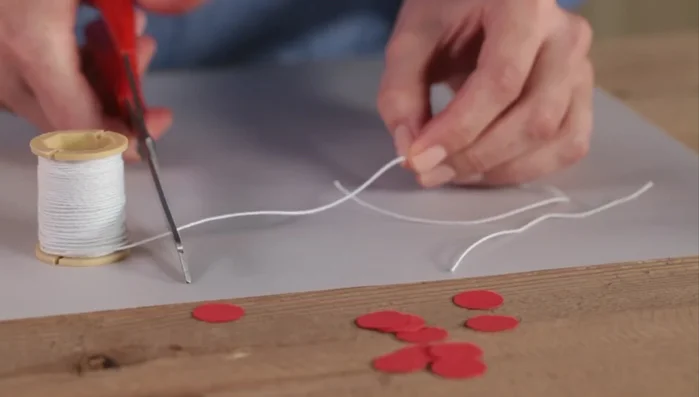
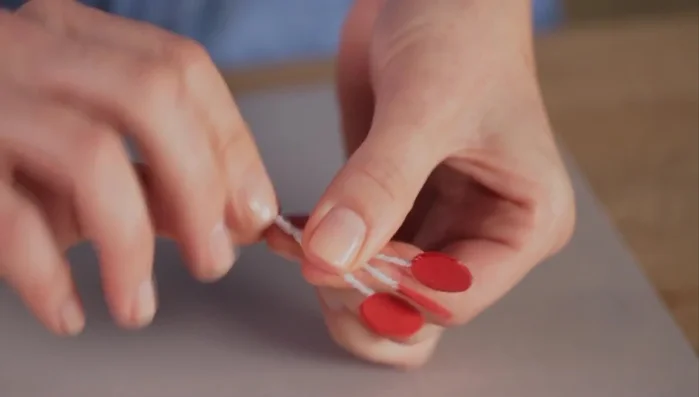
- Cut and fold three pieces of white floral wire in half, twisting them. Sandwich a piece of wire between two red circles and hot glue them together.
- Twist three wire strands together to make a cluster. Repeat to make several more.
Make Berry Clusters Attach Berries to Garland
- Attach the berry clusters to the backs of every third or fourth leaf on the garland using hot glue.
Attach Berries to Garland Hang the Garland
- Hang your garland.
Hang the Garland
Read more: Easy Origami Paper Box Tutorial: Step-by-Step Guide
Tips
- Use a cushioned surface like a cutting mat when scoring the leaves to prevent damage.
- Alternate Vellum and card stock leaves for a visually interesting garland.