Transform your party space or home décor with the charm of handmade paper flowers! Creating a stunning paper flower garland is easier than you think, offering a budget-friendly and incredibly versatile way to add a touch of elegance and whimsy to any occasion. From vibrant birthday celebrations to romantic weddings or even a simple refresh for your living room, a DIY paper flower garland is a perfect project for crafters of all skill levels. The delightful results far outweigh the minimal effort required, promising a beautiful and personalized touch that store-bought decorations simply can't match.
Forget expensive floral arrangements and complicated crafting techniques; this guide provides a simple, step-by-step tutorial to create a breathtaking paper flower garland in just a few easy steps. Whether you prefer delicate blooms or bold, oversized flowers, the possibilities are endless! Let's dive in and discover how to craft your own beautiful and personalized paper flower garland.
Preparation and Safety Guidelines
- Colorful paper (scrapbook paper recommended)
- Twine
- Felt
- Hot glue gun
- Pen/pencil
- Scissors
- Round object for tracing (e.g., bucket)
- Always supervise children when using scissors and glue. Sharp objects and adhesives can cause injury.
- Use a well-ventilated area when working with spray adhesive or paints to avoid inhaling fumes.
- Ensure paper is sourced responsibly and consider using recycled materials whenever possible.
Step-by-Step Instructions
Prepare the Paper Flowers
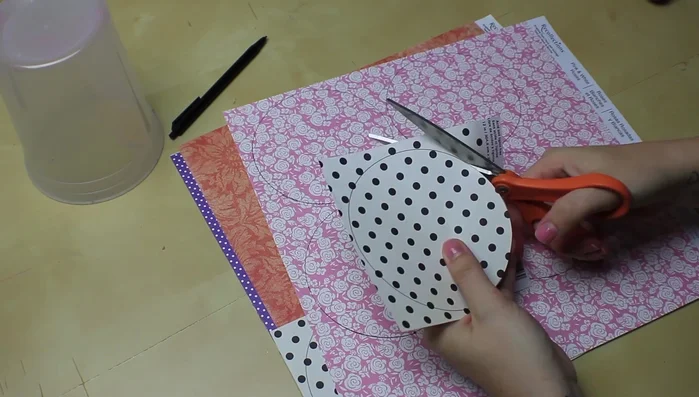
- Trace and cut circles onto your chosen paper. Make many!
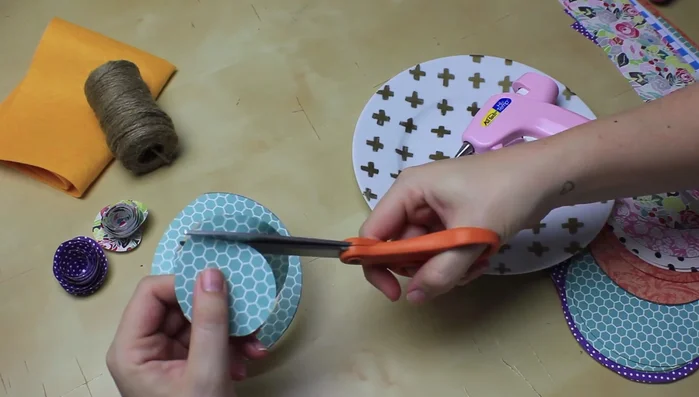
- Cut each circle into a spiral shape, leaving a small tab at the end.
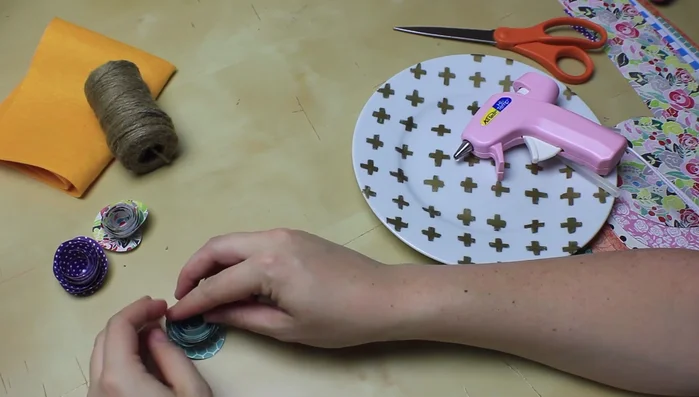
- Roll the spiral tightly from the pointy end, tucking the printed side inwards if using patterned paper.
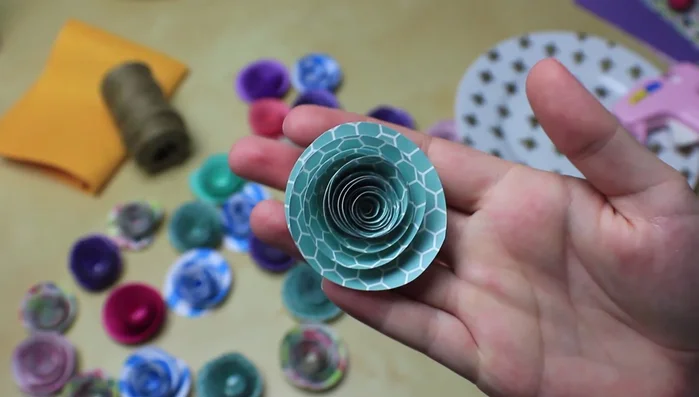
- Once rolled, loosen the flower slightly to create a more natural look. Glue the tab to the center, ensuring all layers are secured with glue.

Prepare the Paper Flowers - Let the flowers dry completely.
Prepare the Paper Flowers Prepare the Garland Base
- Cut a long piece of twine.
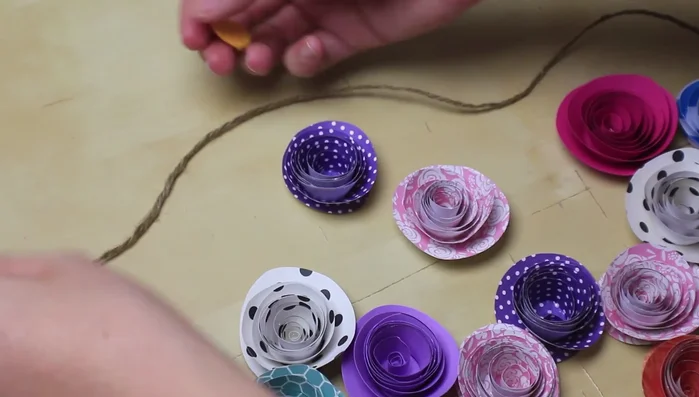
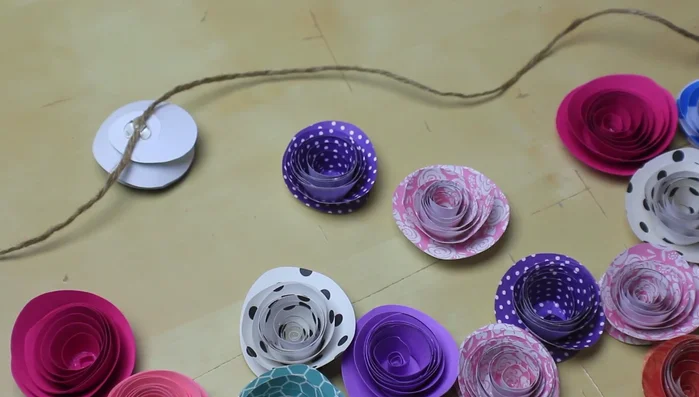
Prepare the Garland Base Assemble the Garland
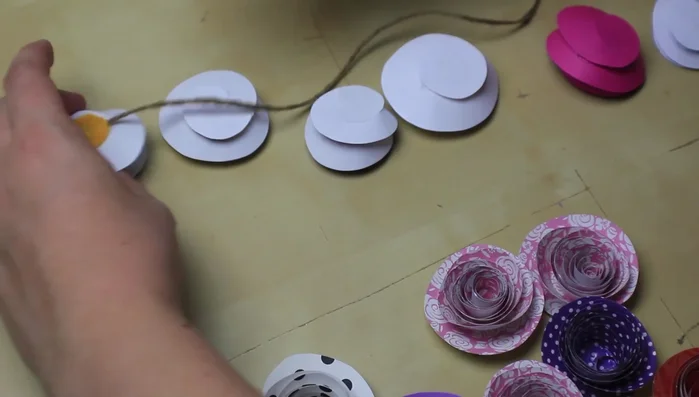
- Glue the first flower upside down to the twine, applying a generous amount of glue. Add a small felt circle to cover the back of the flower and twine.
- Continue gluing flowers upside down to the twine, adding felt circles to the back of each.
Assemble the Garland

Read more: Easy Origami Paper Box Tutorial: Step-by-Step Guide
Tips
- Use a variety of colors and patterns for a more visually appealing garland.
- Make extra flowers! They can be used for other crafts or decorations.
- Roll the flower tightly to create a compact, well-formed shape.
- Use a generous amount of hot glue to secure the flowers to the twine and prevent unraveling.