Spring is in the air, and with it comes a blossoming desire to refresh our homes and embrace the season's vibrant colors. What better way to do so than by crafting beautiful, delicate paper flowers? This delightful DIY project is perfect for all skill levels, allowing you to create stunning blooms without breaking the bank or needing a green thumb. From cheerful daffodils to elegant roses, the possibilities are endless, limited only by your imagination and the colorful paper at your disposal. You can personalize your creations to match any décor, adding a touch of handmade charm to your living space, or creating beautiful handmade gifts.
This charming springtime craft offers a relaxing and rewarding experience, perfect for a quiet afternoon or a fun family activity. Ready to transform ordinary paper into extraordinary blossoms? Let's dive into the step-by-step instructions and bring the beauty of spring indoors with these easy-to-follow directions for crafting your own DIY paper flowers.
Preparation and Safety Guidelines
- Cardboard (cereal box)
- Tissue paper (at least 4 pieces per flower, 20cm x 20cm)
- Brush
- Watercolor paints
- Scissors
- Masking tape
- Pencil
- Twist ties
- Water
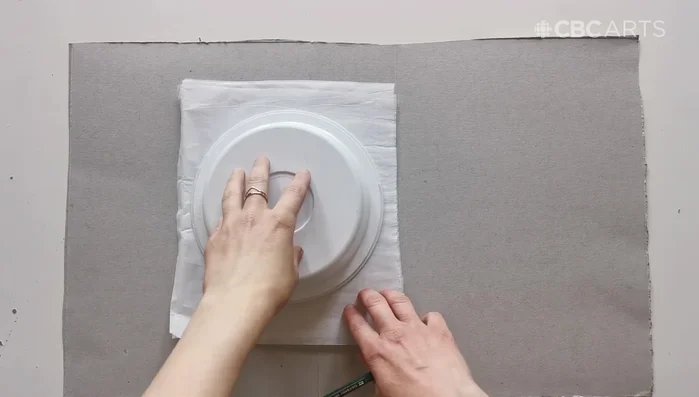
- Circular object for tracing (e.g., Tupperware)
- Always supervise children when using scissors, glue, and other crafting tools.
- Use a well-ventilated area when working with spray adhesive or paints to avoid inhaling fumes.
- Be mindful of sharp edges on wire or other floral stems, and handle with care.
Step-by-Step Instructions
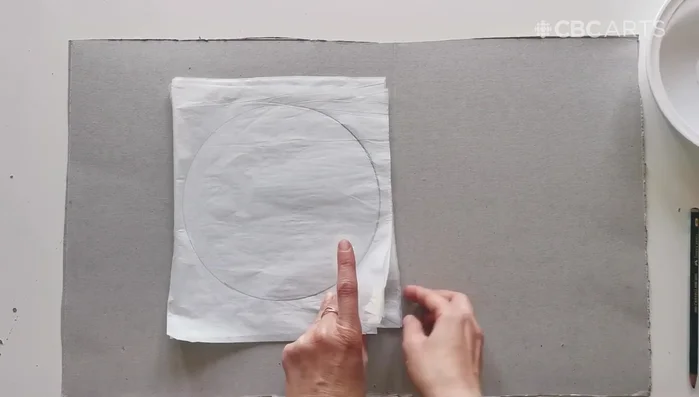
Prepare the Paper
- Tape tissue paper together before cutting to avoid repetition.

Prepare the Paper Design and Cut Flower Shapes
- Trace and cut out flower shapes.
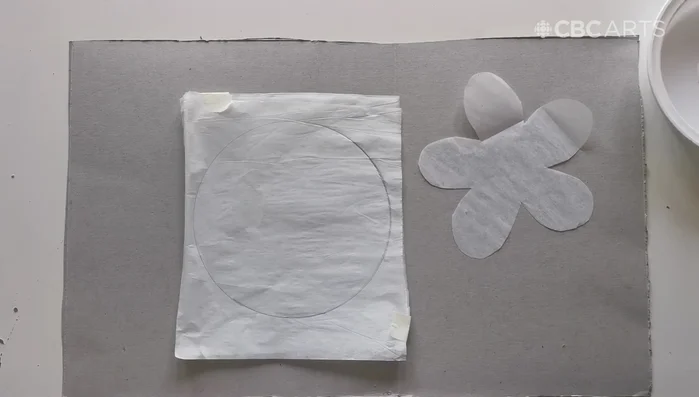
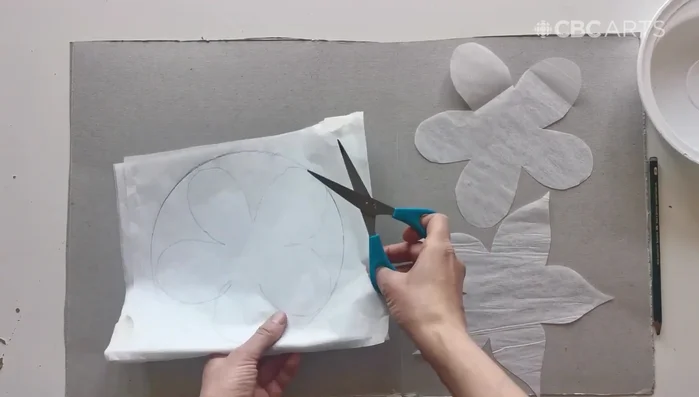
- Draw a 5-petal flower shape onto the traced circle (rounded or pointed petals).
- Cut out the flower shape.
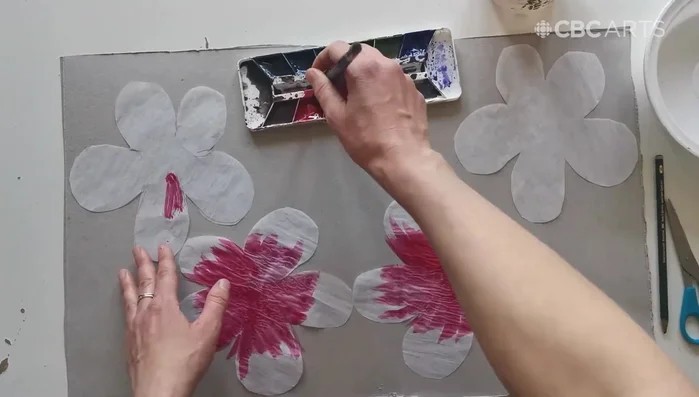
Design and Cut Flower Shapes Paint the Flowers and Leaves
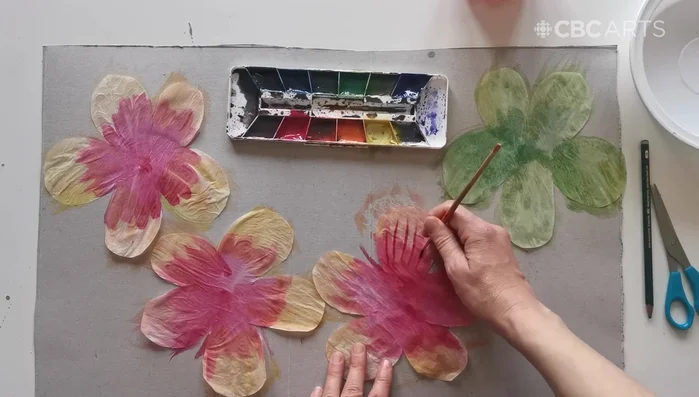
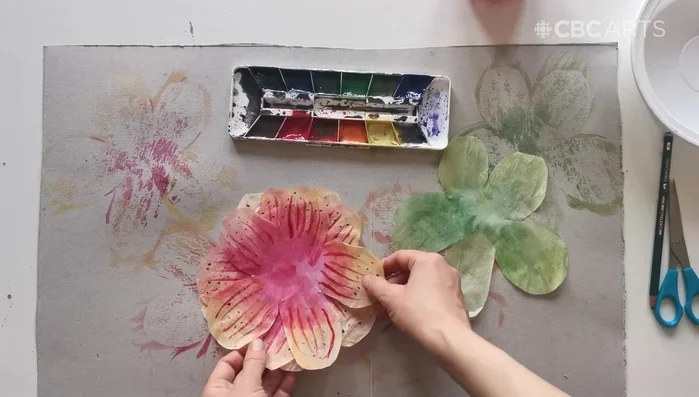
- Paint the flower petals. Use a gradation of color, darker in the center, lighter at the edges.
- Paint one shape as leaves.
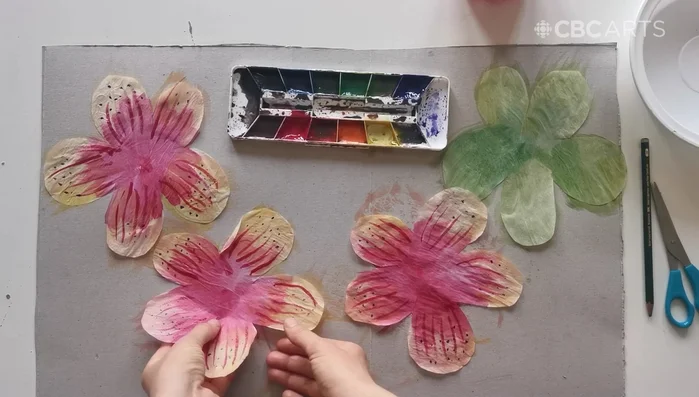
- Add fine lines and markings to petals for detail and variation.
- Let the painted shapes dry.
Paint the Flowers and Leaves Assemble a Single Flower
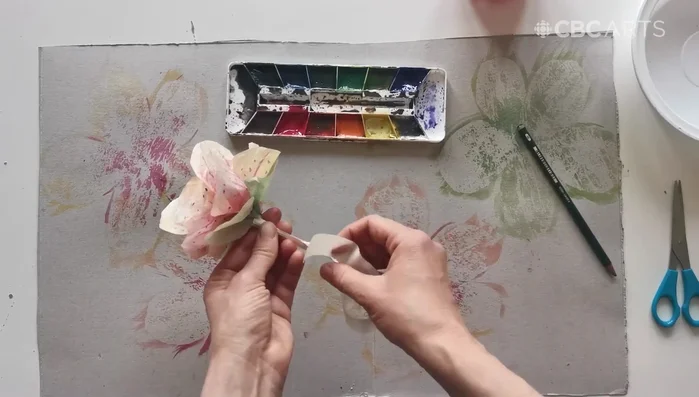
- Arrange three petal shapes and one leaf shape, overlapping petals.
- Press the petals together around a pencil to create a 3D shape.
- Remove the pencil and secure the base with masking tape to form a stem.
- Attach a twist tie to the stem for flexibility.
Assemble a Single Flower - Style the flower by adjusting the petals.
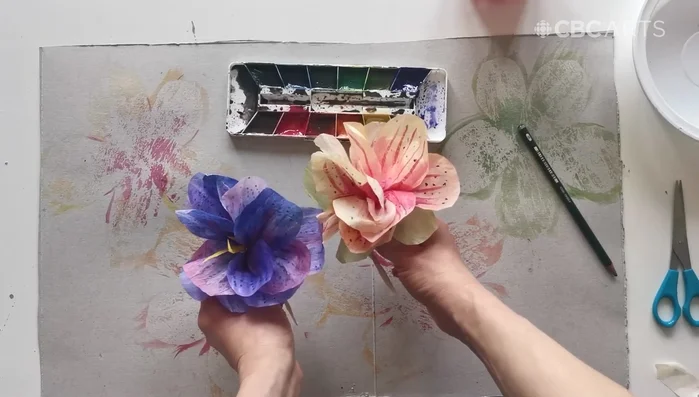
Create Multiple Flowers
- Repeat steps to create multiple flowers.
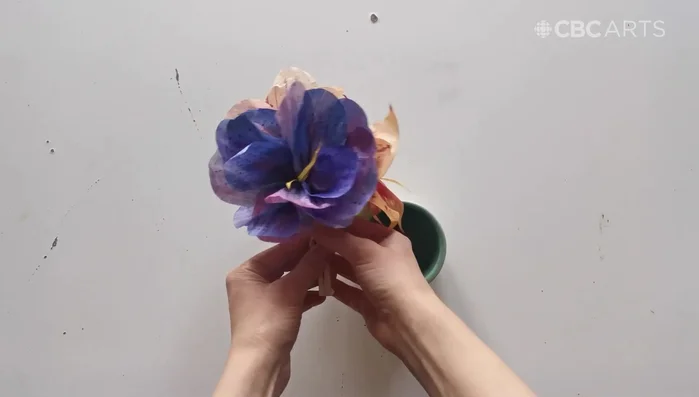
Create Multiple Flowers Arrange and Display
- Arrange the finished flowers in a small cup or pot.
Arrange and Display


Read more: Easy Origami Paper Box Tutorial: Step-by-Step Guide
Tips
- Work with a stack of tissue paper to save time.
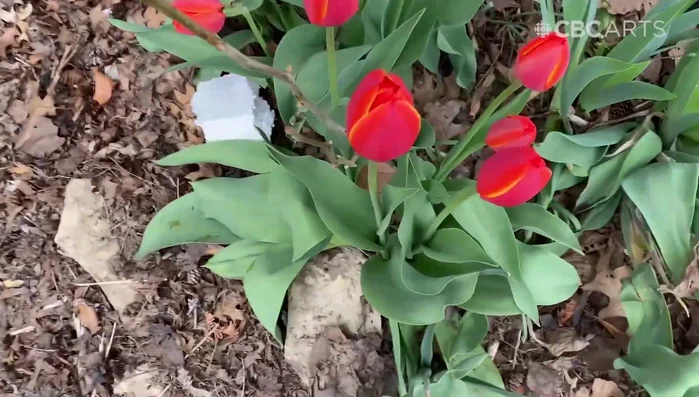
- Get inspiration from real flowers in your neighborhood.
- Don't worry about making each petal perfect; the overlapping layers create a natural look.
- Experiment with rounded and pointed petal shapes for variety.