Paper dolls! A cherished childhood pastime, a creative outlet, and a surprisingly intricate art form. While the whimsical charm of paper dolls is undeniable, achieving truly precise and well-proportioned figures can be a challenge. Creating perfectly scaled dolls requires more than just a quick sketch; it demands careful consideration of measurements and techniques to ensure your paper creations are as elegant as they are fun. Forget the haphazard folds and uneven limbs – this tutorial will guide you through crafting paper dolls with unparalleled precision.
This guide delves into the essential measurements and techniques for creating perfectly proportioned paper dolls, from the head to the tiny toes. We will explore the importance of precise scaling and demonstrate how simple tools can elevate your paper doll crafting from simple cutouts to miniature masterpieces. Ready to create your dream paper doll? Let's dive into the step-by-step process!
Preparation and Safety Guidelines
- Paper
- Tape
- Scissors
- Markers/Crayons
- Glue (optional)
- Use sharp scissors with adult supervision, especially for younger crafters. Avoid cutting towards yourself or others.
- If using craft knives or X-ACTO blades, always cut away from your body on a self-healing cutting mat. Adult supervision is essential.
- Be mindful of small parts. Paper doll clothes and accessories could present a choking hazard for young children. Supervise children closely during crafting and playtime.
Step-by-Step Instructions
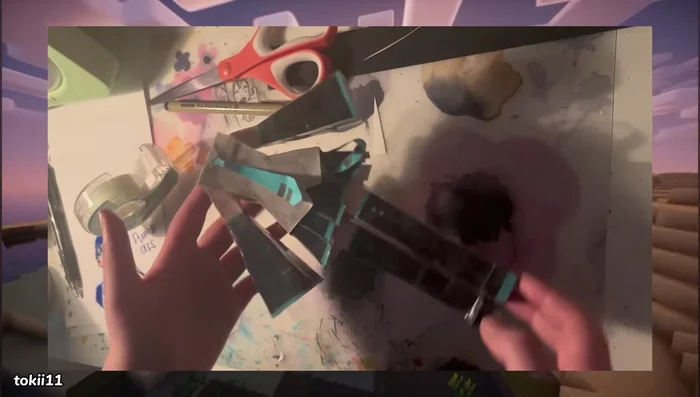
Prepare Body
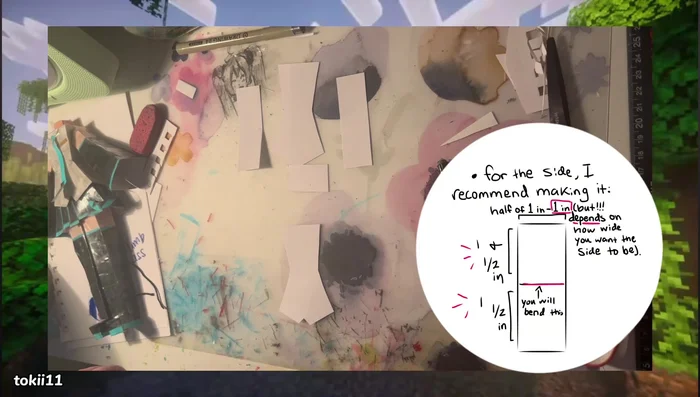
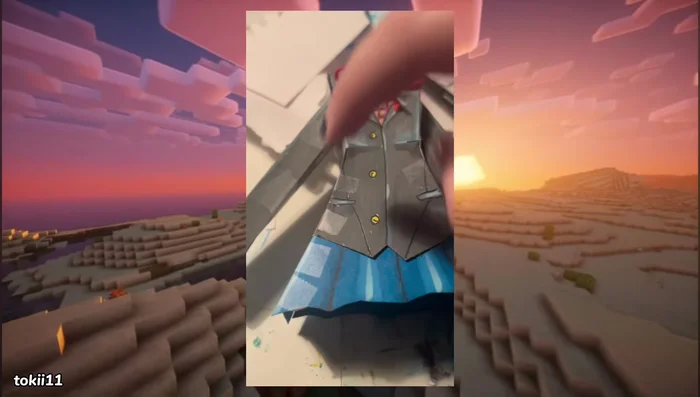
- Create two identical pieces for the front and back of the torso, and two identical pieces for the sides. The top of the body can be added later.

Prepare Body Color Body Parts
- Color all body parts before assembling. This simplifies the process.
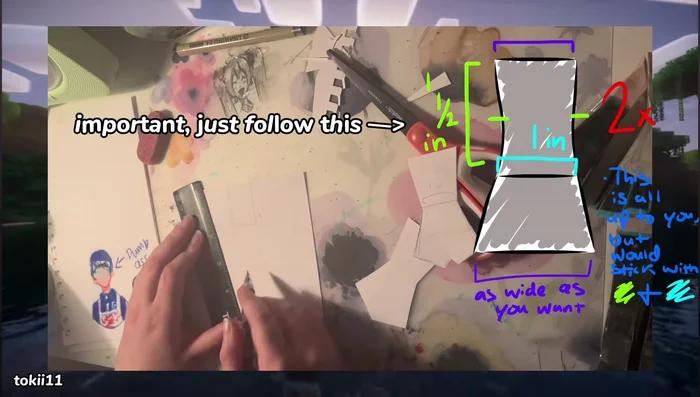
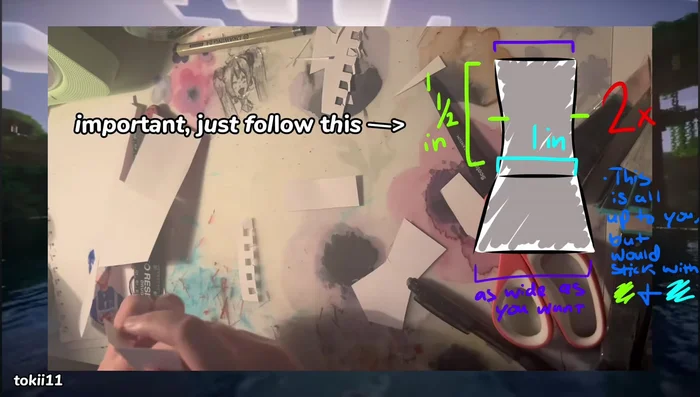
Color Body Parts Assemble Torso
- Tape the body parts together precisely. Ensure even measurements for a balanced doll. Consider tracing the assembled sides and front onto another paper to create exact replicas before cutting.
Assemble Torso Create Torso Top
- Place a piece of paper on top of the assembled torso, tape one side, and cut around the shape. Precise measurements aren't crucial here.
Create Torso Top Make Neck
- Create six even squares, color them, and tape them together, ensuring a top and bottom. The neck’s length and thickness are customizable.
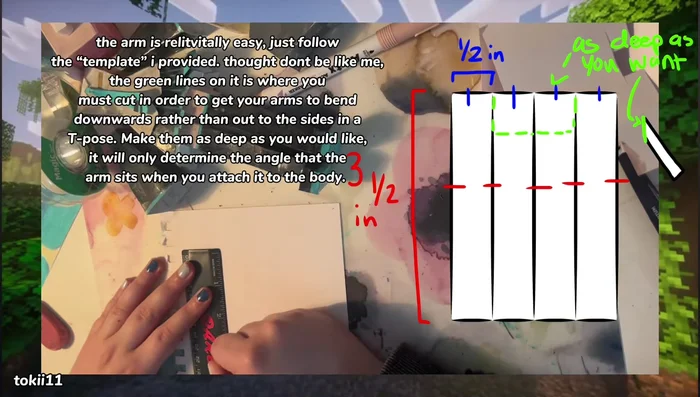
Make Neck Make Arms
- Create the arms (detailed instructions are not explicitly provided in the transcript but implied to be shown visually in the video).
Make Arms Attach Neck
- Use hot glue or super glue to attach the neck to the head and body after completing the arms.
Attach Neck Create Lower Body
- For a skirt, add a layer underneath to conceal any imperfections. For a shirt, place a bottom layer under to support the legs.
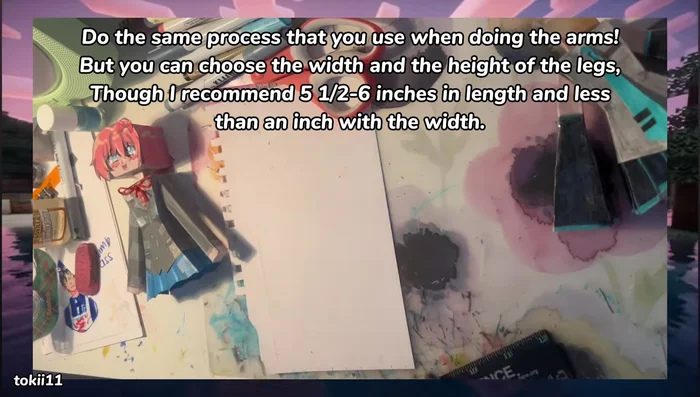
- Create the legs (detailed instructions are not explicitly provided in the transcript but implied to be shown visually in the video).
Create Lower Body
Read more: Easy Origami Paper Box Tutorial: Step-by-Step Guide
Tips
- Ensure even measurements and precise taping for a well-proportioned doll.
- Color all pieces before taping for easier assembly.
- Creating exact replicas of body parts ensures evenness.
- The top of the body and neck are flexible in terms of measurement, focusing on aesthetics rather than precision.