Transform your space with the authentic look of a brick wall, without the hefty price tag or strenuous labor! This DIY project reveals how to create a stunningly realistic brick wall using readily available paper clay and surprisingly simple painting techniques. Forget expensive, heavy materials and complex construction; this method offers an accessible and affordable alternative for crafting a unique focal point in any room – from a cozy living room accent wall to a rustic kitchen backsplash. The realistic texture and color are achieved through clever layering and blending, bringing a touch of industrial chic or vintage charm to your home.
This guide will walk you through each step, from preparing the paper clay to achieving that perfectly aged brick effect. We'll cover everything from creating individual bricks with convincing details to mastering the art of color washes and dry brushing for added depth and realism. Ready to get started? Let's dive into the step-by-step process and bring your brick wall vision to life!
Preparation and Safety Guidelines
- Creative paper clay
- Wax paper
- PVC pipe
- Craft knife
- Ruler
- X-acto knife
- Popsicle stick
- Emery board
- Acrylic paints (yellow ochre, red, raw umber, black, ivory, green)
- Paintbrushes
- Paper towels
- Toothpick
- Sea sponge
- Flocking
- White glue
- Plaster
- Weights
- Paper clay can be messy. Protect your work surface with a drop cloth or plastic sheeting and wear old clothes you don't mind getting dirty.
- Ensure adequate ventilation when working with paints and clay. Open windows or use a respirator if necessary, especially for prolonged use.
- Paper clay can dry out quickly. Keep it damp with a spray bottle if not using it immediately. Allow sufficient drying time between coats of paint to prevent cracking.
Step-by-Step Instructions
Prepare the Surface and Clay
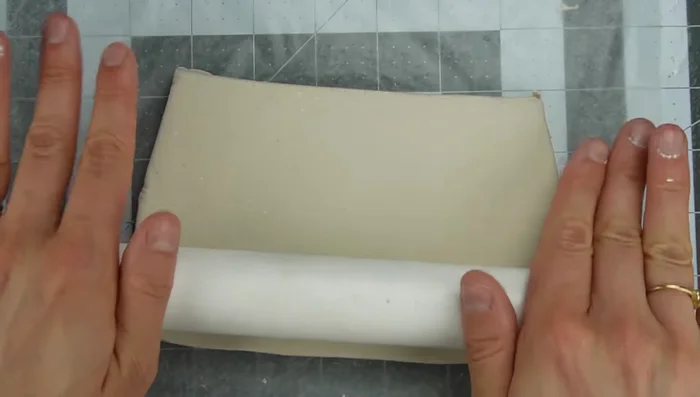
- Prepare the working surface by taping down wax paper.
- Roll out the paper clay to the desired thickness (slightly less than a quarter inch for 1:12 scale bricks).
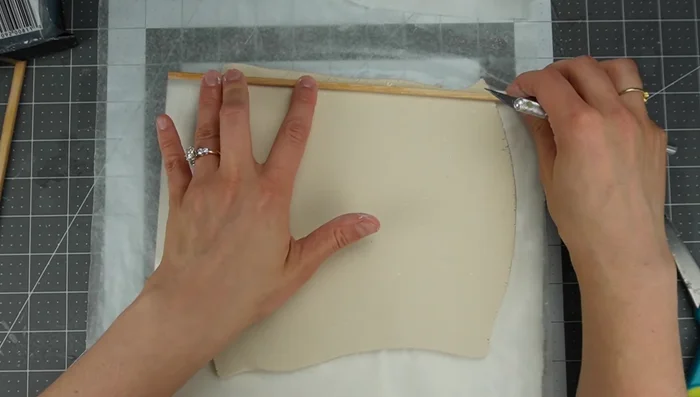
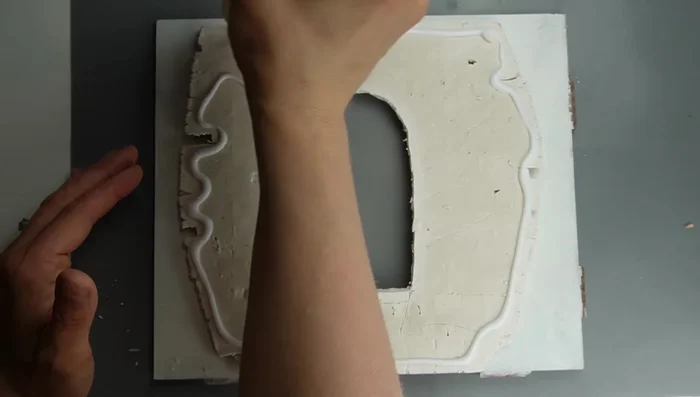
- Cut the clay to the size of your wall, using a template if needed.

Prepare the Surface and Clay Create Brick Pattern
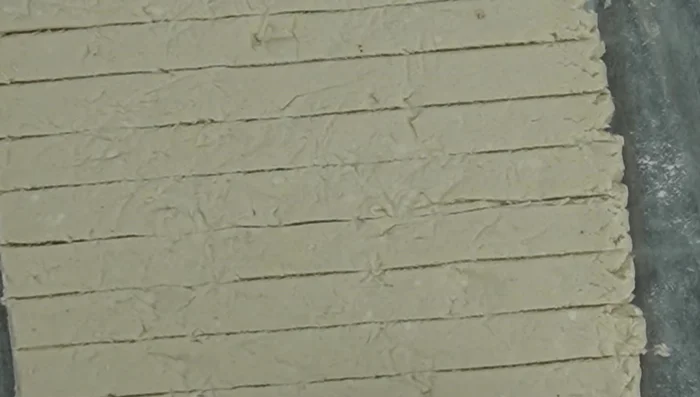
- Mark the clay at quarter-inch intervals for the brick pattern (adjust based on your scale).
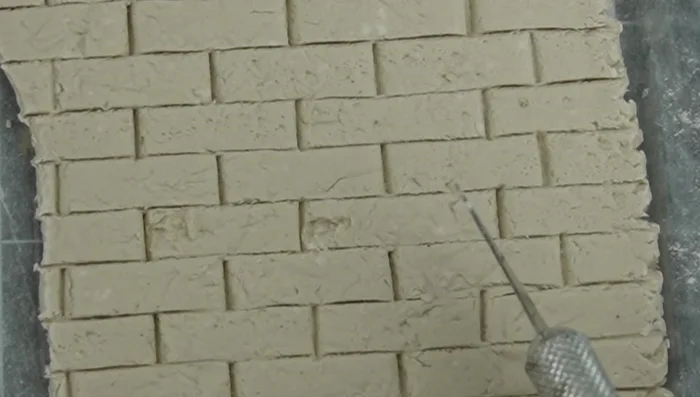
- Use a tool (e.g., back of a knife, popsicle stick) to create vertical lines representing individual bricks, considering a staggered pattern.
- Add texture using crumpled aluminum foil before cutting lines.
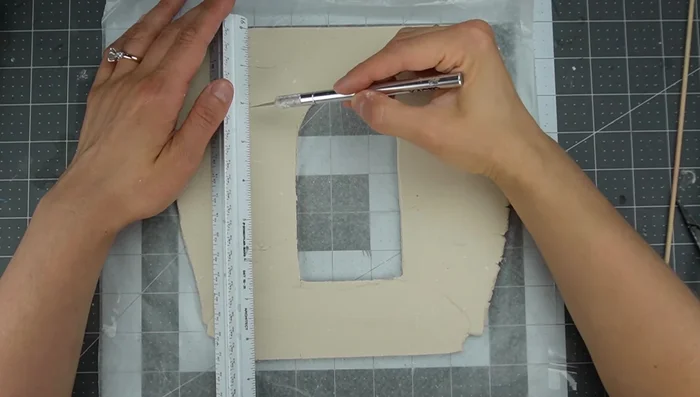
Create Brick Pattern Add Realism and Imperfections
- lift away small areas of clay, cut out sections, and cut layers to simulate aged bricks.
Add Realism and Imperfections Attach and Base Coat
- Glue the brick wall to your surface (ensure the surface won't warp).
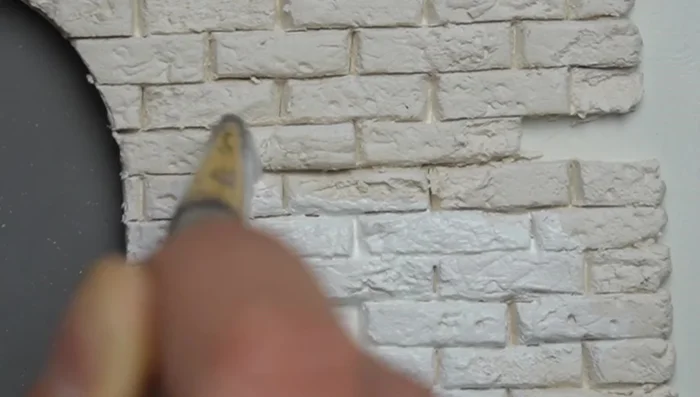
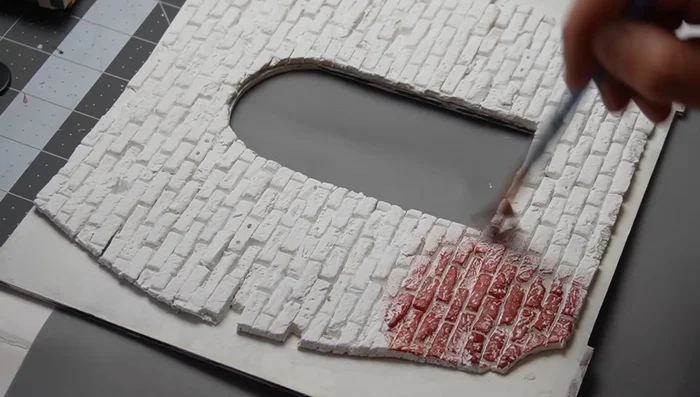
- Apply a base coat of grout color, ensuring it gets into all lines. (Generous amount of paint and vertical brush strokes recommended).
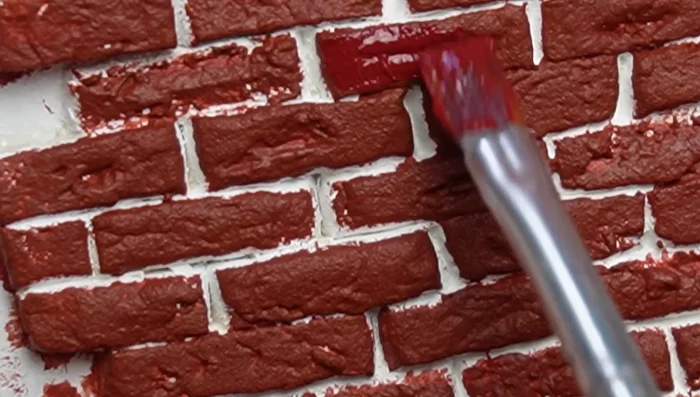
Attach and Base Coat Apply Brick Color
- Use a sponge for best results to fill in texture while keeping grout lines clean.
Apply Brick Color Add Details and Highlights
- Use toothpicks for holes, dry brushing for highlights, and different paint colors for variations.
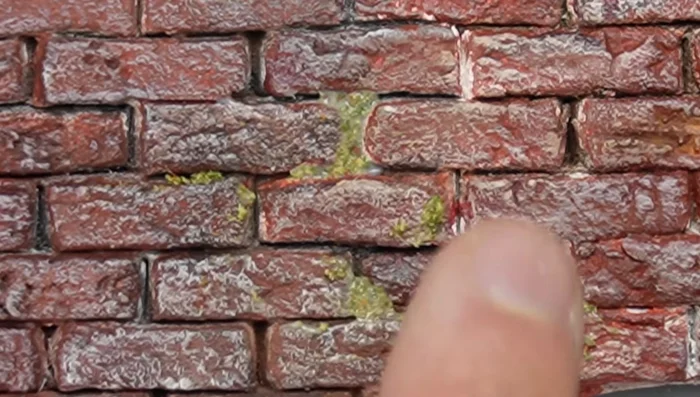
Add Details and Highlights Aging and Finishing Touches
- Thinned black acrylic paint for aging. Apply to grout or brick face and wipe away excess for varying effects.
- Mix flocking with glue and smudge onto the surface to simulate moss and enhance details.
Aging and Finishing Touches


Read more: Easy Origami Paper Box Tutorial: Step-by-Step Guide
Tips
- Wrap extra clay in a damp paper towel and plastic wrap to prevent drying.
- Use a damp fingertip and stick to easily fix mistakes.
- Don't be afraid to experiment. Paper clay is easily restored.
- For realistic-looking bricks, use varying degrees of washes and dry brushing.
- Don't use too much glue when adding plaster to prevent crumbling.