In a world increasingly conscious of environmental impact, finding creative ways to repurpose everyday materials is not just eco-friendly, it's incredibly rewarding. This is especially true for crafting projects that transform seemingly mundane items into beautiful and functional objects. Today, we'll explore the surprisingly simple art of creating durable and attractive paper bowls, entirely from recycled materials. Forget expensive store-bought containers; discover how to craft your own personalized bowls using readily available resources – all while contributing to a more sustainable lifestyle.
This DIY project is perfect for beginners, requiring minimal tools and skills, making it an ideal activity for families and individuals alike. From charming snack bowls to elegant serving dishes, the possibilities are as endless as your imagination. Ready to get started? Let's dive into the step-by-step instructions and learn how to craft your own set of beautiful, eco-friendly paper bowls.
Preparation and Safety Guidelines
- Paper (magazine, notebook, scrapbook, phone book, etc.)
- White school glue
- Scissors
- Rolling tool (dowel rod, barbecue skewer, balloon stick, etc.)
- Always supervise young children during this craft. Paper can be a choking hazard if small pieces are ingested.
- Use caution when working with scissors or other sharp tools. Adult supervision is recommended.
- Ensure the paper you are using is clean and free from any harmful substances before making the bowls.
Step-by-Step Instructions
Prepare the Paper
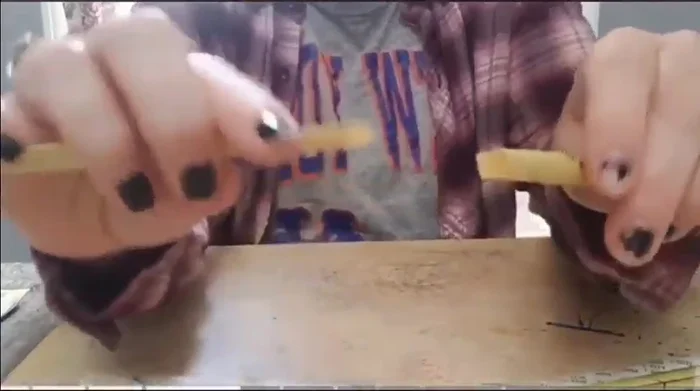
- Rip or cut a piece of paper from your chosen material (magazine paper is used in the demonstration). Ensure the edge you start with has 2-3 inches extra for easier rolling.

Prepare the Paper Roll the Paper
- Position the paper with a corner facing you and start rolling from the corner with the extra 2-3 inches, ensuring the roll is tight. Apply glue to secure the end.
Roll the Paper Flatten the Rolled Paper
- Flatten the rolled paper using your hands or a rolling tool (for larger pieces or faster flattening). This creates a flat, elongated piece.
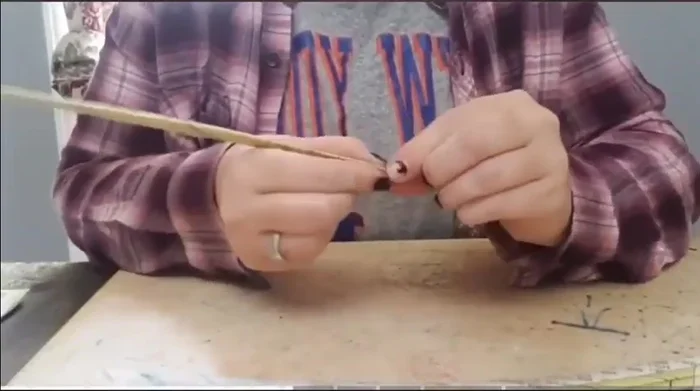
Flatten the Rolled Paper Assemble the Bowl
- Connect two flattened rolls, one wider than the other. The wider end is placed on the bottom, and the narrower one goes inside. Use glue to secure the connection.
Assemble the Bowl Roll and Shape the Bowl
- Roll the joined pieces tightly, using a rolling tool if necessary. Once fully rolled, gently push and shape the paper into a bowl form, ensuring it sits evenly.
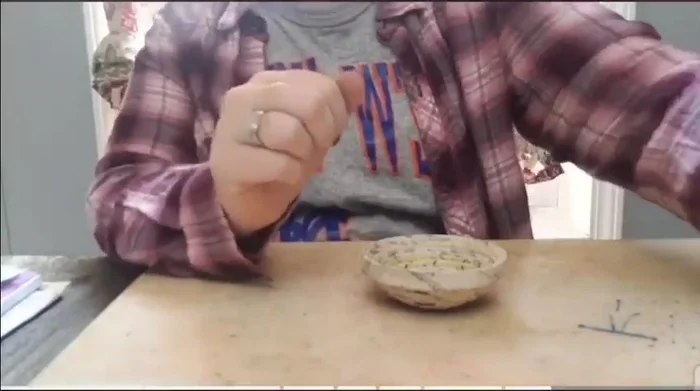
Roll and Shape the Bowl Glaze the Bowl
- Apply diluted white school glue (watered down) repeatedly to the inside and outside of the bowl, allowing each layer to dry before applying the next. Use a low oven (around 200°F) to speed up drying. Monitor constantly to prevent fire hazards.
Glaze the Bowl


Read more: Easy Origami Paper Box Tutorial: Step-by-Step Guide
Tips
- Start rolling from a corner with extra paper to avoid the ends of the paper being trapped inside the roll.
- When rolling, hold the middle portion for better control and to avoid unraveling.
- Apply multiple layers of glue (glaze) to strengthen the bowl and prevent the center from coming apart. Allow each layer to dry completely before applying the next.
- Use a low oven (around 200°F) to speed up the drying process. Monitor constantly to prevent fire hazards.