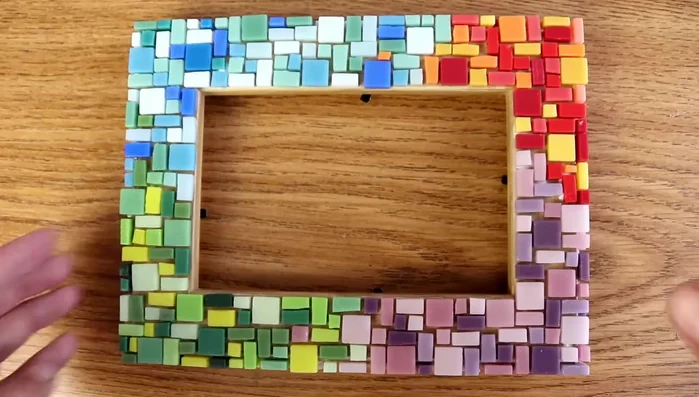
Transform ordinary photos into cherished keepsakes with this fun and easy DIY mosaic photo frame project! Forget generic store-bought frames; unleash your creativity and personalize a unique piece that perfectly reflects your style and taste. Using readily available materials and simple techniques, you can create a stunning mosaic frame that will add a vibrant and artistic touch to any room in your home. Imagine the satisfaction of displaying your favourite memories in a frame you crafted yourself, a testament to your personal touch and artistic flair.
This detailed guide will walk you through each step of the process, from gathering supplies to admiring your finished masterpiece. Prepare to be amazed at how easily you can transform plain materials into a beautiful and personalized work of art. Get ready to dive into the step-by-step instructions and discover the joy of creating your own one-of-a-kind mosaic photo frame.
Preparation and Safety Guidelines
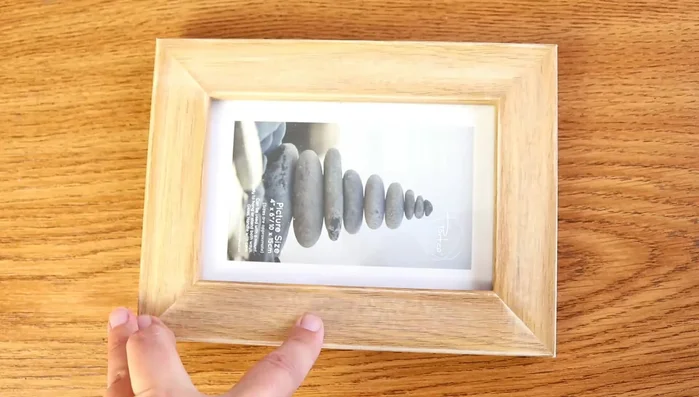
- Photo frame (with a flat frame)
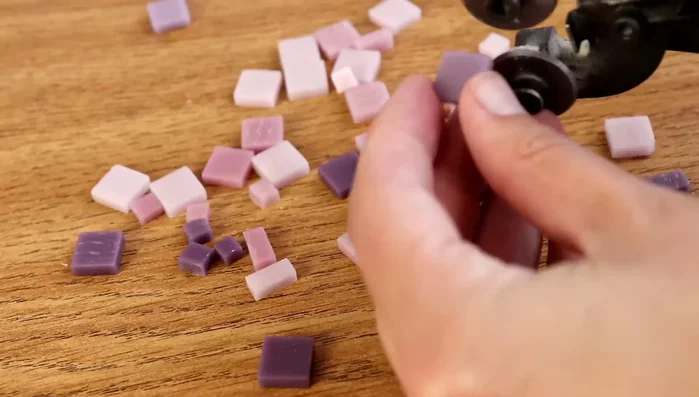
- Square tiles
- Sandpaper
- Pale gray grout (or white and black)
- Bowl
- Spoon
- PVA glue
- Tile nippers
- Always wear safety glasses to protect your eyes from flying debris while breaking tiles or using tools.
- Use caution when working with sharp objects like tile nippers or glass cutters. Adult supervision is recommended, especially for children.
- Ensure your workspace is well-ventilated, especially when using adhesives that may release fumes.
Step-by-Step Instructions
Prepare the Frame
- Lightly sand the frame where tiles will be applied. This helps the glue adhere better.

Prepare the Frame Prepare the Tiles
- Cut tiles into halves and quarters beforehand to speed up the process.
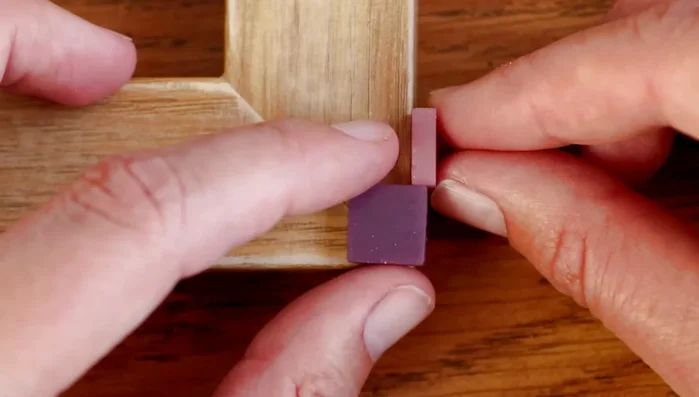
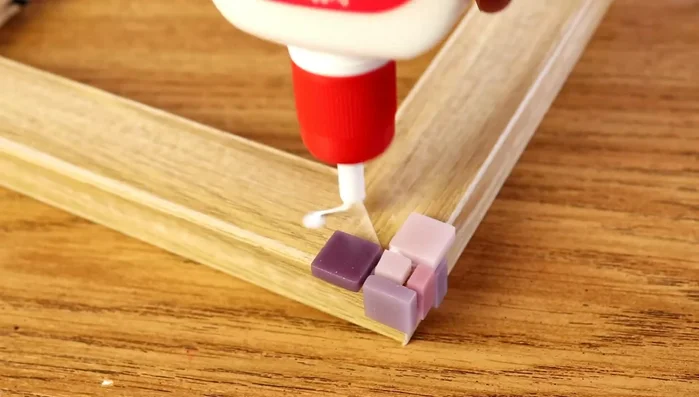
Prepare the Tiles Apply Glue and Place Tiles
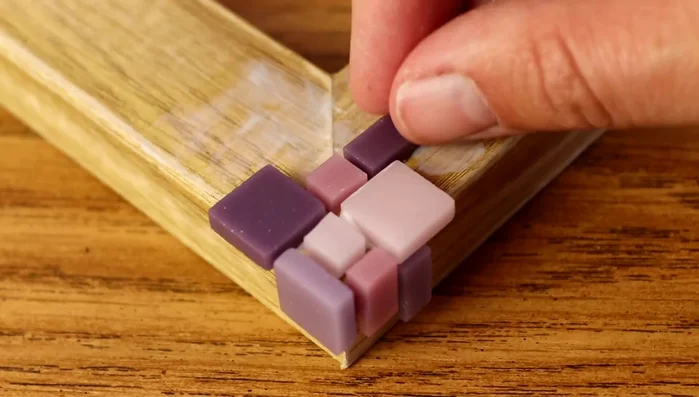
- Start placing tiles from a corner, ensuring a seamless border if desired (tiles extending over the frame edge).
- Apply PVA glue thinly to the frame, spreading it with a finger. This allows for tile adjustment before setting.
- Place tiles randomly but neatly, maintaining even spacing and straight lines. Blend colors seamlessly by adding tiles of the previous color.
Apply Glue and Place Tiles Let the Glue Dry
- Let the glue dry completely.
Let the Glue Dry Apply and Clean Grout
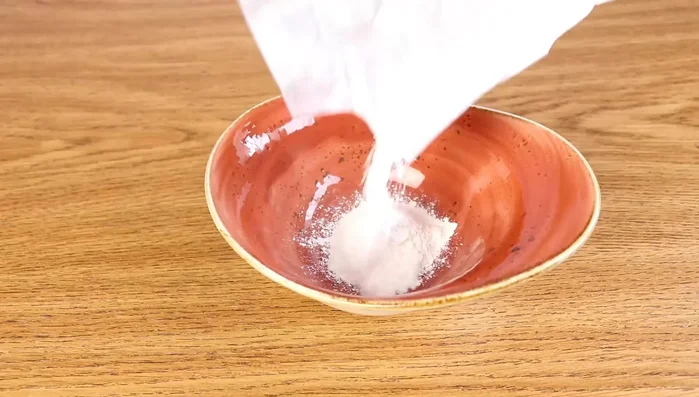
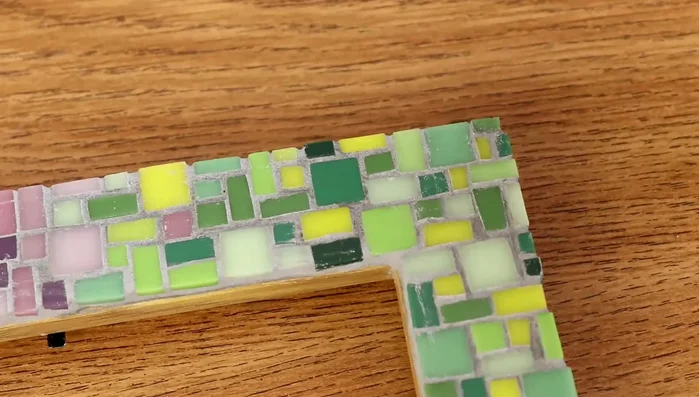
- Mix grout (3/4 white, 1/4 black) with water to a thick paste. Apply to the mosaics, avoiding the inside of the frame.
- Remove excess grout with a damp cloth. Clean any grout that got on the inside of the frame.
Apply and Clean Grout Final Clean Up
- After drying, use a damp cloth to remove remaining grout residue for a neat finish.
Final Clean Up

Read more: Easy Origami Paper Box Tutorial: Step-by-Step Guide
Tips
- Use a flat-framed photo frame for easier tile placement.
- Sanding the frame improves glue adhesion and prevents tiles from loosening.
- Starting at the corners helps create clean edges.
- PVA glue provides ample time to adjust tile placement.
- Blending colors by adding tiles of the previous color creates a more natural transition.