Have you ever wished your action figures had a truly epic place to call home? Tired of generic plastic playsets that lack character and charm? Then prepare to unleash your inner architect and craft the perfect miniature abode for your beloved toy soldiers, superheroes, or even tiny woodland creatures! This guide will show you how to build incredibly detailed and unique miniature paper houses, transforming your action figure's world from bland to breathtaking with surprising ease. Forget expensive, mass-produced toys; you'll be amazed at what you can create with just paper, glue, and a little imagination.
Forget complicated construction kits and exorbitant prices; creating stunning miniature paper houses is simpler than you think. This detailed step-by-step process will guide you through each stage of the build, from designing your dream house to adding intricate finishing touches. Prepare to be amazed at how quickly you can transform simple materials into a captivating miniature landscape, perfect for endless hours of imaginative play and storytelling. Let's get started!
Preparation and Safety Guidelines
- A4 paper (2 sheets)
- Fabric scraps (optional)
- Masking tape
- Scissors
- Craft knife (optional)
- Clear tape
- Colored pencils/pens
- Use sharp craft tools with adult supervision. Knives, scissors, and x-acto blades can cause serious injury if not handled carefully.
- Small parts pose a choking hazard. Keep miniature houses and their components away from young children and pets.
- Avoid using materials that are toxic or flammable. Always work in a well-ventilated area and dispose of waste properly.
Step-by-Step Instructions
Prepare Materials
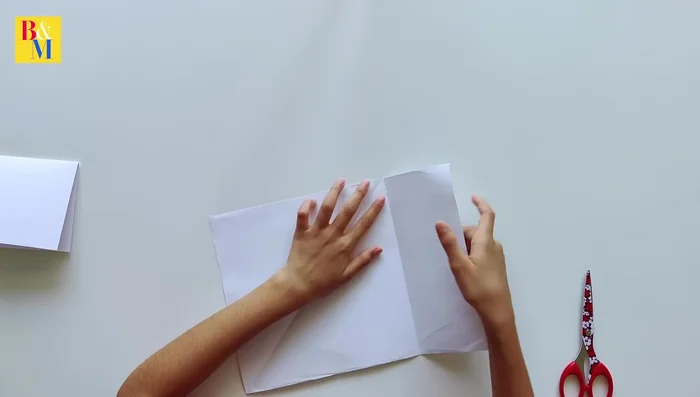
- Cut A4 paper into squares. Set aside excess.
- Cut another A4 sheet into a square for the house base. Fold it into a desired shape.

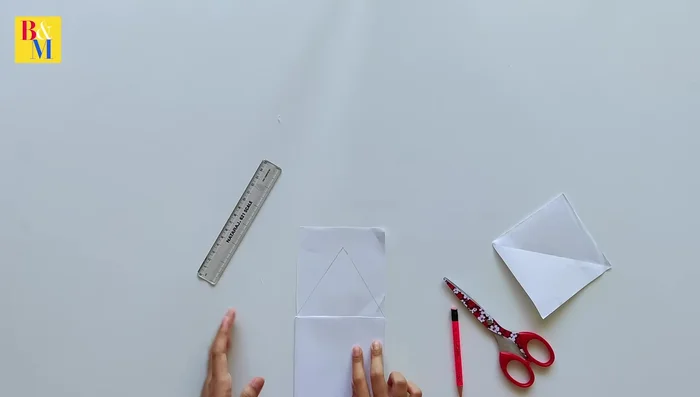
Prepare Materials Create the House Base
- Cut a section above the house base to create space for the house.
Design and Cut House Walls
- Draw and cut out the house walls on the other square paper. Consider a slightly slanted roof.
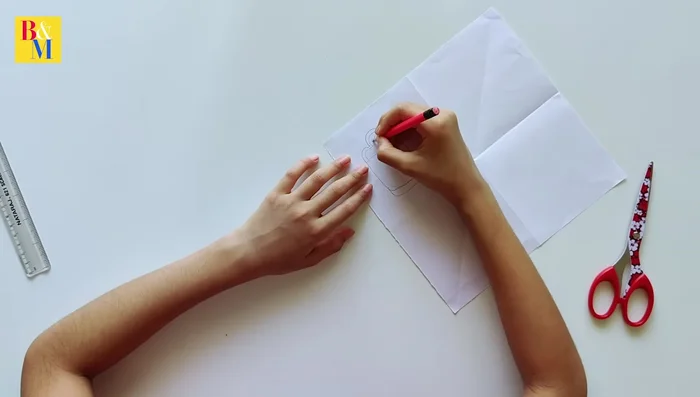
Design and Cut House Walls Decorate the Interior
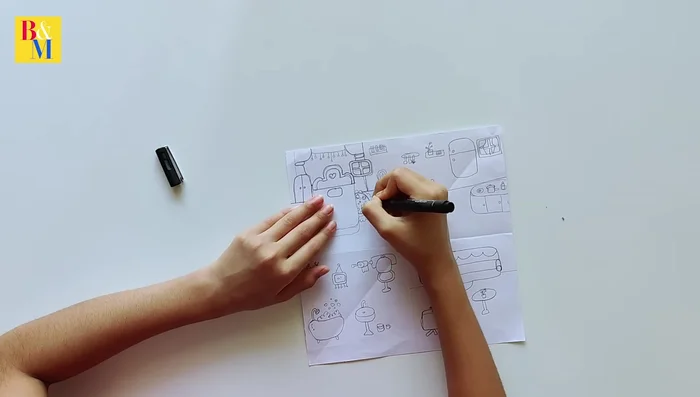
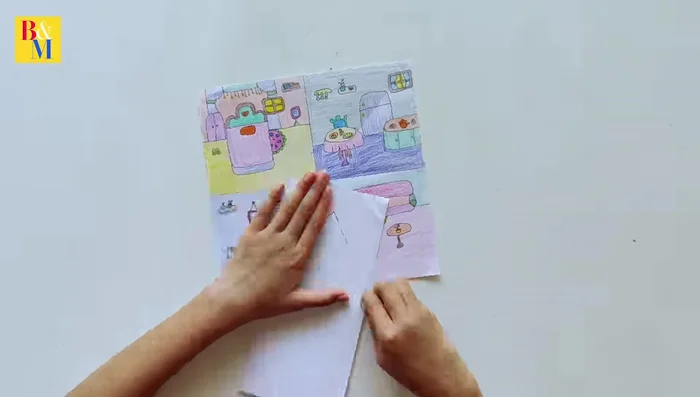
- Draw and color the rooms (bedroom, kitchen, bathroom etc.) on the house walls. Add details like furniture and decorations.
- Outline the drawings with a fine-line pen and erase pencil marks.
Decorate the Interior Construct the Roof
- Cut out roof pieces and add them to the house structure.
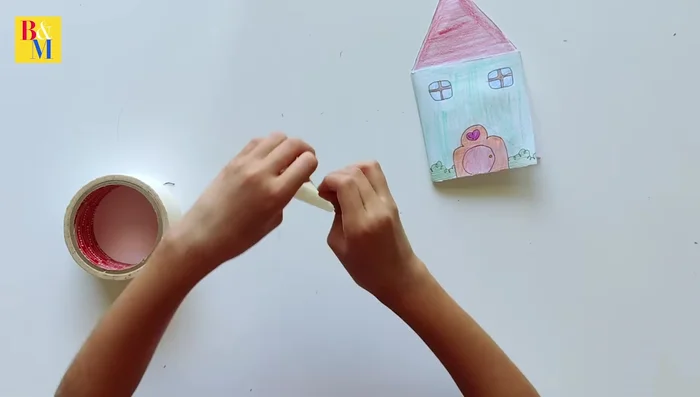
Construct the Roof Add Exterior Details
- Add a front door and windows.
- Create a small postcard-style sign for the house.
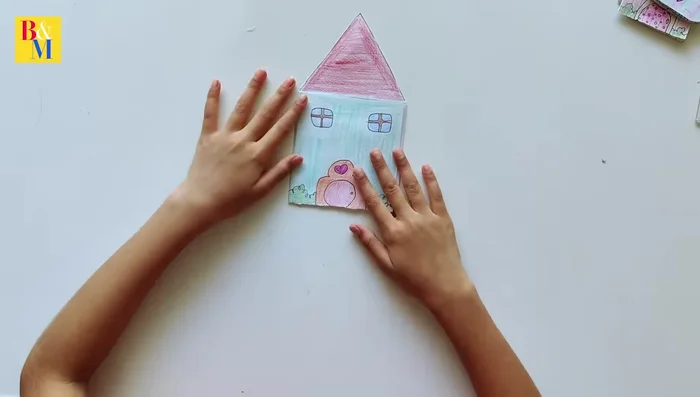
Assemble and Finalize
- Make a character sticker using masking tape and colored pencils.
- Assemble the house and add the character sticker.
Assemble and Finalize
Read more: Easy Origami Paper Box Tutorial: Step-by-Step Guide
Tips
- Use a fine-line pen for clean outlines.
- Divide rooms with lines to create separate floor and wall areas for different colors.
- Use clear tape to reinforce the character and prevent bending.