Step into the enchanting world of Japanese folklore and craft your own mystical kitsune mask! The kitsune, or fox spirit, holds a powerful place in Japanese mythology, known for its intelligence, magic, and sometimes mischievous nature. Creating a kitsune mask is a rewarding experience, allowing you to connect with this rich cultural heritage while unleashing your creativity. This comprehensive guide will take you through the process of crafting a beautiful and authentic-looking mask, from choosing the right materials to adding the finishing touches. You'll discover techniques to achieve the iconic features of the kitsune, such as its striking eyes and multiple tails.
This DIY project is perfect for beginners and experienced crafters alike, offering a flexible approach adaptable to various skill levels. Whether you're looking for a unique Halloween costume piece, a striking addition to your home decor, or simply a fun and engaging craft project, this guide will equip you with everything you need. Let's begin with the step-by-step instructions to crafting your very own captivating kitsune mask.
Preparation and Safety Guidelines
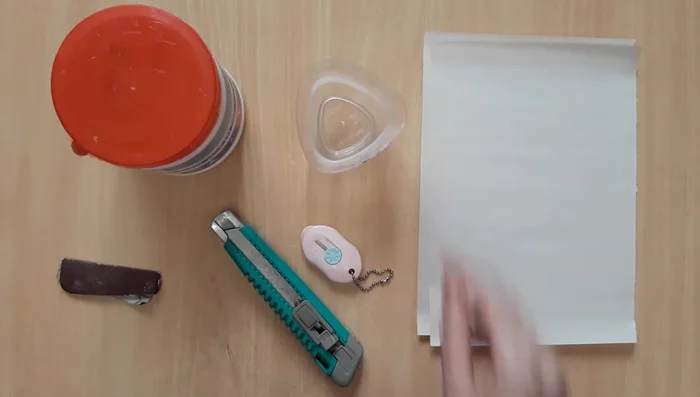
- Cereal box
- Cardboard
- Newsprint
- Masking tape
- PVA glue (or substitute)
- Water
- Acrylic paints
- Paintbrushes
- Macrame cord or elastic band
- Scissors
- Pencil
- Transfer paper (optional)
- Hot glue gun
- Always use sharp tools with caution and adult supervision, especially when working with children. Cutting and shaping materials can cause injury.
- Be mindful of paint fumes and ensure adequate ventilation when painting your mask. Use a well-ventilated area or wear a respirator if needed.
- Hot glue guns can cause burns. Handle with extreme care and avoid touching the hot glue nozzle. Use caution when applying hot glue near delicate materials.
Step-by-Step Instructions
Creating the Mask Base
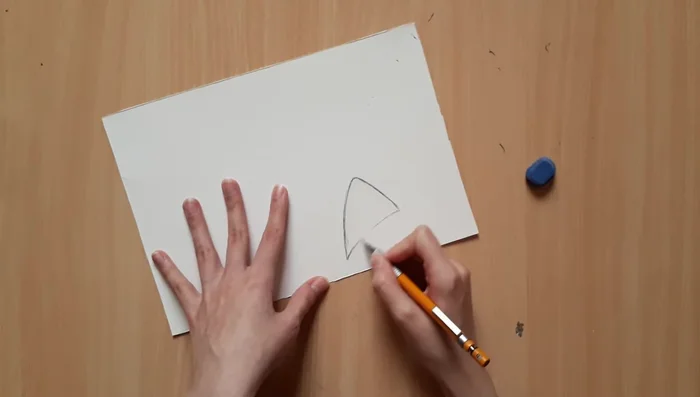
- Making the base mask from a cereal box.

Creating the Mask Base Constructing the Ears
- Creating the ears and attaching them to the mask.
Constructing the Ears Shaping the Snout
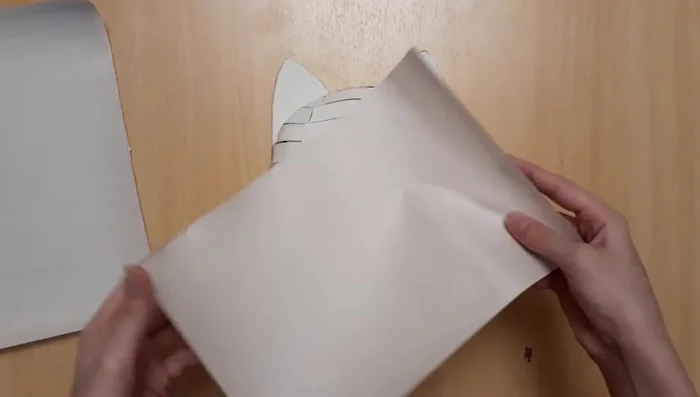
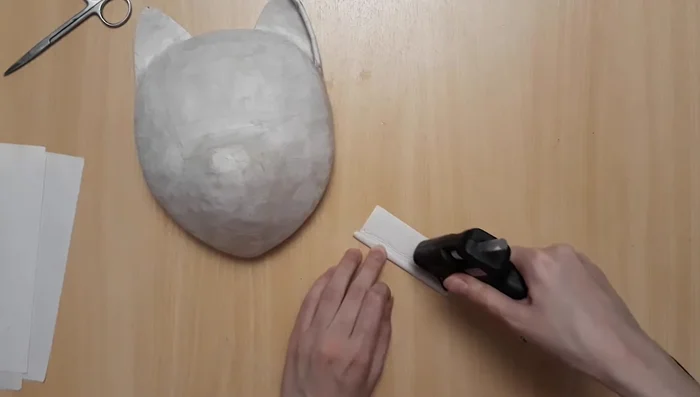
- Building up the snout using crumpled newsprint and securing it with masking tape.
Shaping the Snout Reinforcing with Paper Mache
- Applying paper mache to the entire mask for strength and smoothness.
Reinforcing with Paper Mache Adding Facial Details
- Adding details to the ears and forehead using paper and paper mache.
Adding Facial Details Cutting Eye Holes
- Cutting out the eye holes carefully after marking their positions.
Cutting Eye Holes Painting and Design
- Painting the mask with acrylic paints in desired colors and applying the design.
Attaching the Straps
- Attaching macrame cord or elastic band for wearing the mask.
Read more: 7 Top Paint Color Trends for 2024: A Complete Guide with Free Downloadable Resource
Tips
- Bend stiff cereal box strips over your thumbs for easier shaping.
- Cut strips into smaller pieces for smoother application on curved areas.
- Use masking tape on thin cardboard parts (like ears) before paper mache to prevent warping.
- Compress newsprint balls tightly for a more defined snout shape.
- Use smaller pieces of paper for curved areas during paper mache.