Farmhouse style is undeniably charming, and its rustic appeal often centers around beautifully crafted wooden signs. These decorative pieces can add a touch of warmth and personality to any room, but achieving those crisp, clean lines often seen in professional work can feel daunting for DIY enthusiasts. Fear not, aspiring crafters! This isn't some exclusive artisan skill; with the right techniques and a little patience, you can easily create stunning farmhouse wood signs that look professionally made. Forget wobbly lettering and uneven edges; we're focusing on precision and perfecting the craft.
This comprehensive guide will walk you through every step of the process, from selecting the perfect wood to achieving that coveted sharp finish. We'll explore various techniques for transferring designs, painting, and sealing your creation, ensuring your sign boasts those crisp lines you've always dreamed of. Ready to get started and create your own gorgeous farmhouse sign? Let's dive into the step-by-step instructions!
Preparation and Safety Guidelines
- Birch wood
- 1x2 wood
- Miter saw
- Pencil
- Orbital sander
- Sanding pads
- Stain (e.g., dark walnut Minwax)
- Paint (white and black)
- 4-inch paint roller
- Stencil vinyl (e.g., Oracal 813)
- Transfer tape
- Ruler
- Masking tape
- Weeding tool (dental pick recommended)
- Brad nailer (1 1/2 inch nails)
- Minwax Polycrylic
- Foam brush
- Always wear safety glasses to protect your eyes from wood splinters and flying debris when sawing, sanding, or staining.
- Use caution when working with power tools. Ensure they are properly plugged in, functioning correctly, and used according to the manufacturer's instructions.
- Proper ventilation is crucial when using paints, stains, or sealants. Work in a well-ventilated area or wear a respirator to avoid inhaling harmful fumes.
Step-by-Step Instructions
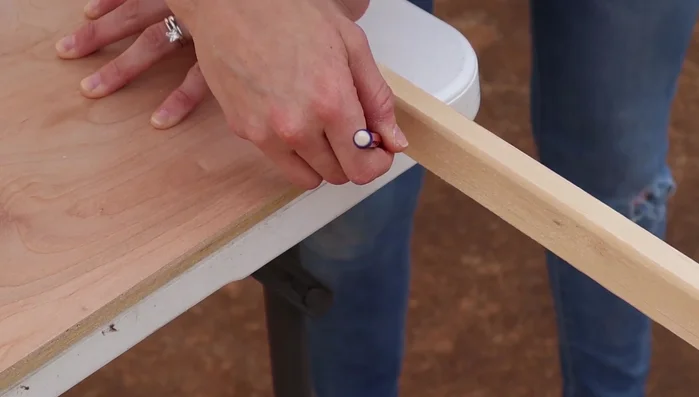
Prepare the Wood Sign
- Determine sign size, cut birch wood, and create a frame using 1x2s. Mark and cut the 1x2s precisely using a miter saw, ensuring accurate measurements.

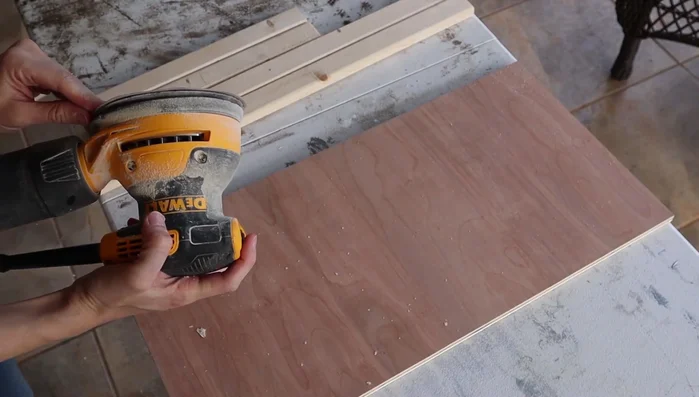
Prepare the Wood Sign Sand and Stain
- Sand the wood thoroughly for crisp lines. Use an orbital sander.
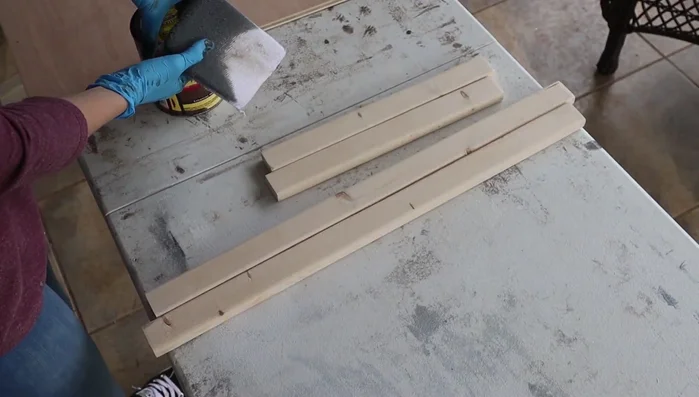
- Stain the frame (e.g., dark walnut). Apply stain using sanding pads.
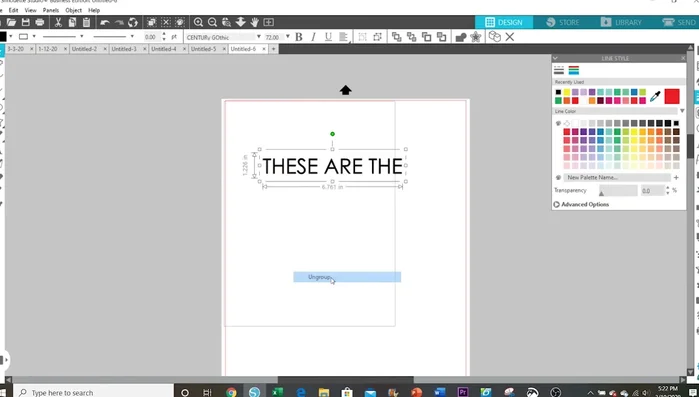
Sand and Stain Create and Apply Stencil
- Design and cut your stencil using software (e.g., Silhouette Studio).
- Weed your stencil and apply it to the sign using transfer tape. Ensure proper alignment and centering, using a ruler and masking tape.
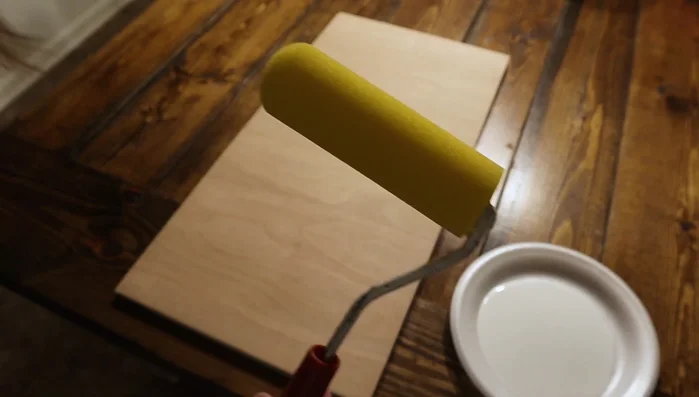
- Apply a layer of white paint over the stencil to prevent bleeds.
Create and Apply Stencil Paint the Sign
- Paint the sign with two coats of white paint, letting it dry fully.
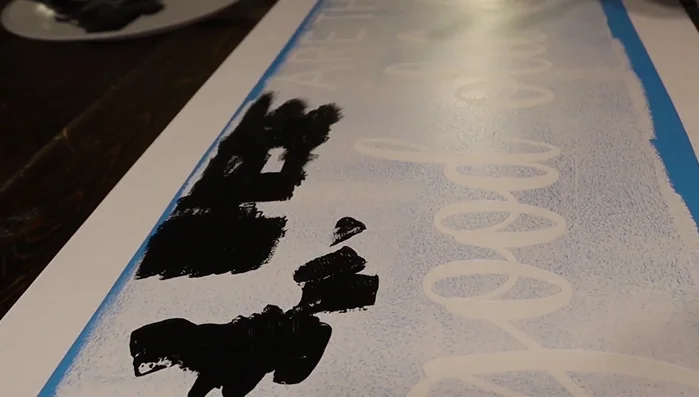
- Apply black paint using a dabbing motion, avoiding globs to prevent bleeding. Let it dry completely.
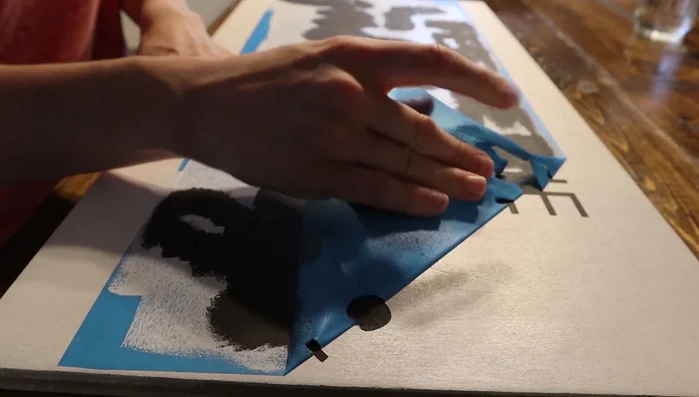
Paint the Sign Remove Stencil
- Peel the stencil off once the paint is completely dry. Weed out excess vinyl.
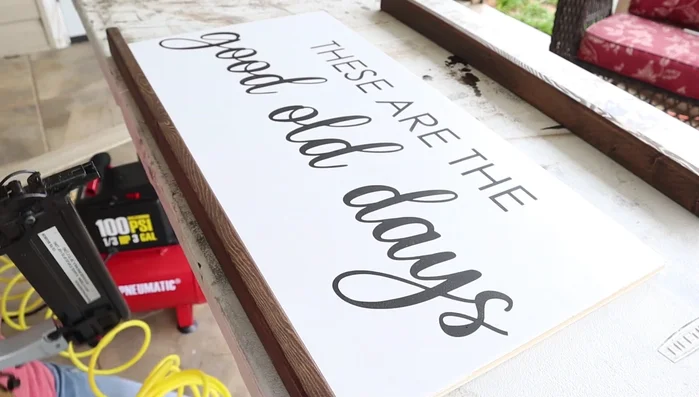
Remove Stencil Attach Frame
- Attach the frame to the sign using a brad nailer and 1 1/2 inch nails.
Attach Frame Seal and Finish
- Apply Minwax Polycrylic to protect the stain and enhance the color. Let it dry fully.
Seal and Finish


Read more: 7 Top Paint Color Trends for 2024: A Complete Guide with Free Downloadable Resource
Tips
- Sand the birchwood really well for crisp lines.
- Peel stencil vinyl when fully dry to avoid bleeding.
- Use a dental pick for weeding—it works better than the standard Silhouette tool.
- Use the edge of a table to help hold the nailer steady for consistent nail placement.