Spring has sprung, and Easter is just around the corner! This year, ditch the store-bought decorations and add a touch of handmade charm to your home with a delightful DIY Easter bunny wreath. This charming craft project uses readily available materials, primarily paper doilies, transforming them into a whimsical and festive decoration that's perfect for hanging on your front door or adding a touch of Easter cheer to any room. The delicate texture of the doilies creates a unique and elegant aesthetic, significantly different from typical Easter decorations. Forget expensive and impersonal store-bought options; this project allows you to personalize your Easter décor to reflect your own style and creativity.
This simple yet stunning wreath is incredibly easy to make, even for beginners. Get ready to unleash your inner crafter with our easy-to-follow, step-by-step guide, which will walk you through the process from start to finish, ensuring you create a beautiful Easter bunny wreath to be proud of. Let's hop into it!
Preparation and Safety Guidelines
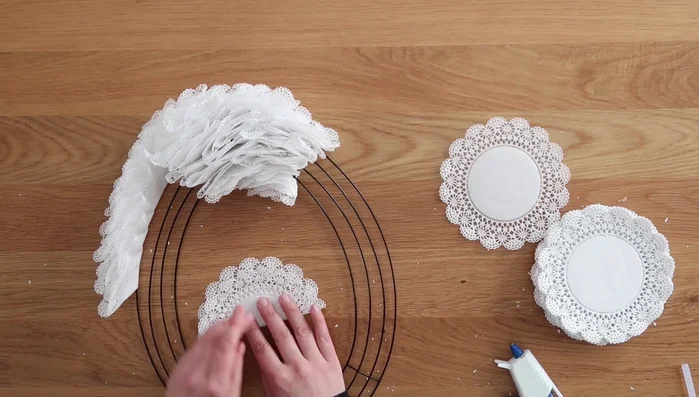
- Paper doilies (6 inches in diameter)
- Wreath form
- Hot glue gun
- Teal ribbon
- White Chenille ribbon
- Checkered ribbon
- Hanging sign (optional)
- Pipe cleaner
- Always supervise children when using scissors or hot glue.
- Use caution when handling sharp objects like wire or floral picks. Consider using blunt-tipped alternatives if working with children.
- Ensure the wreath is hung securely to avoid accidents. Avoid placing it near anything flammable, especially candles.
Step-by-Step Instructions
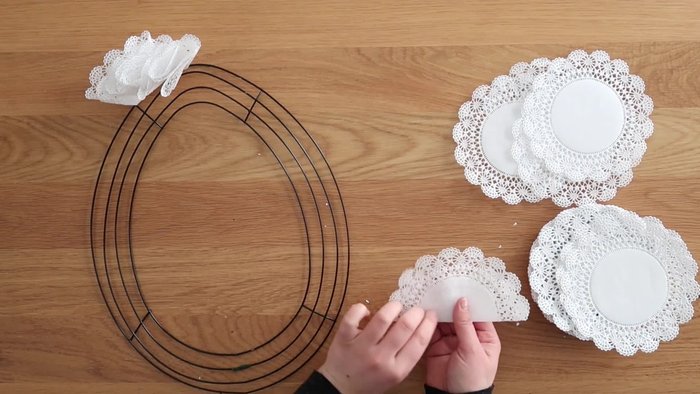
Prepare the Doilies
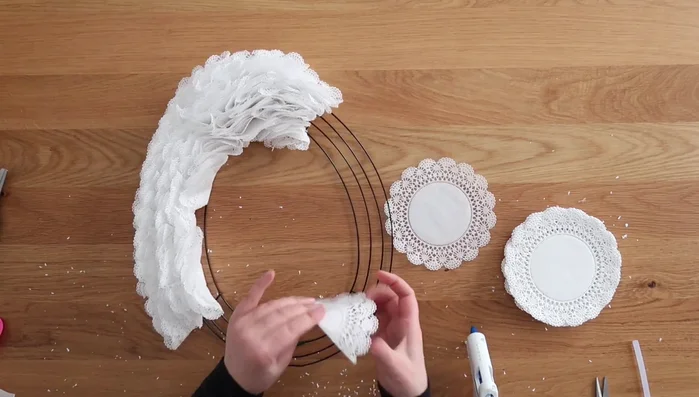
- Fold each paper doily in half, slightly offsetting the middle seam to create dimension. Then, fold it into thirds, forming a cone shape.

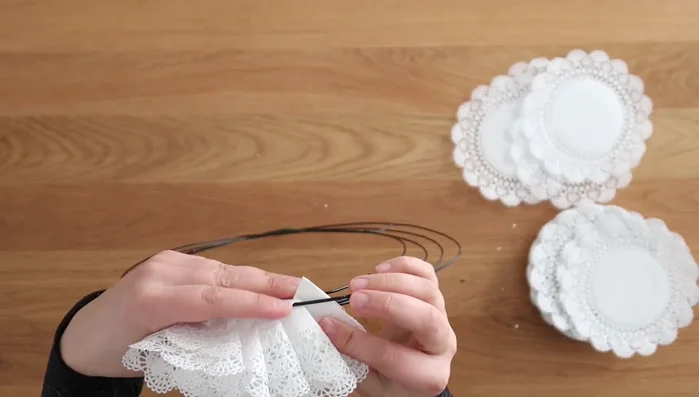
Prepare the Doilies Attach Doilies to Wreath
- Apply hot glue to the pointy end of the cone.
- Poke the pointy end through a section of the wreath form and secure it with hot glue.
- Hot glue the tail end of the doily over to secure it to the wreath.
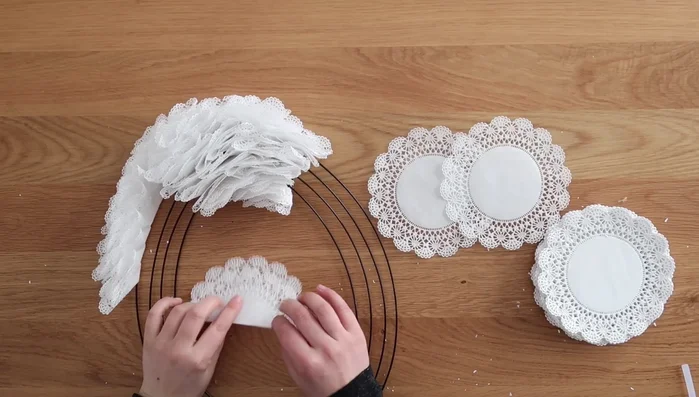
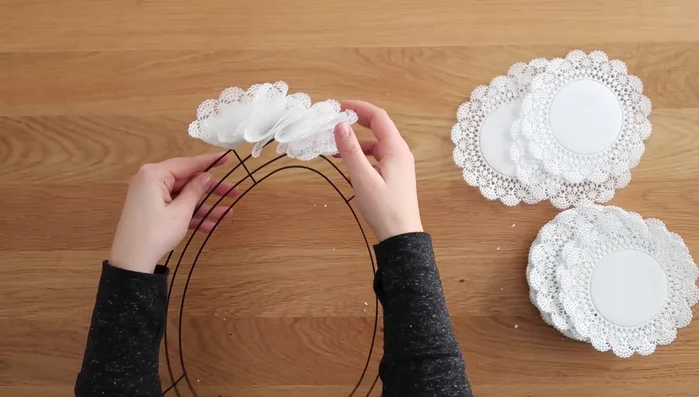
Attach Doilies to Wreath Cover the Wreath with Doilies
- On the outermost rungs, overlap the paper doilies significantly to hide the wire.
- On the middle rungs, you can space the doilies slightly more.
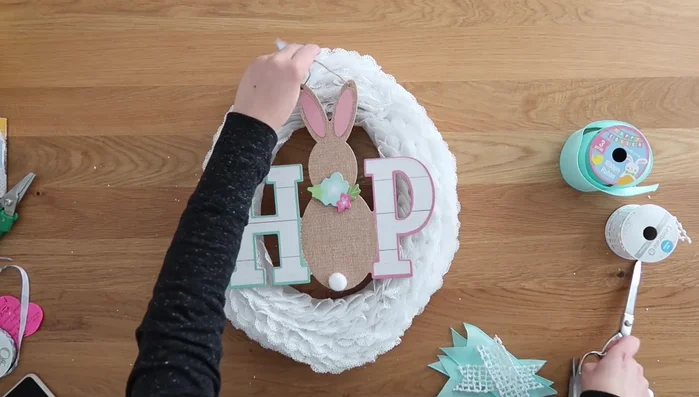
- Repeat steps 1-6 until the entire wreath is covered with doilies.
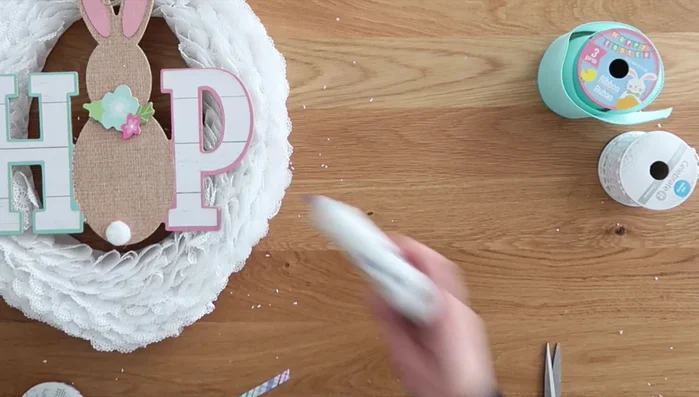
Cover the Wreath with Doilies Add a Hanging Sign (Optional)
- Attach a hanging sign (optional) to the wreath using hot glue.
Add a Hanging Sign (Optional) Make and Attach the Bow
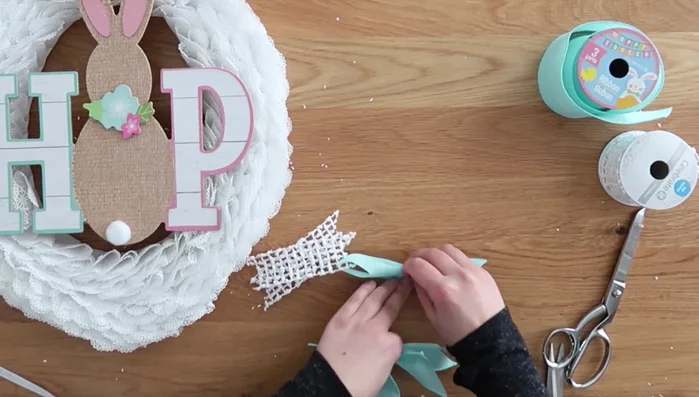
- Make a bow using teal and white chenille ribbons. Secure the center with a pipe cleaner and wrap the pipe cleaner with checkered ribbon to hide it.
- Glue the bow onto the wreath, covering the sign's attachment point.
Make and Attach the Bow

Read more: Easy Origami Paper Box Tutorial: Step-by-Step Guide
Tips
- Offsetting the fold on the doilies adds dimension to the wreath.
- Apply hot glue before poking the doily through the wreath form for easier handling.
- Significantly overlap doilies on the outer rungs to conceal the wreath's wire frame.
- Use a pipe cleaner to secure the bow and cover it with ribbon for a neat finish.