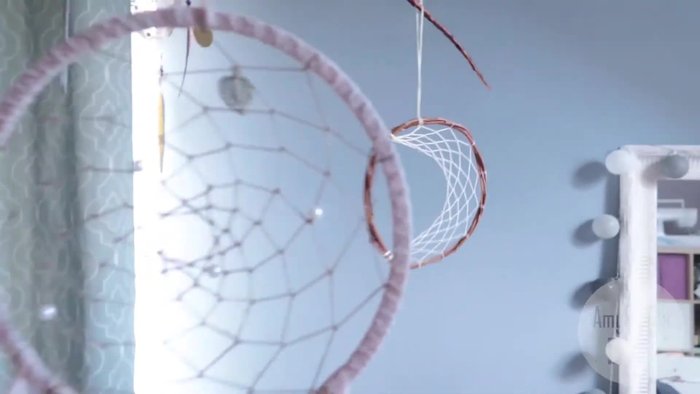
Dream catchers, with their intricate designs and mystical allure, have become a popular element of home décor, adding a touch of bohemian charm to any space. More than just a pretty decoration, they hold symbolic meaning, representing protection and sweet dreams. But the price tags on store-bought dream catchers can be surprisingly high. Fortunately, creating your own stunning dream catcher is easier than you think! With readily available materials and a little creativity, you can craft a unique piece perfectly suited to your style and home.
This guide offers three simple methods, perfect for beginners and seasoned crafters alike, to weave your own beautiful dream catcher. From basic hoops to more intricate designs, we'll walk you through each step, equipping you with the knowledge and confidence to create a captivating piece that will transform your room. Let's dive into the step-by-step instructions and start making your dream catcher!
Preparation and Safety Guidelines
- Willow twig
- Cardboard
- Saucers
- Glue gun
- Rope
- Lace
- Threads
- Ribbons
- Wooden base (optional)
- Needle
- Beads
- Feathers
- Always use sharp objects like scissors and needles with adult supervision, especially with children involved. Be mindful of potential cuts.
- Ensure all materials are securely fastened to prevent small parts from detaching and posing a choking hazard, particularly if the dream catcher is for a child's room.
- Avoid using materials that are flammable near open flames or heat sources.
Step-by-Step Instructions
Create the Base
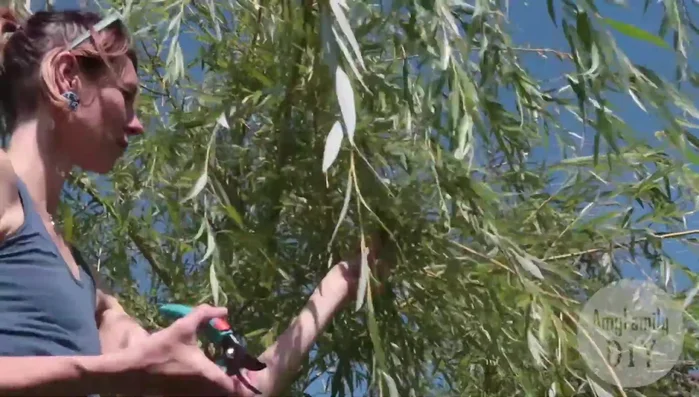
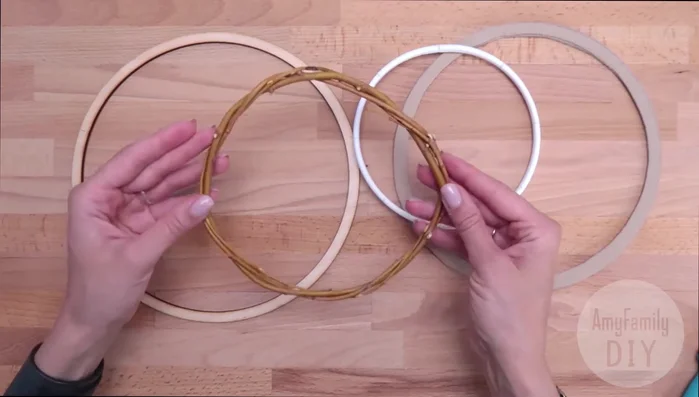
- Choose from willow twig, cardboard, or a pre-made wooden base.
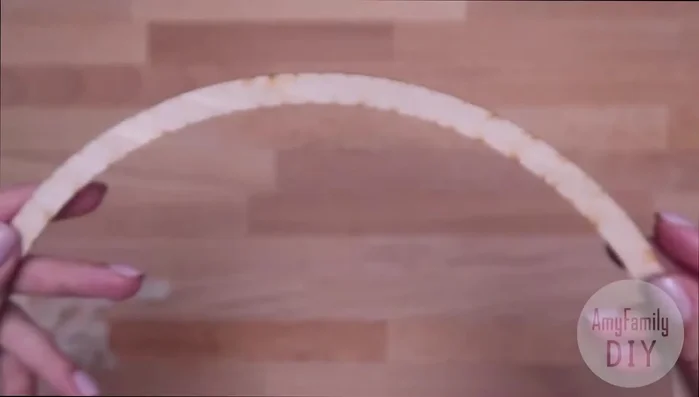
- Find a long, thin, even twig. Remove leaves and bumps. Roll and shape into a ring. Let it dry for a couple of days.
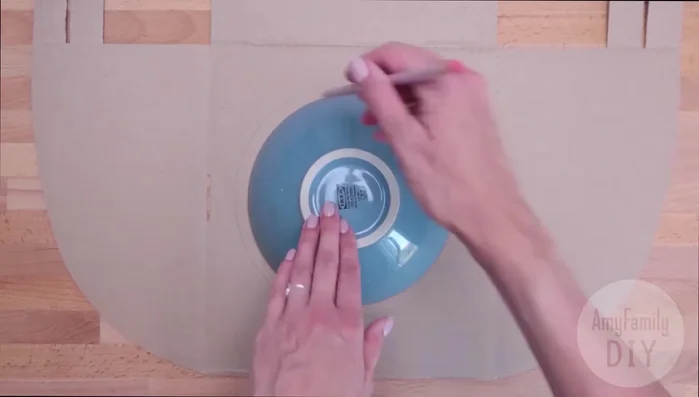
- Use two saucers to trace a ring onto cardboard. Cut out and glue multiple layers together for sturdiness.
- Purchase a pre-made wooden base from a craft store.

Create the Base Wrap the Base
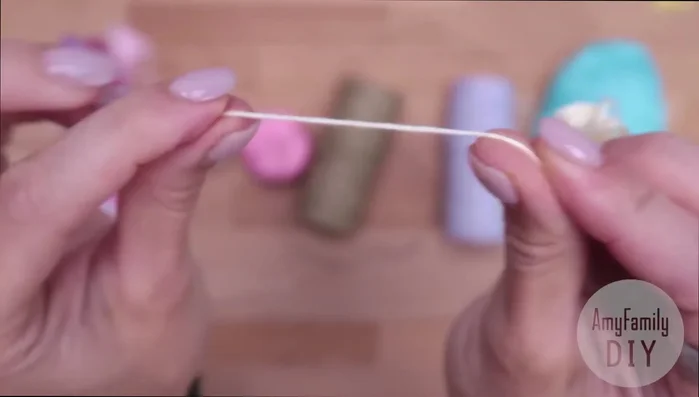
- Use lace, ribbons, threads, rope, or decorative elements to cover the base.
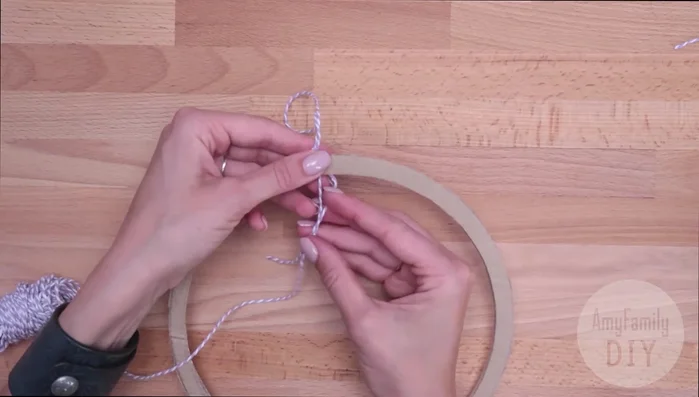
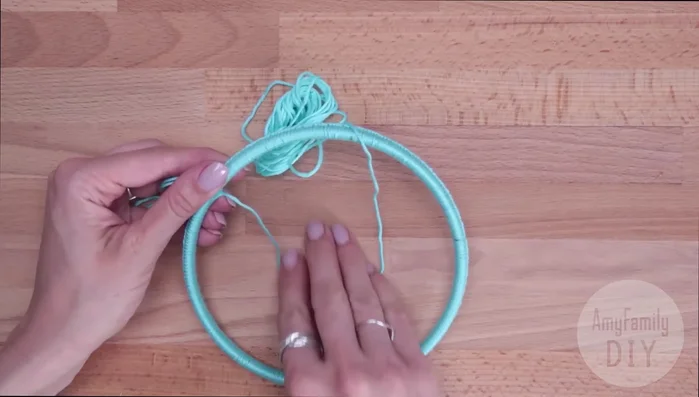
- Secure a thread, create a loop for hanging, and wind the thread tightly around the base, overlapping each loop.
- Fold thread in half, create a hanging loop. Use a small ball of thread to secure the thread to the base and create a row of knots around the perimeter.
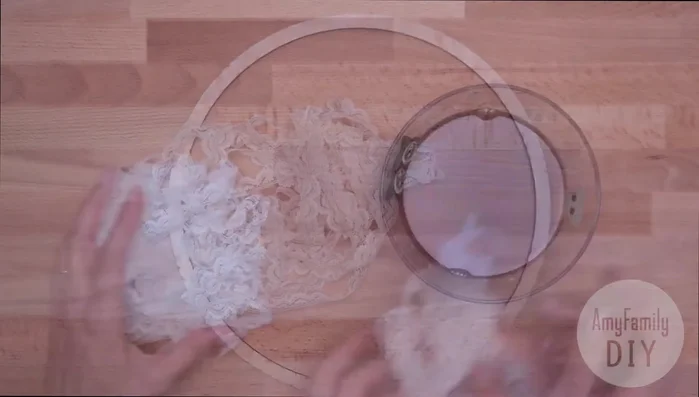
- Wrap lace around the wooden base, slightly overlapping.
Wrap the Base Weave the Dreamcatcher
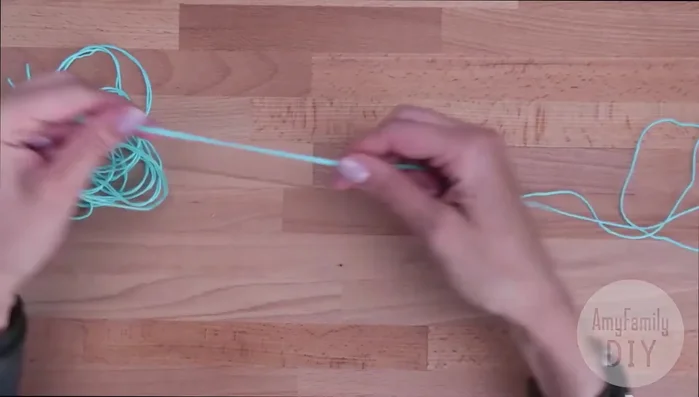
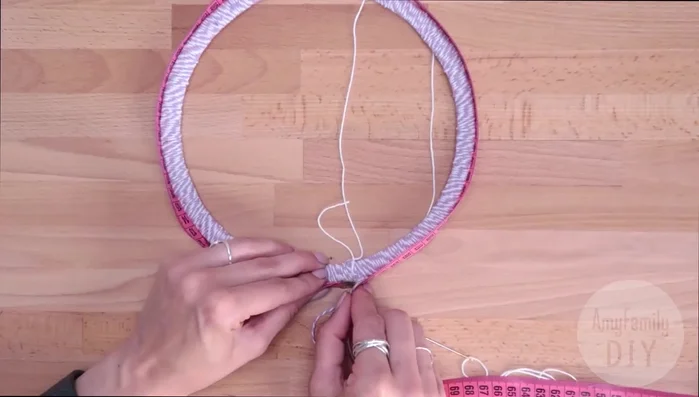
- Use cotton thread or moulinae. Calculate the spacing between tops (circumference/desired number of tops + 0.5). Mark the base for convenience.
- Secure thread to the base, create a loop and pull the thread ball through the loop. Repeat, tightening each loop.
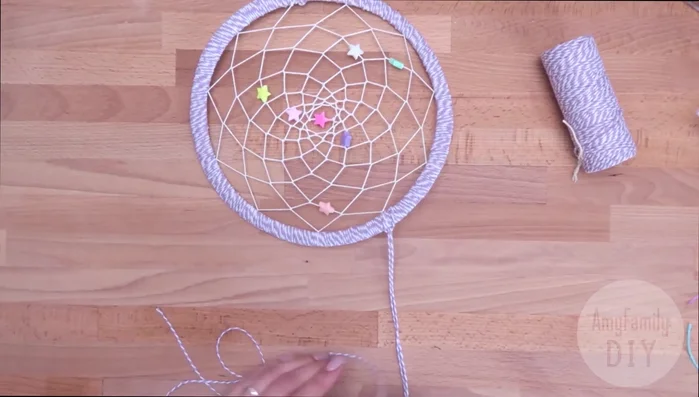
- Use a large needle to weave the thread around the base, creating loops and tightening each one. Add beads as desired.
Weave the Dreamcatcher Decorate the Dreamcatcher
- Add feathers, beads, or tassels to the bottom. Secure with glue or knots.
Decorate the Dreamcatcher
Read more: Easy Origami Paper Box Tutorial: Step-by-Step Guide
Tips
- For the willow twig base, ensure it's completely dry before using it.
- Use a glue gun to secure knots and embellishments for extra durability.
- When using the needle method, string beads onto the needle before weaving for efficient decoration.