Transforming plain wood into personalized masterpieces is easier than you think! Contact paper, that often-overlooked household staple, offers a surprisingly versatile and affordable solution for achieving professional-looking results on your next woodworking project. Forget expensive stencils and complicated techniques; with a little creativity and this simple material, you can create intricate designs on furniture, shelves, or even small crafts, adding a unique touch without the hefty price tag. This method allows for intricate designs and easy cleanup, making it perfect for both seasoned crafters and enthusiastic beginners.
Using contact paper to make your own stencils opens up a world of design possibilities. Whether you're aiming for geometric patterns, floral motifs, or even custom lettering, the limitations are only your imagination. For a detailed, step-by-step guide on crafting your own contact paper stencils and applying them flawlessly to your wood projects, read on!
Preparation and Safety Guidelines
- Contact paper (solid color recommended)
- Weeding tool (sharp tip)
- Silhouette Cameo (or Cricut)
- Scissors
- Ruler
- Chalk Paint
- Foam paint brushes
- Always work in a well-ventilated area. Contact paper adhesives can release fumes.
- Use caution when using a utility knife or X-ACTO knife to cut the contact paper. Keep blades sharp to prevent slipping and injuries.
- Ensure your wood surface is clean and dry before applying the contact paper stencil. Dust and debris can interfere with adhesion.
Step-by-Step Instructions
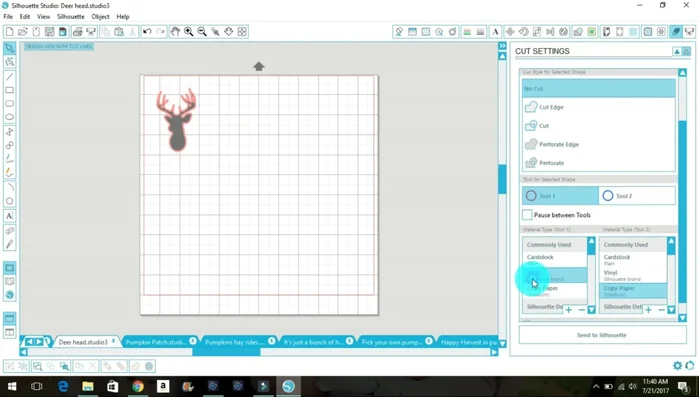
Design and Prepare
- Prepare your design in Silhouette Studio (or Cricut Design Space). Size it to fit your wood, leaving a 0.5-1 inch border.

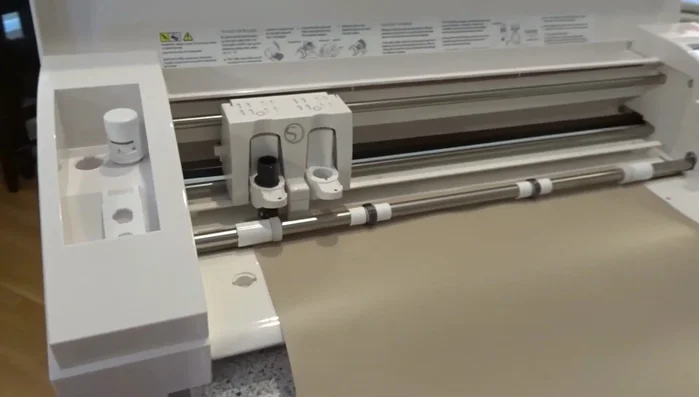
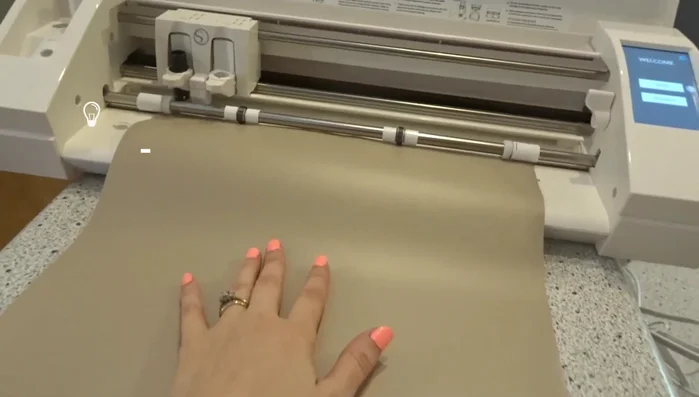
Design and Prepare Prepare Contact Paper and Machine
- Load a 12x12 inch (or larger) sheet of contact paper into your cutting machine. (Consider cutting the contact paper slightly larger than 12 inches for leeway).
- Ratchet blade at setting 3, speed at 8, thickness at 3 (adjust as needed for your machine).
Prepare Contact Paper and Machine Cut the Stencil
- Cut your design.
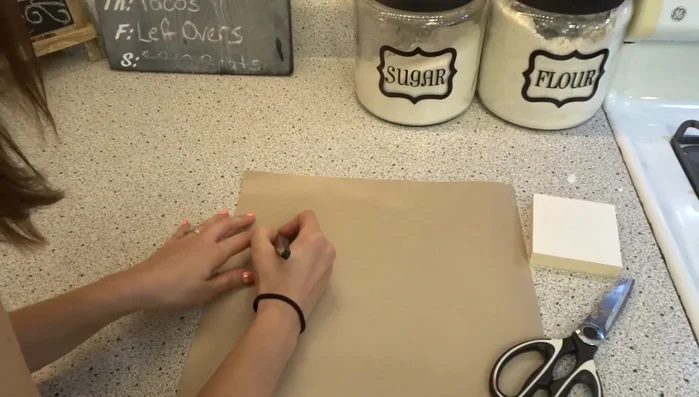
Weed the Stencil
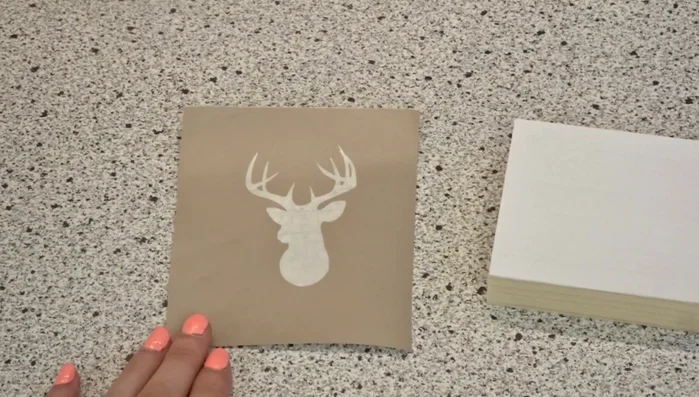
- Weed the contact paper, carefully removing the negative space around your design using the weeding tool and scissors. Ensure a border remains.
Weed the Stencil Position and Apply Stencil
- Position the stencil onto your prepared wood piece (painted with chalk paint). Use a ruler or eyeball to ensure even placement.
- Carefully adhere the stencil to the wood. Press firmly from the center outwards, ensuring no air bubbles are trapped.
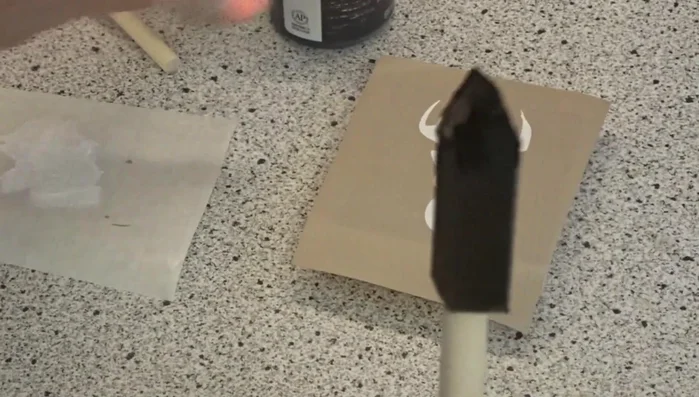
Position and Apply Stencil Paint the Design
- Apply paint using a dry brushing technique with a foam brush. Use multiple thin coats to avoid bleed-through. Let each coat dry completely before applying the next.
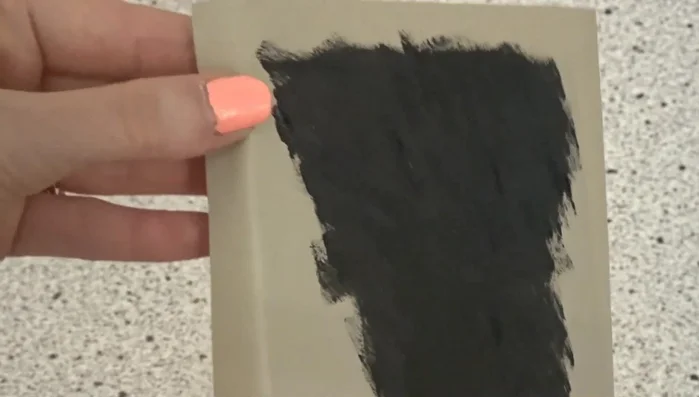
Paint the Design Reveal the Design
- Once dry, carefully peel away the contact paper stencil to reveal your design.
Reveal the Design

Read more: Easy Origami Paper Box Tutorial: Step-by-Step Guide
Tips
- Use solid-colored contact paper for easier weeding.
- Cut contact paper 13 inches wide to allow for adjustments during cutting.
- Use chalk paint as a base coat on wood for better stencil adhesion and less bleed-through.
- Use a sharp weeding tool to easily remove small stencil details.
- Do not use transfer tape with contact paper stencils.