Add a touch of handcrafted charm to your home with this easy-to-follow guide on creating stunning DIY clay wall hangings. These unique pieces are perfect for adding a personal touch to any room, from a rustic living room to a bohemian bedroom. Whether you're a seasoned crafter or a complete beginner, this project is surprisingly accessible, requiring only a few basic materials and a little patience. The beauty of clay lies in its versatility; you can mold it into countless shapes and personalize it with textures, colors, and embellishments to perfectly reflect your style.
Forget expensive store-bought décor! This guide will walk you through each stage of the process, from preparing your clay and shaping your design to firing and finishing your masterpiece. Let's dive into the step-by-step instructions and transform plain clay into a beautiful, handcrafted wall hanging that you'll cherish for years to come.
Preparation and Safety Guidelines
- Polymer clay
- Clay roller
- Knife
- Paper stencils
- Needle
- String or thread
- Wooden beads (optional)
- Cookie sheet
- Oven
- Always work in a well-ventilated area. Clay dust can be irritating to the lungs.
- Ensure surfaces are covered to protect them from clay and glaze. Clean up spills immediately.
- If using a kiln, follow all manufacturer's safety instructions carefully. High temperatures pose a burn risk.
Step-by-Step Instructions
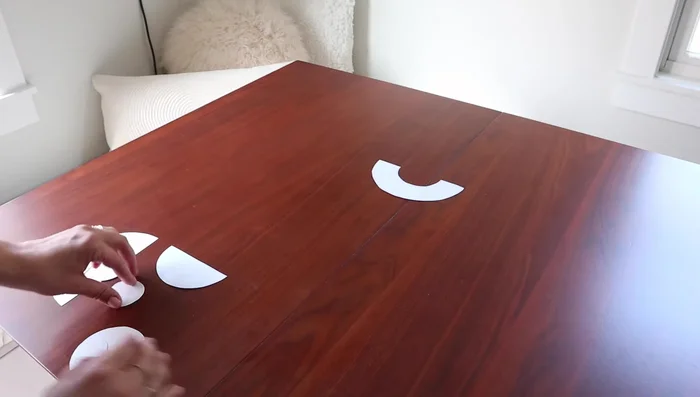
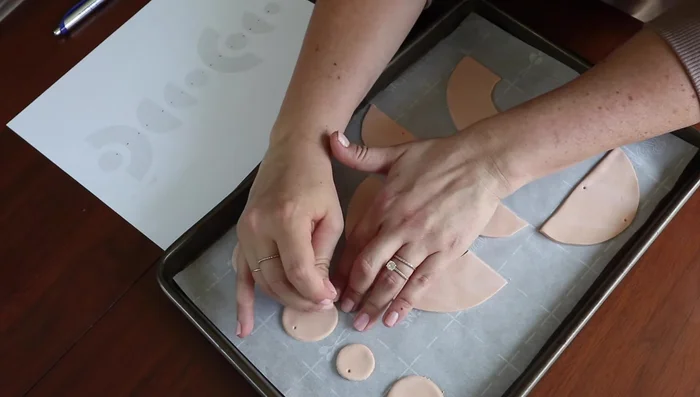
Plan and Prepare
- Prepare paper stencils and plan your layout.

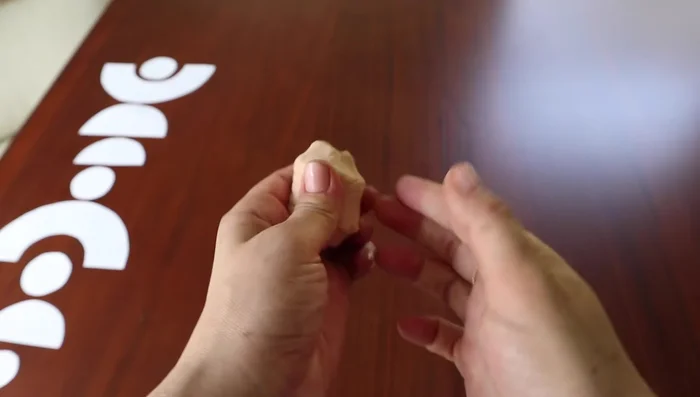
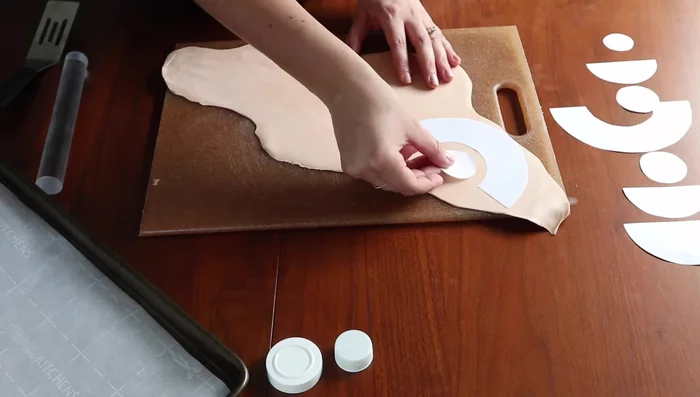
Plan and Prepare Prepare the Clay
- Soften the clay and roll it out thinly.
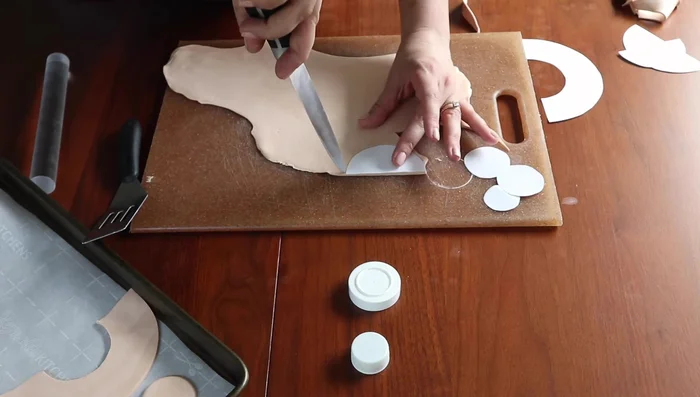
Prepare the Clay Cut and Shape
- Cut out clay shapes using stencils.
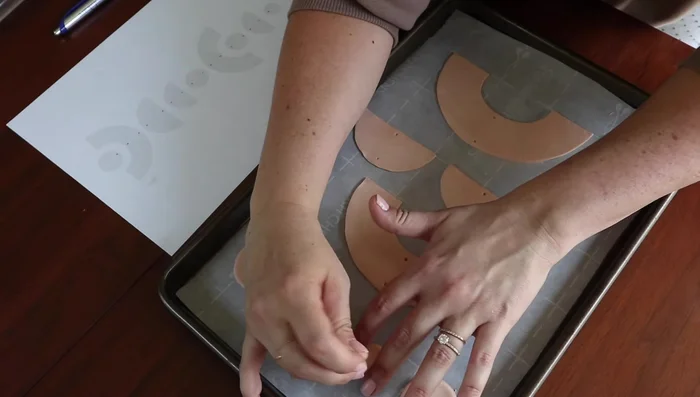
Cut and Shape Bake the Clay
- Place clay pieces on a cookie sheet for baking.
- Bake the clay according to package instructions (275°F for 15 minutes).
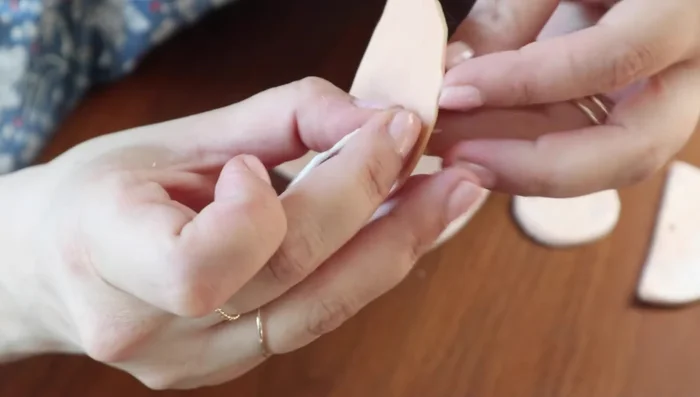
Bake the Clay Prepare for Stringing
- Use a needle to create holes for stringing.
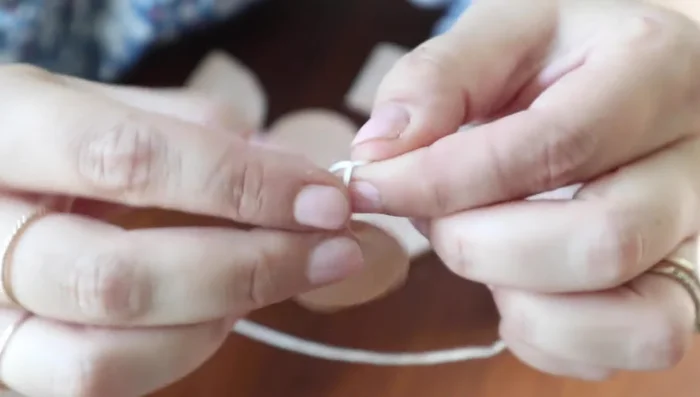
Prepare for Stringing Assemble the Hanging
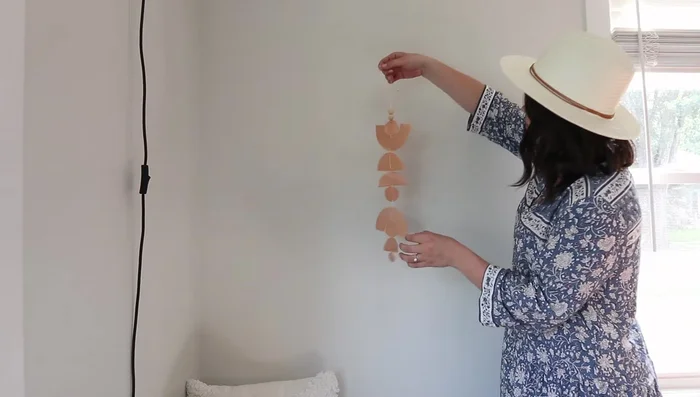
- String the clay pieces together, starting from the bottom and working upwards. Secure the bottom with knots.
- Thread through the back of the clay pieces, leaving the excess thread facing the wall.
Assemble the Hanging Finishing Touches
- Finish with a wooden bead (optional).
Finishing Touches
Read more: Hang Your Clay Creations: The No-Hole Hanger Method
Tips
- Use paper stencils to plan your layout and ensure you have enough clay pieces.
- Roll the clay as thinly as possible for a delicate look.
- Secure the bottom of the hanging with multiple knots for stability.