Craving a touch of rustic elegance in your home decor? Look no further than this simple yet stunning DIY clay slab tray. This project combines the earthy charm of pottery with the satisfying process of creating something beautiful with your own hands. Forget expensive store-bought options; learn how to craft a unique, personalized tray that perfectly complements your style. The result is a functional and aesthetically pleasing piece, perfect for serving appetizers, holding jewelry, or simply adding a touch of handmade charm to any room. This technique is surprisingly accessible, even for beginners.
We’ll guide you through each step, from preparing the clay to adding the elegant foot ring and sturdy handles. This DIY project is all about simple techniques that deliver impressive results. Ready to get your hands dirty and create your own clay slab tray? Let's dive into the step-by-step process!
Preparation and Safety Guidelines
- Clay
- Rolling pin
- Slab sticks
- Styrofoam tray
- Corn holder
- Pliers
- Red rib
- Plastic wrap
- MKM roller (optional)
- Piece of wood (optional)
- Exacto knife
- Paint brush
- Slip
- Always use a well-ventilated area when working with clay. Dry clay dust can irritate lungs.
- Wear gloves to protect your hands from clay and any potential chemicals used (like release agents).
- Ensure your clay is completely dry before firing in a kiln to prevent cracking or explosion. Follow kiln instructions carefully.
Step-by-Step Instructions
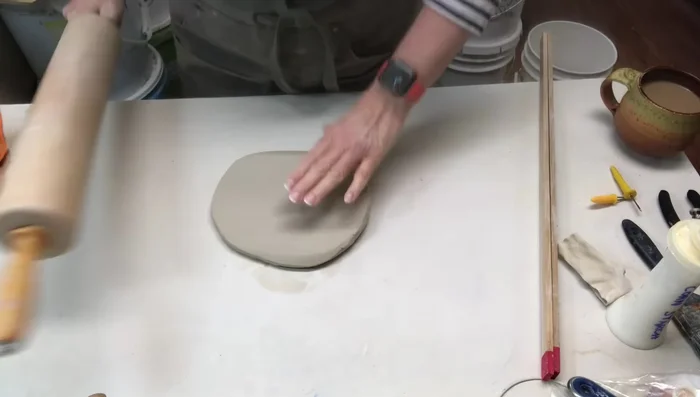
Prepare the Clay
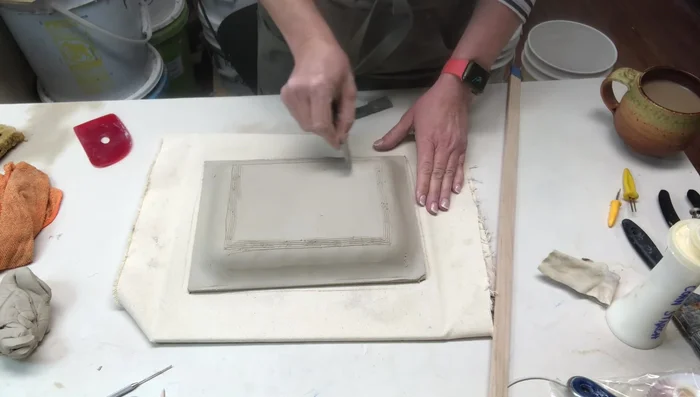
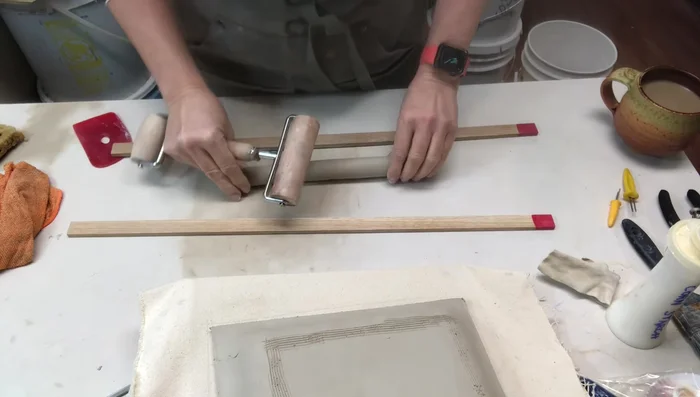
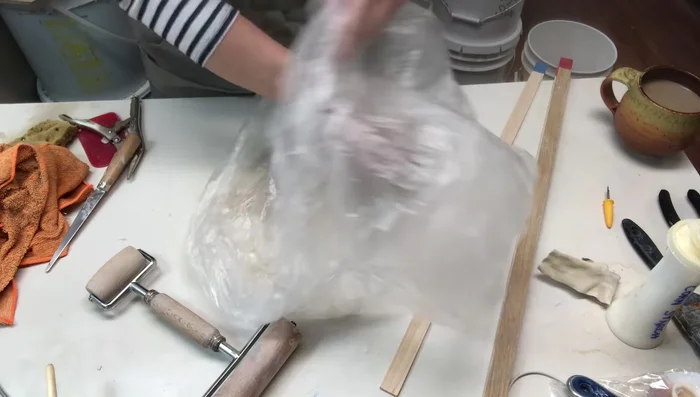
- Wedging and rolling out the clay to an even thickness using slab sticks.
- Ribbing both sides of the clay slab for strength and adding texture using a rib or a piece of wood.

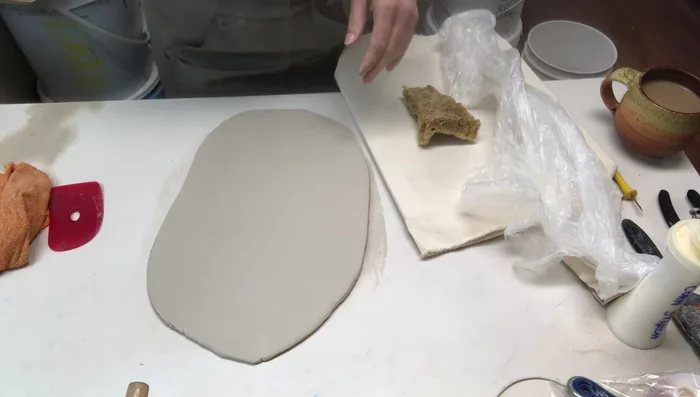
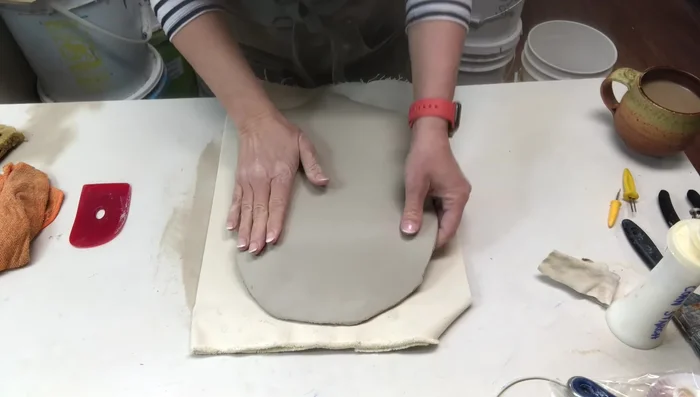
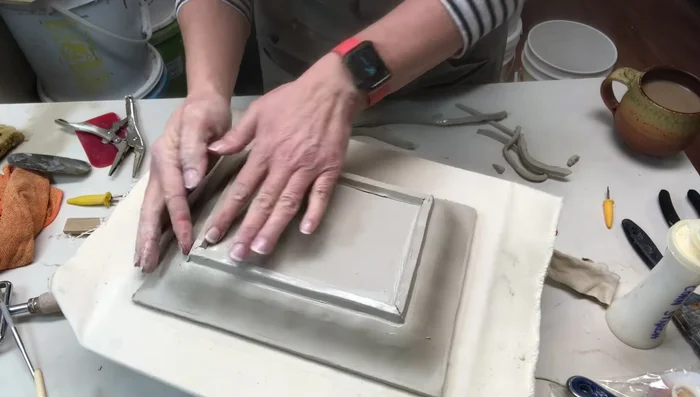
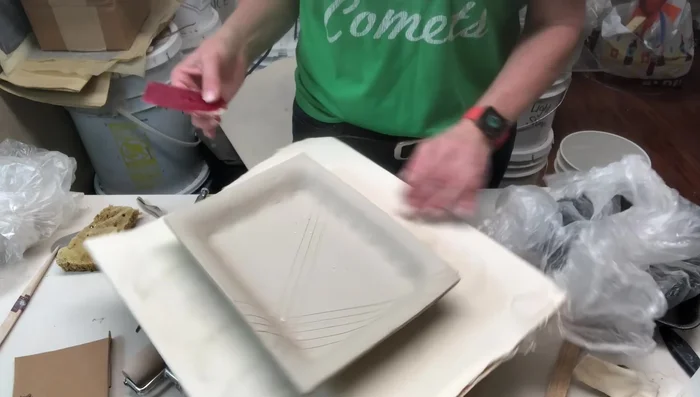
Prepare the Clay Create the Clay Slab Base
- Wrapping the styrofoam tray in plastic and laying the clay slab on top, gently ribbing it to adhere.
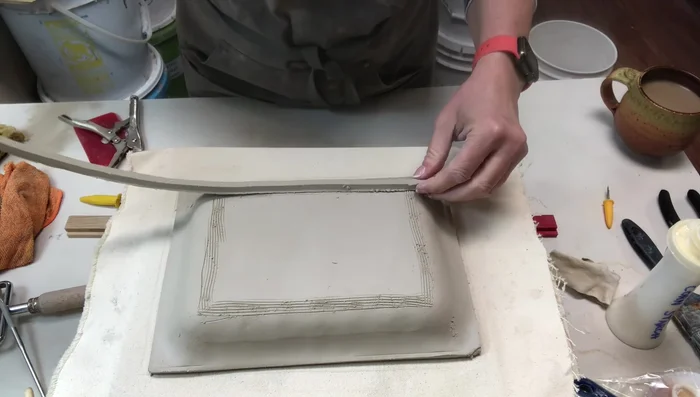
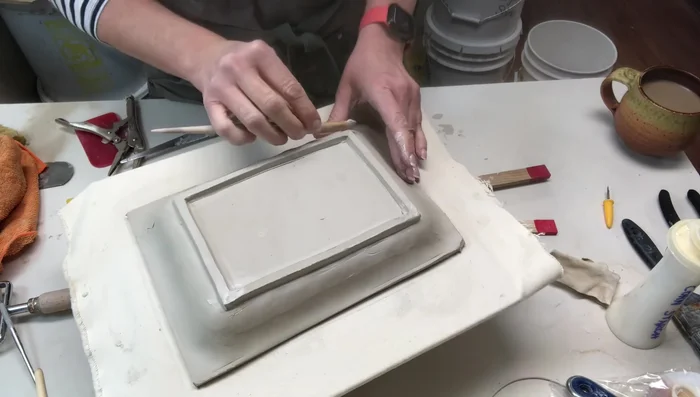
- Trimming excess clay and making the edges even.
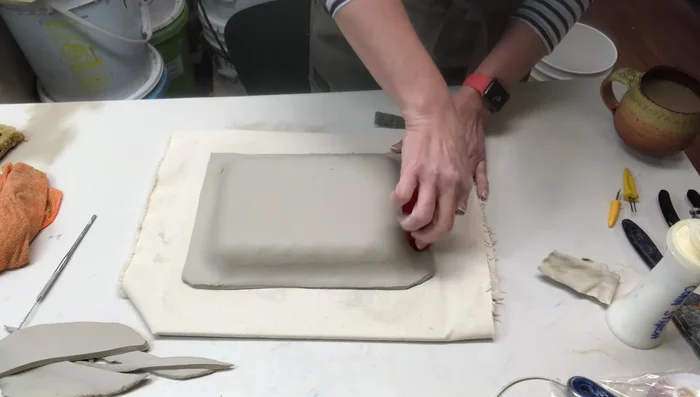
Create the Clay Slab Base Prepare the Foot Ring
- Marking and scoring the location for the foot ring.
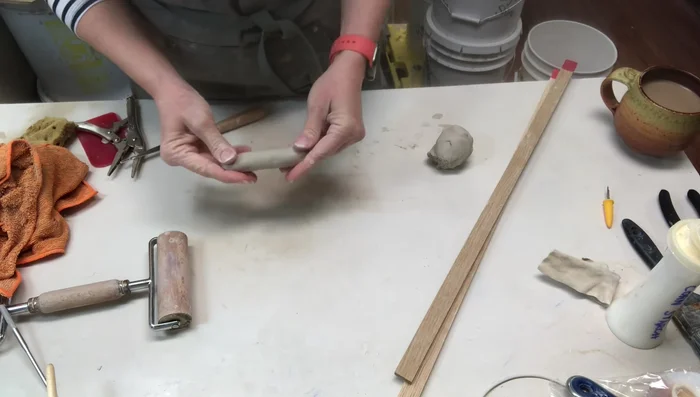
- Creating the foot ring using coils, flattening and using slab sticks to create even thickness.
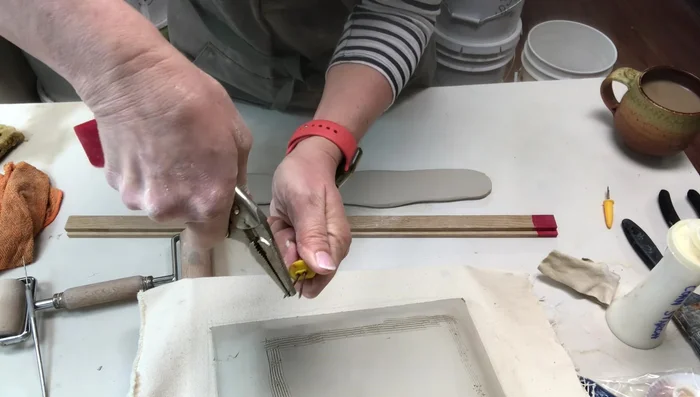
- Modifying a corn holder into a cutter to create evenly shaped foot ring pieces.
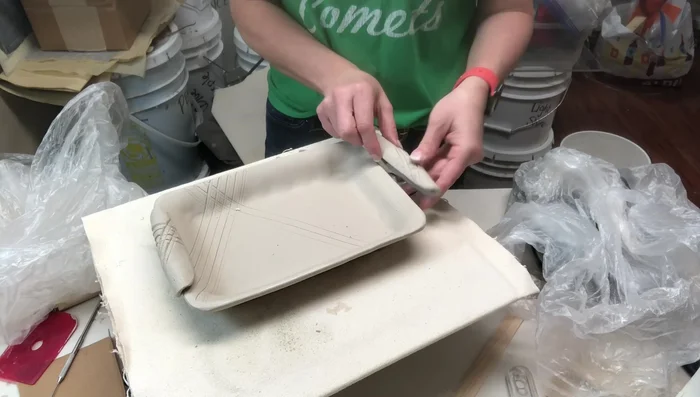
Prepare the Foot Ring Attach the Foot Ring
- Scoring and slipping the foot ring pieces and attaching them to the tray.
- Compressing the foot ring to ensure a strong bond.
- Smoothing out any gaps or tool marks with a wooden tool and a paint brush.
Attach the Foot Ring Create Handles (Optional)
- Creating handles (optional) by making coils, flattening and shaping them, and adding texture.
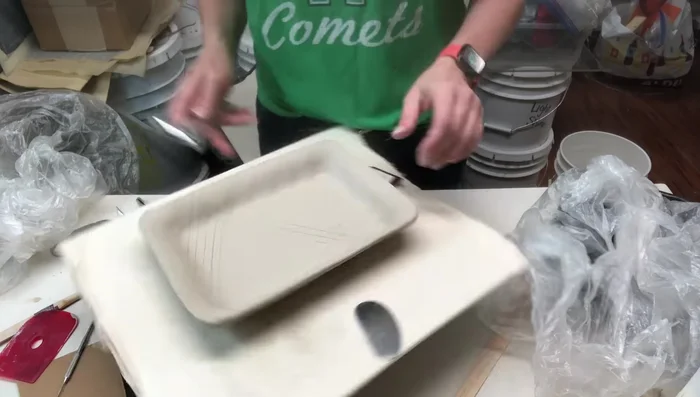
Create Handles (Optional) Remove from Mold & Initial Shaping
- Setting the tray aside to become leather hard, then flipping it over to remove the styrofoam tray.
- Cleaning up the interior and trimming the corners.
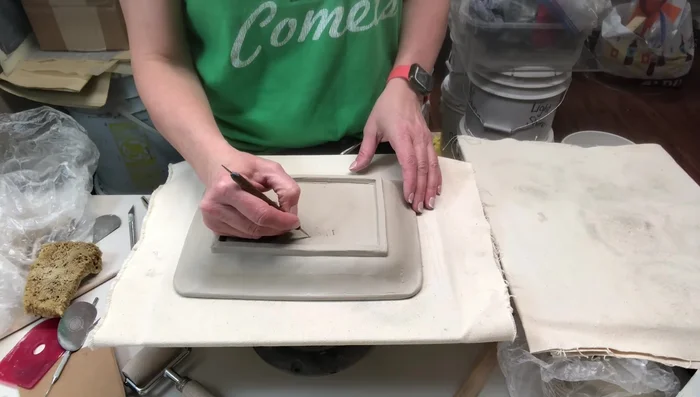
Remove from Mold & Initial Shaping Refine and Smooth
- Rounding and smoothing the edges using a rib, notch strip, or vegetable peeler, then compressing with wet fingers.
Refine and Smooth Attach Handles (Optional)
- Attaching handles (optional).
Attach Handles (Optional) Dry the Tray
- Storing the tray upside down to dry evenly.
Dry the Tray
Read more: Hang Your Clay Creations: The No-Hole Hanger Method
Tips
- Use a styrofoam tray without bumps for a cleaner finish.
- Ribbing both sides of the clay slab creates a stronger slab.
- Beveling the corners of the foot ring makes for easier assembly.
- Thoroughly compress the foot ring to ensure the slip seals it to the tray.
- Use a paint brush to smooth and seal the clay.