Christmas is just around the corner, and what better way to welcome guests and spread festive cheer than with a charming DIY door sign? This year, skip the expensive store-bought options and create your own stunning buffalo check Christmas door sign using a surprisingly simple painter's tape technique. The classic buffalo check pattern, with its bold black and white (or your favorite holiday colors!), instantly adds a touch of rustic elegance and holiday spirit to any entryway. This project is perfect for crafters of all skill levels, requiring minimal materials and expertise. You'll be amazed at how quickly you can transform a plain piece of wood into a festive focal point.
Forget complicated stencils and intricate designs; this method utilizes the readily available painter’s tape to create crisp, clean lines for a professional-looking finish. With just a few simple steps and some readily available supplies, you'll have a beautiful, personalized Christmas door sign ready to hang in no time. Ready to get started? Let's dive into the easy-to-follow step-by-step instructions.
Preparation and Safety Guidelines
- Scotch Painter's Tape
- Waverly Chalk Paint Ink (Black)
- Apple Barrel Real Red Paint
- Burlap
- Greenery
- Twine
- 10-inch Wooden Round
- Staple Gun
- Hot Glue Gun
- Printer
- Chalk
- Pen
- White Paint
- Always work in a well-ventilated area when using spray paint or paint fumes. Open windows and doors if possible, and consider wearing a respirator mask for added protection.
- Ensure your surface is clean and dry before applying painter's tape. This will prevent paint bleeding and ensure crisp lines.
- Remove painter's tape while the paint is still slightly wet to avoid pulling up dried paint and ruining your design. Gently peel the tape at a low angle.
Step-by-Step Instructions
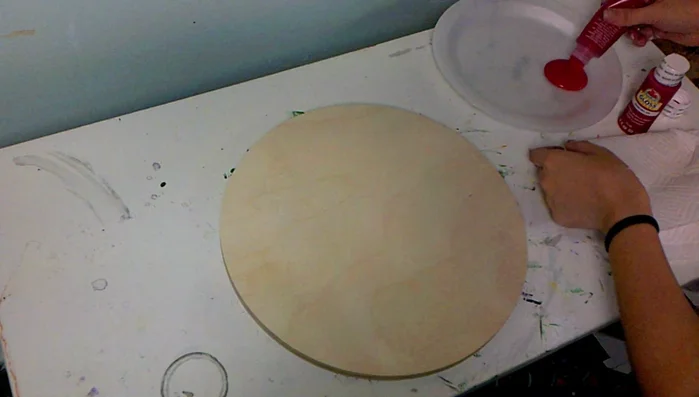
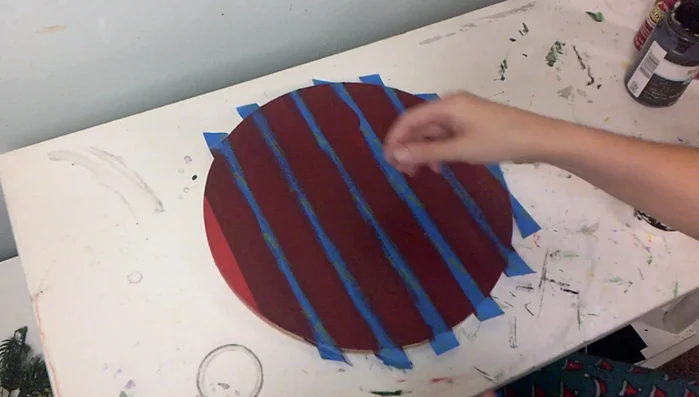
Prepare the Base
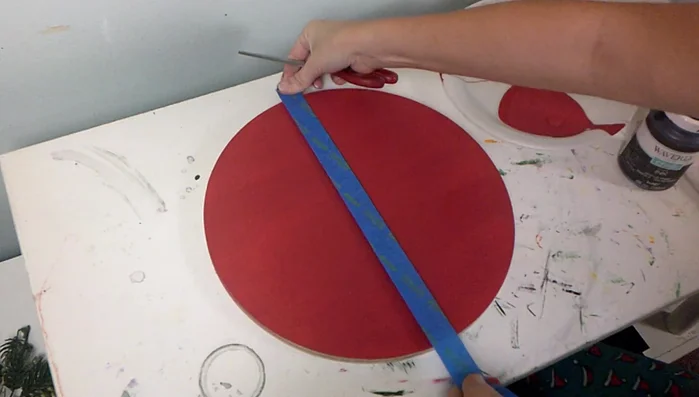
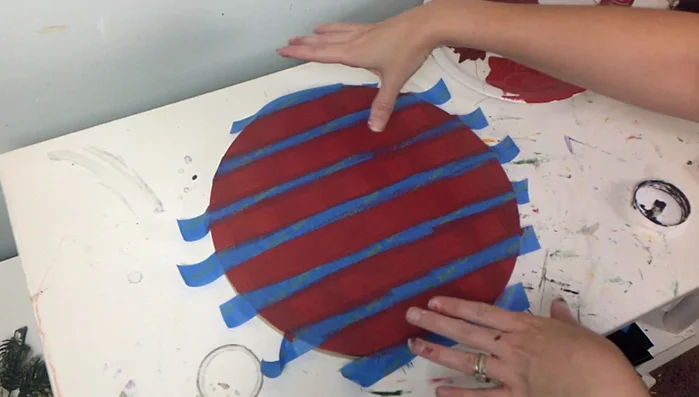
- Paint the wooden round solid red.

Prepare the Base Create the First Checker Pattern
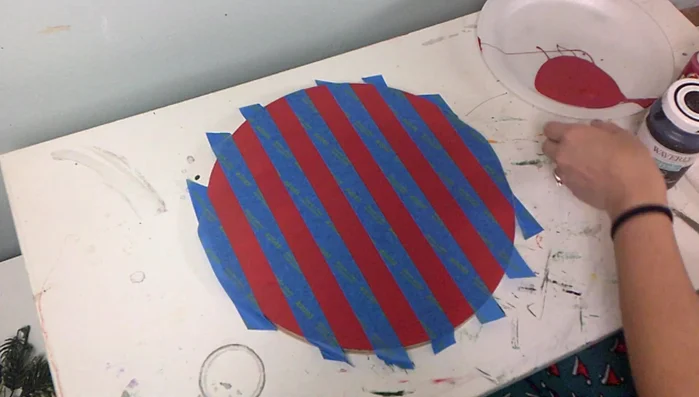
- Apply painter's tape to create a checkered pattern. Start with a center line and add equally spaced lines on either side.
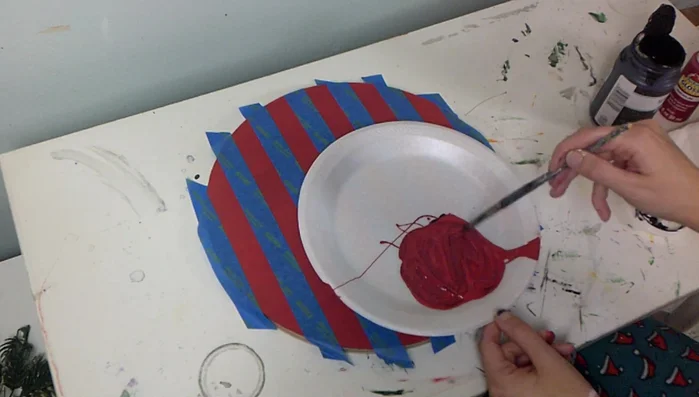
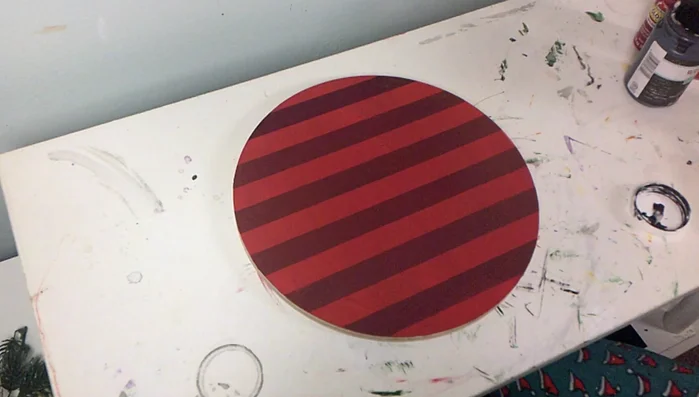
- Mix red paint with black to create a darker burgundy shade.
- Paint the spaces between the tape with the burgundy color.
- Remove the tape to reveal the checkered pattern.
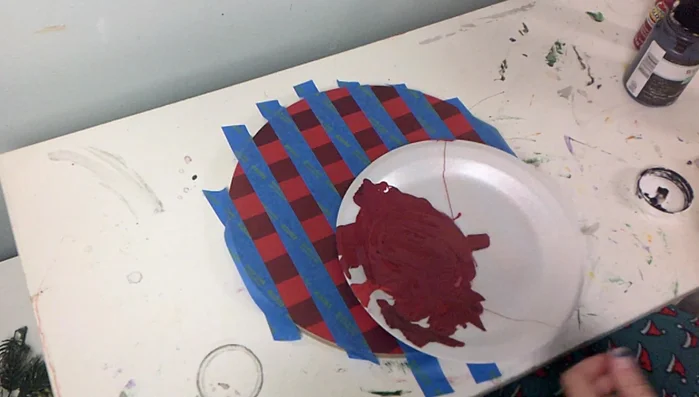
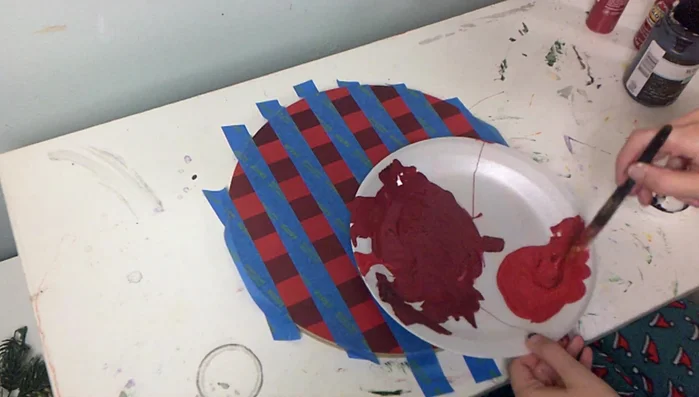
Create the First Checker Pattern Refine the Checker Pattern (1)
- Reapply tape to cover the lighter red squares.
- Mix red paint with a small amount of black to create a slightly darker shade than the original red, but lighter than the burgundy.
- Paint the taped squares with the lighter darker red shade.
- Remove the tape to reveal a more refined checkered pattern.
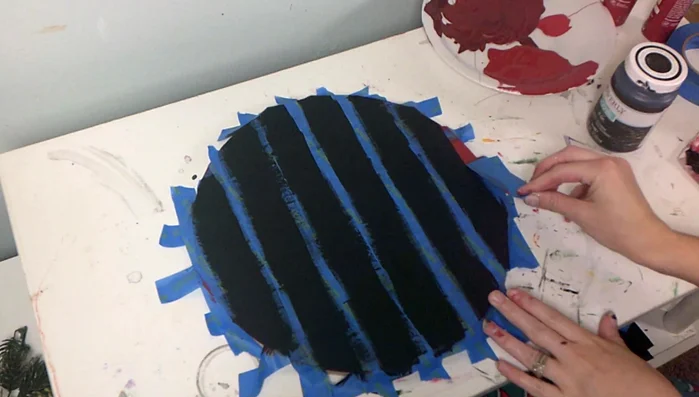
Refine the Checker Pattern (1) Refine the Checker Pattern (2)
- Paint over the remaining lighter squares with black paint.
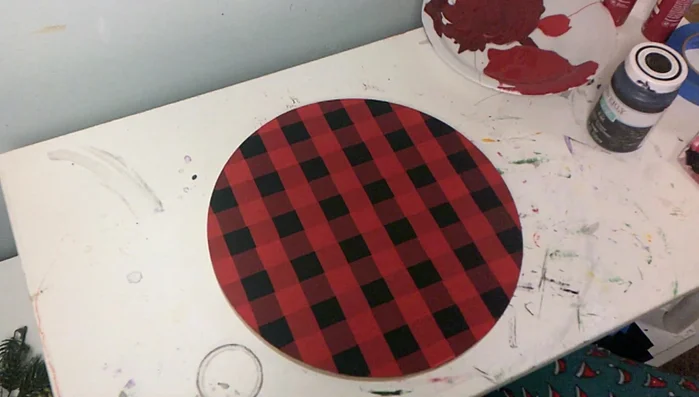
- Remove all tape.
Refine the Checker Pattern (2) Add Text
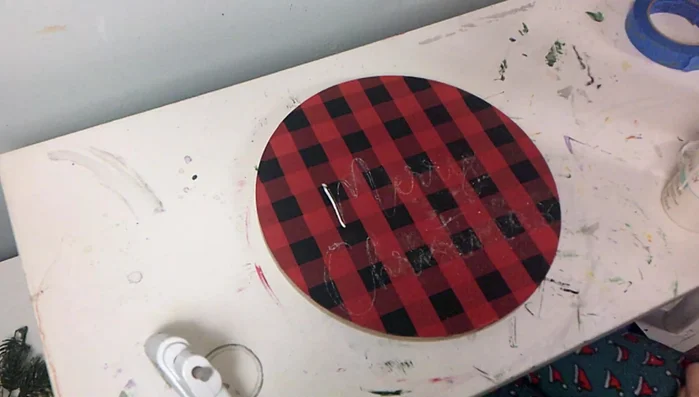
- Transfer your chosen text onto the sign using the chalk transfer method.
- Trace over the chalk transferred text with white paint.
Add Text Decorate and Finish
- Attach the burlap bow, greenery, and twine hanger using hot glue and a staple gun.
Decorate and Finish


Read more: 7 Top Paint Color Trends for 2024: A Complete Guide with Free Downloadable Resource
Tips
- Use high-quality painter's tape for sharp lines.
- Experiment with different shades of red and black to achieve your desired look.
- Ensure the wood is thick enough to use a staple gun for a secure hanger.
- Clean excess chalk from the text after transfer.