Unleash your inner artist and transform humble air-dry clay into stunning, handcrafted homeware! This versatile material offers a fantastic opportunity for creative expression, perfect for beginners and experienced crafters alike. Imagine the satisfaction of creating beautiful, textured vases, charming mugs, or elegant trinket dishes, all made with your own two hands. Forget mass-produced items; embrace the unique imperfections and personal touch that only handmade pieces can offer. You’ll be amazed by the range of textures and designs achievable with simple tools and a little imagination.
This guide will walk you through the process of crafting three distinct projects: a textured vase perfect for displaying your favorite blooms, a rustic mug ideal for cozy mornings, and a delicate trinket dish for holding your precious treasures. Ready to get your hands dirty and bring your creative vision to life? Let's dive into the step-by-step instructions and begin crafting your own unique air-dry clay masterpieces.
Safety Guidelines
- Air dry clay can crack if it dries too quickly. Avoid placing projects in direct sunlight or near heat sources. Allow them to dry slowly and evenly.
- Always wash your hands thoroughly after handling air dry clay. It can be irritating to skin and avoid contact with eyes.
- Air dry clay is not food safe. Do not use finished projects to hold food or drinks.
Methods: Creating Textured Trinket Dishes with Pebbles, Graphite, and Watercolor
Tools Needed
- Air dry clay
- Small pebbles or stones
- Graphite pencil
- Watercolor paints
- Smooth tile
- Mod Podge
- UV Resin
- Silicon Mat
- Protective Gear
Step-by-Step Instructions
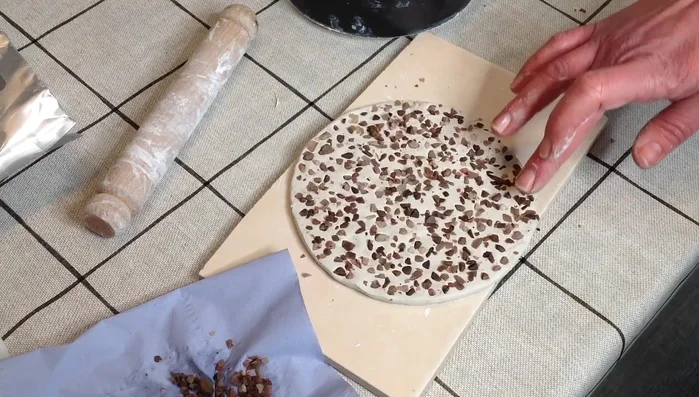
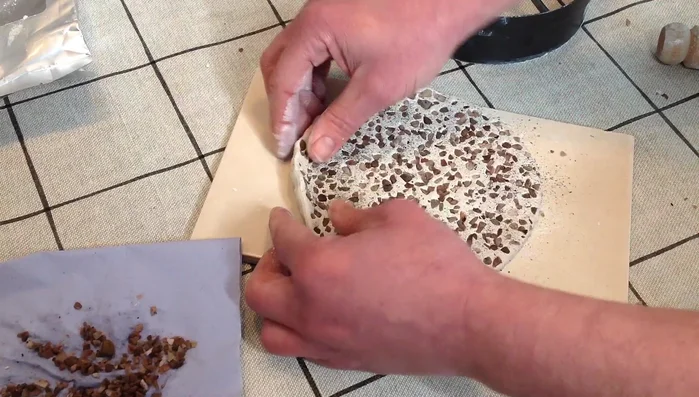
Preparing the Trinket Dish Base
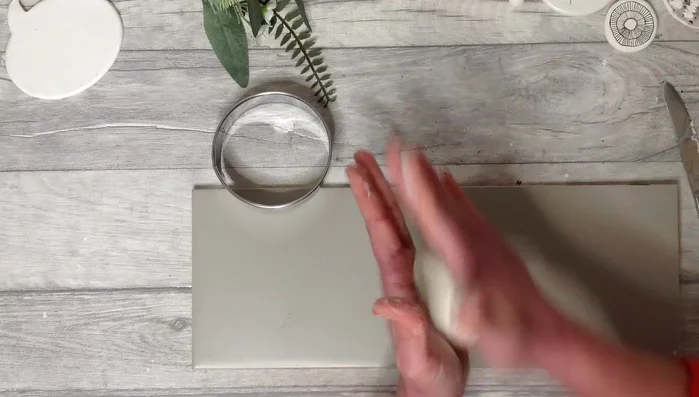
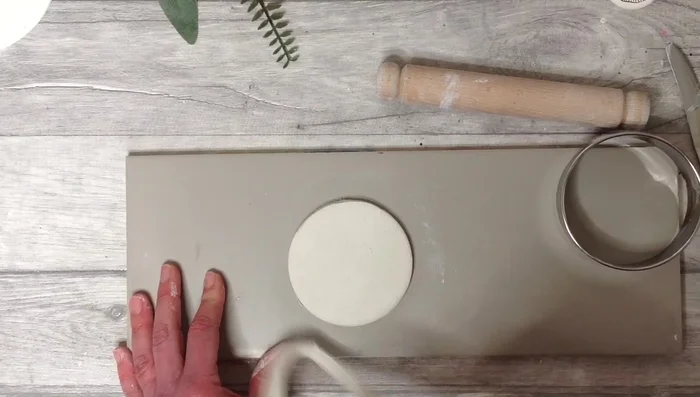
- Scatter small pebbles onto a smooth tile.
- Roll the pebbles into a flat circle of air dry clay.
- Add more pebbles if needed.

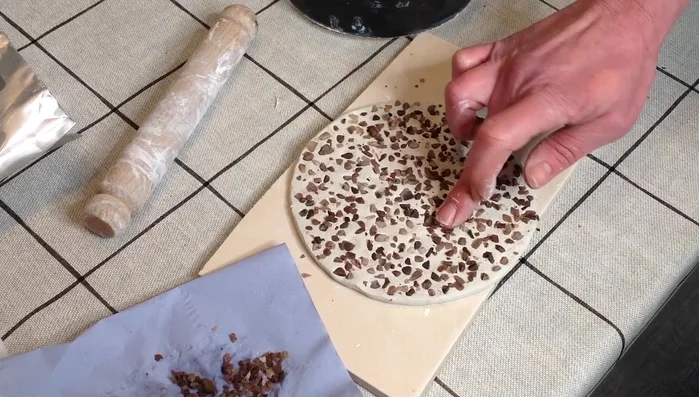
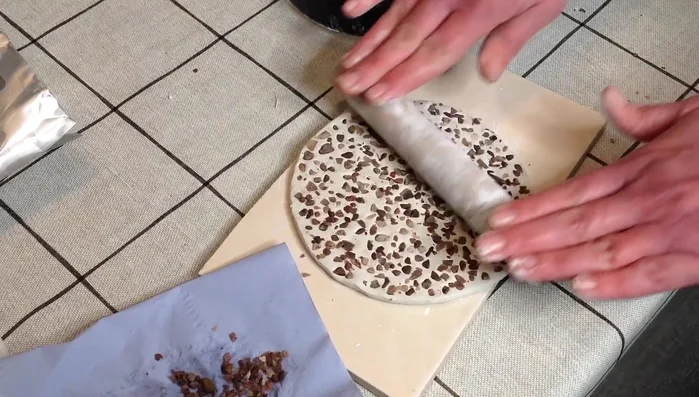
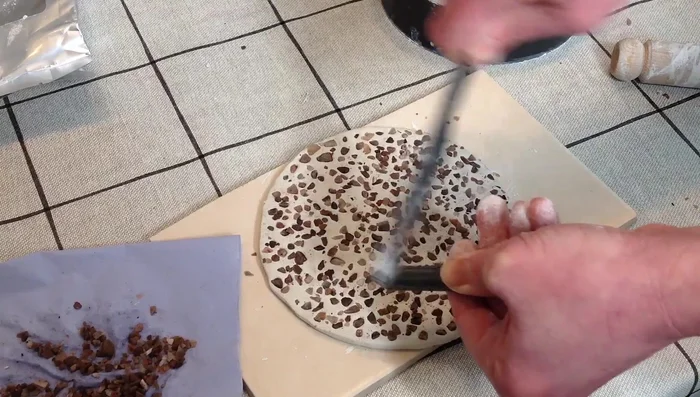
Preparing the Trinket Dish Base Adding Texture and Shaping
- Add details with graphite.
- Pinch the sides of the clay to create a dish shape.
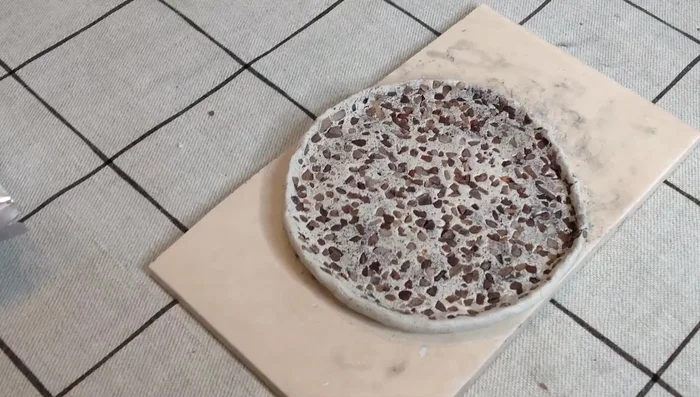
Adding Texture and Shaping Drying the Dish
- Let it dry completely on the tile.
Drying the Dish Sealing with Mod Podge
- Apply three coats of Mod Podge, letting it dry between coats.
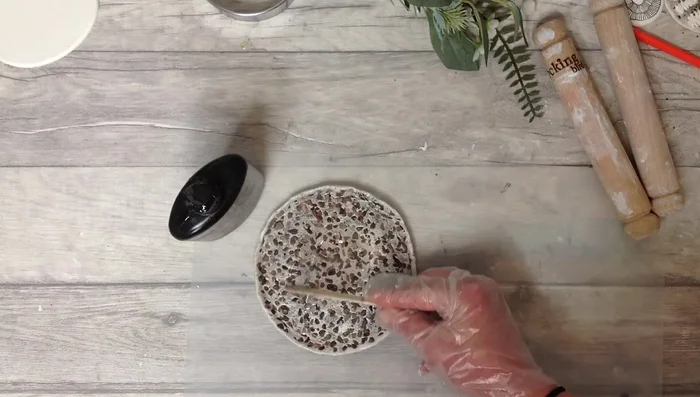
Sealing with Mod Podge Applying UV Resin
- Apply UV resin, releasing bubbles with a flame, and cure under a UV lamp.
Applying UV Resin
Tips
- Use old smooth tiles for your projects.
- Adding pepper to the clay creates a unique textured effect.
Methods: Making an Air Dry Clay Mug with Handle
Tools Needed
- Air dry clay
- Cookie cutter
- Table knife
- Baking parchment
- Sponge
- Water
Step-by-Step Instructions
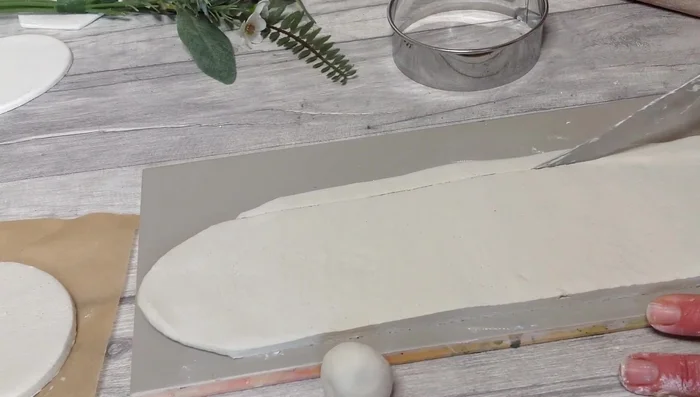
Prepare the Clay
- Soften and smooth the clay.
Prepare the Clay Create the Mug Body
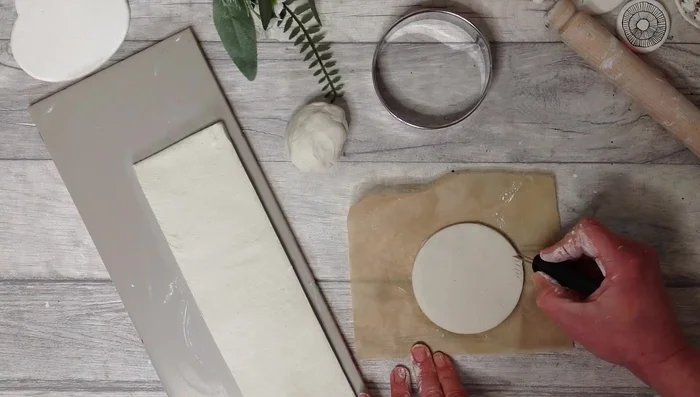
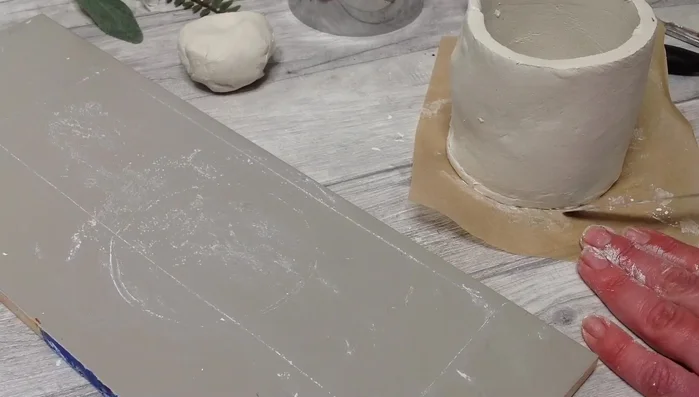
- Roll out the clay and cut the base using a cookie cutter.
- Cut a slab of clay for the mug's height.
- Measure and cut the clay slab to match the base circumference.
- Use the score and slip method to attach the base and clay slab.
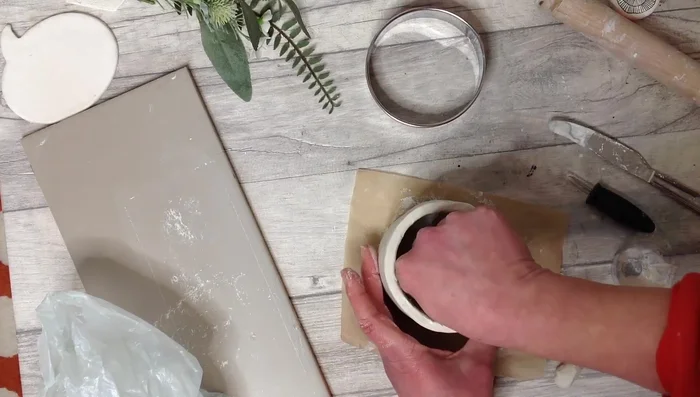
Create the Mug Body - Add a coil of clay and slip to the inside, smoothing with a damp sponge.
Create the Mug Body Add the Handle
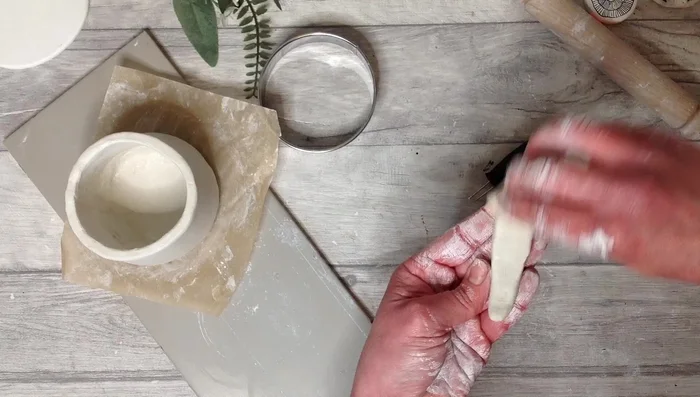
- Create and attach a handle using the score and slip method.
Add the Handle Dry and Finish
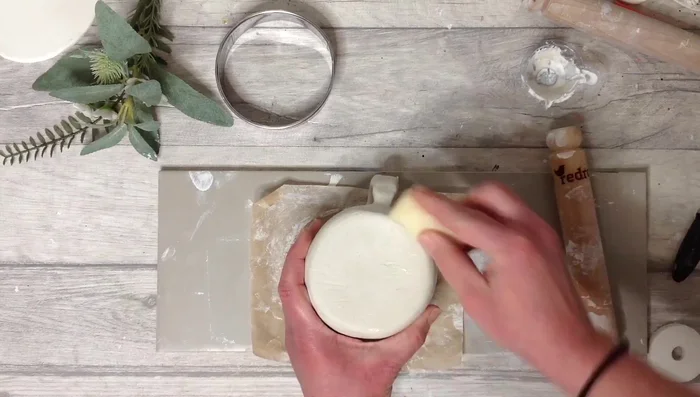
- Let the mug dry completely, then smooth any imperfections.
Dry and Finish
Tips
- For beginners, thicker walls are easier to work with.
Methods: Creating Textured Vases with Sand
Tools Needed
- Air dry clay
- Sand
- Brush, toothbrush or scourer
- Pencil
- Spray lacquer
- Varnish
Step-by-Step Instructions
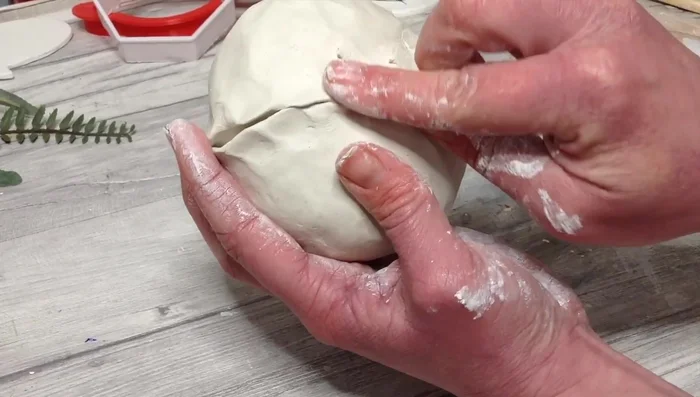
Prepare the Clay Vase
- Roll the clay into a ball, then shape it into your desired vase shape.
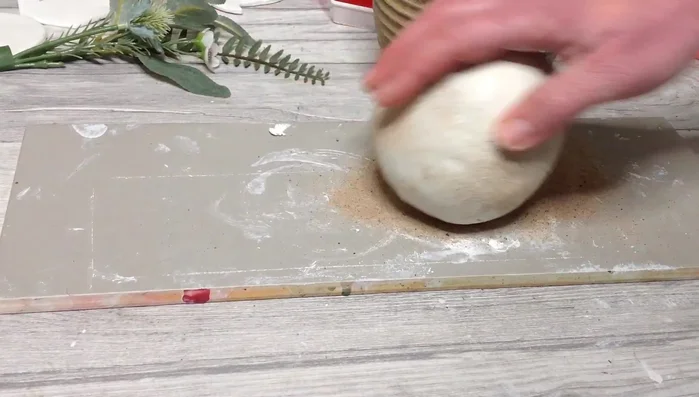
Prepare the Clay Vase Apply Sand Texture
- Add sand to the clay, pressing it firmly.
- Use a brush, toothbrush, or scourer to create texture.
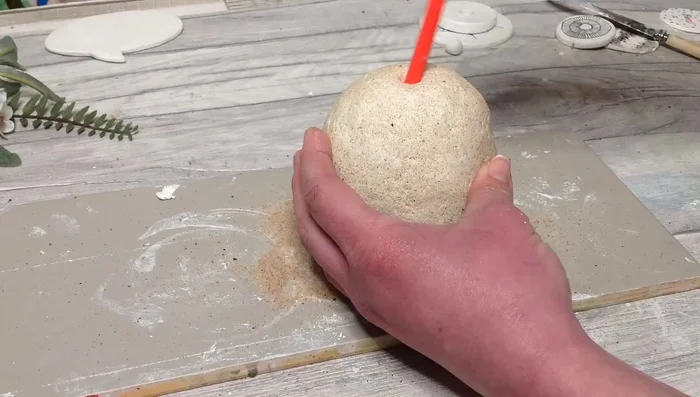
Apply Sand Texture Shape the Opening
- Make a hole in the top with a pencil, rotating it to create the desired shape.
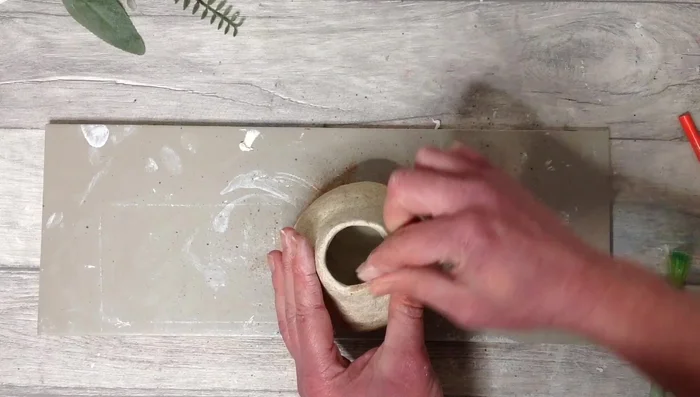
- Pinch the edges to refine the vase's shape.
Shape the Opening Dry and Seal
- Let the vase dry completely. Spray with a lacquer, then brush on varnish.
Dry and Seal


Read more: DIY Mini Clay Dragons: 3 Easy Variations for Beginners