Christmas is just around the corner, and what better way to embrace the festive spirit than by crafting your own unique ornaments? This year, ditch the mass-produced decorations and embrace the charm of handmade with our easy DIY air dry clay ornament tutorial. Forget expensive kits and complicated instructions; this project is perfect for crafters of all skill levels, from beginners to seasoned pros, offering a fun and rewarding way to personalize your Christmas tree. You'll be amazed at how simple it is to transform humble air dry clay into beautiful, personalized ornaments that capture the true magic of the season.
Air dry clay provides a fantastically versatile medium, allowing you to create a huge variety of shapes and designs, limited only by your imagination. Whether you prefer simple shapes or intricate details, this tutorial will guide you through every step of the process, from preparing the clay to adding finishing touches. Ready to get started on creating your own festive masterpieces? Let's dive into the step-by-step instructions below!
Safety Guidelines
- Air dry clay can crack if it dries too quickly. Avoid placing it in direct sunlight or near heat sources. Allow it to air dry slowly and evenly.
- Air dry clay can be messy. Protect your work surface with newspaper or a plastic sheet. Wear an apron or old clothes to prevent staining.
- Always supervise children when using air dry clay. Do not allow them to put the clay in their mouths.
Methods: Evergreen Branch Ornament
Tools Needed
- Air dry clay
- Rolling pin or bottle
- Thickness guides
- Evergreen branches
- Wet sponge
Step-by-Step Instructions
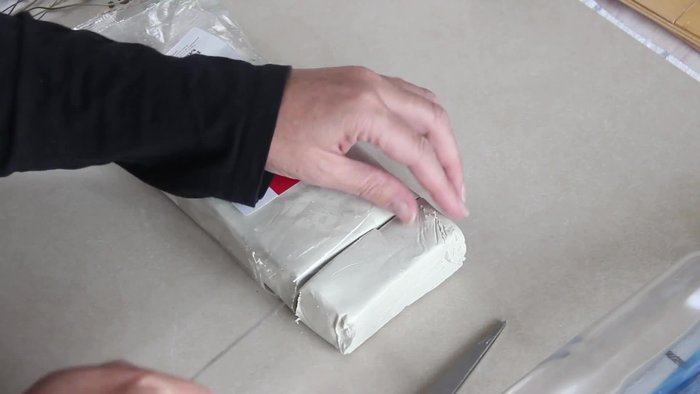
Prepare the Clay
- Cut a chunk of air dry clay.
- Knead the clay, using a wet sponge to prevent sticking.
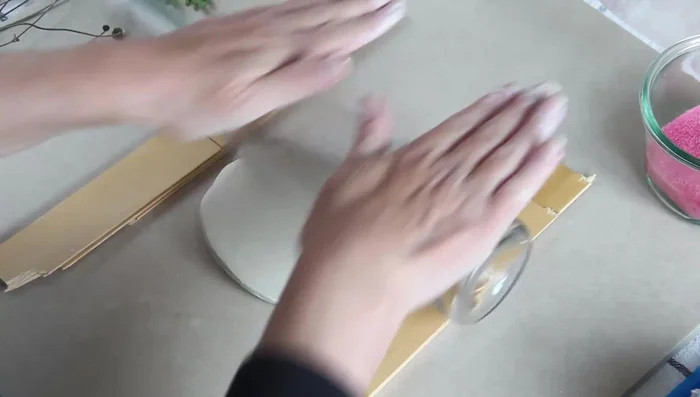
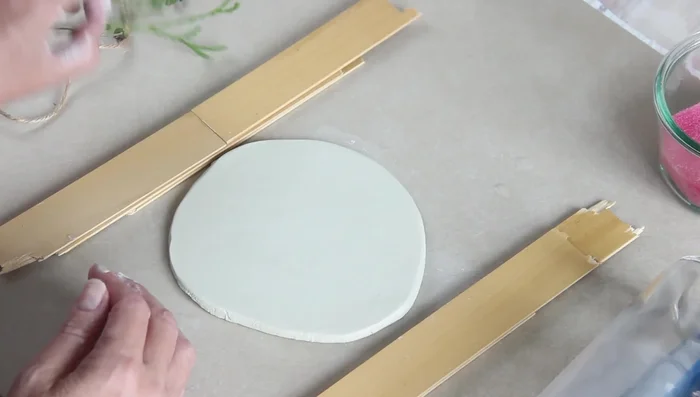
- Roll out the clay using thickness guides.

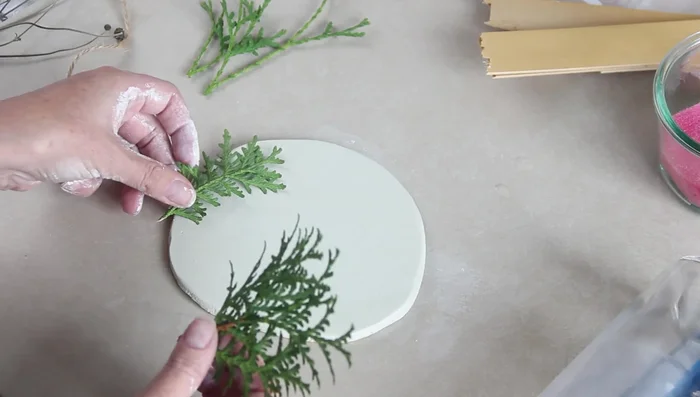
Prepare the Clay Create Evergreen Branch Ornament
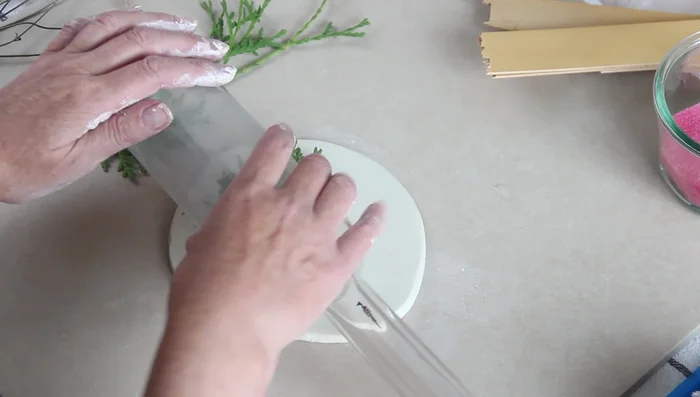
- Arrange evergreen branches on the clay.
- Roll the bottle over the branches to imprint them.
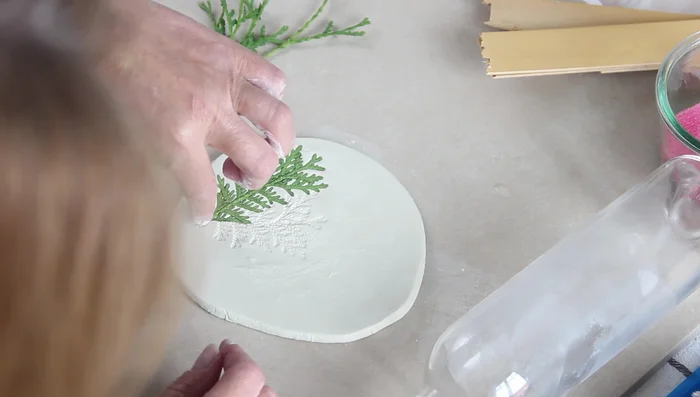
- Gently lift the branches to reveal the imprint.
Create Evergreen Branch Ornament Add Hanging Hole
- Make a hole for hanging using a metal straw.
Add Hanging Hole
Tips
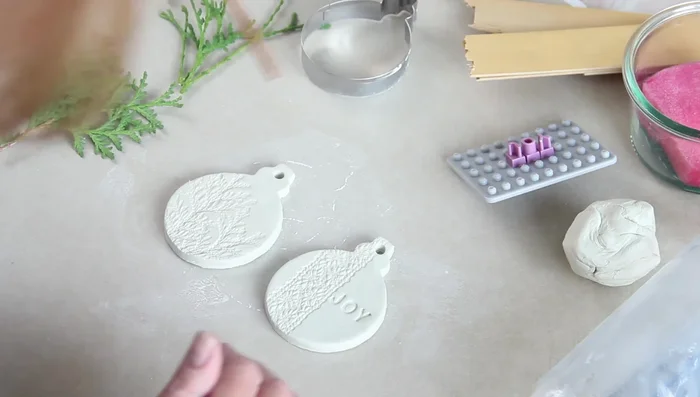
- The clay will turn white as it dries.
Methods: Cookie Cutter Ornament
Tools Needed
- Air dry clay
- Rolling pin or bottle
- Thickness guides
- Cookie cutters
- Wet sponge
- Tile or wax paper
Step-by-Step Instructions
Prepare the Clay
- Cut a chunk of air dry clay.
- Knead the clay, using a wet sponge to prevent sticking.
- Roll out the clay using thickness guides.
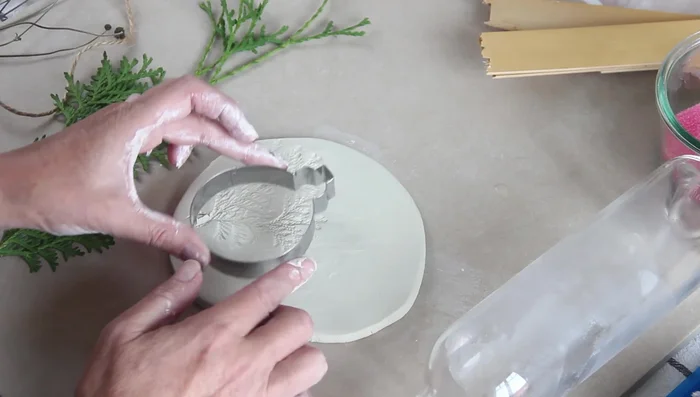
Prepare the Clay Cut the Ornament
- Place cookie cutter on the clay and press gently.
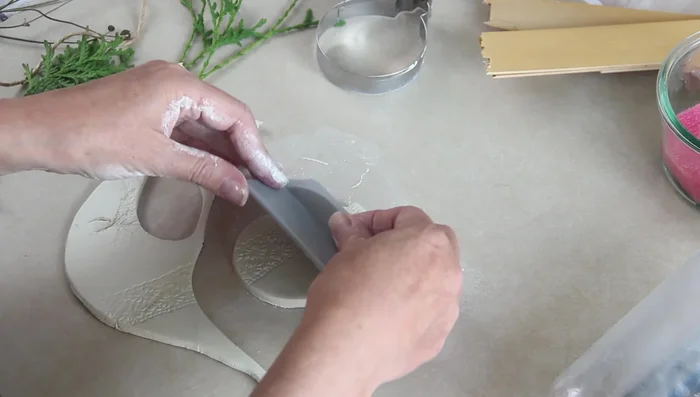
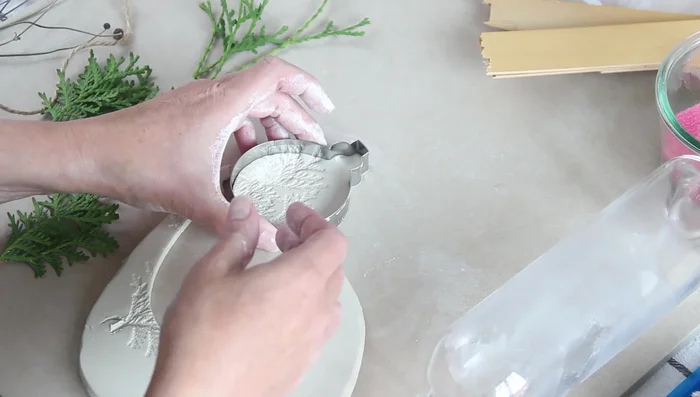
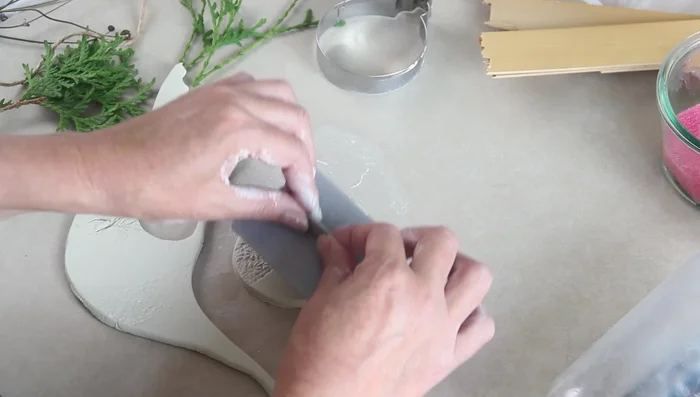
Cut the Ornament Refine the Ornament
- Remove the cutter and smooth the edges with a wet finger.
Refine the Ornament Add Hanging Hole
- Make a hole for hanging using a metal straw.
Add Hanging Hole
Tips
- Use wax paper or baking paper under the clay to prevent sticking.
- It's easier to remove clay around the cutter before lifting.
Methods: Lace Ribbon Ornament
Tools Needed
- Air dry clay
- Rolling pin or bottle
- Thickness guides
- Lace ribbon
- Wet sponge
Step-by-Step Instructions
Prepare the Clay
- Cut a chunk of air dry clay.
- Knead the clay, using a wet sponge to prevent sticking.
- Roll out the clay using thickness guides.
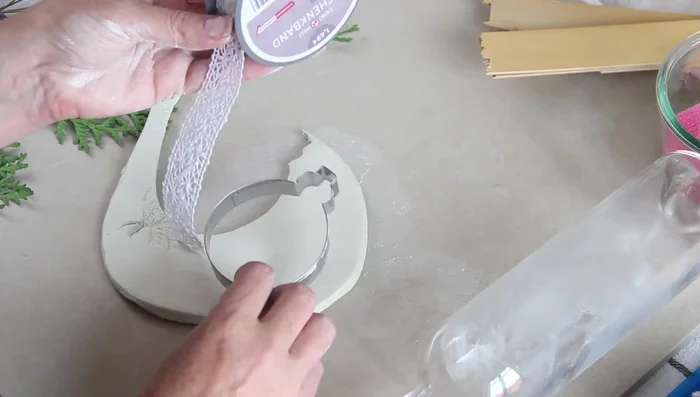
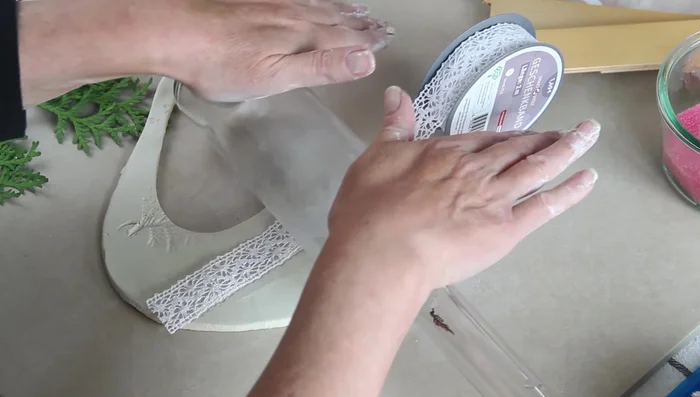
Prepare the Clay Create Lace Ribbon Ornament
- Place lace ribbon on the clay.
- Roll the bottle over the ribbon to imprint it.
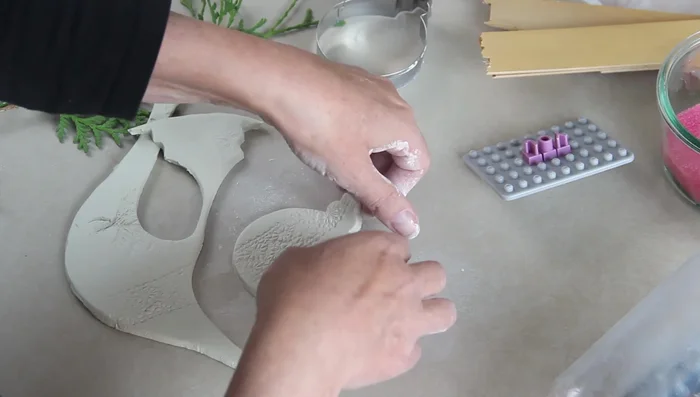
Create Lace Ribbon Ornament Finish the Ornament
- Make a hole for hanging using a metal straw.
Finish the Ornament
Tips
- Don't use food-safe rolling pins for air dry clay.
- Smooth imperfections with a wet finger.
Methods: Wooden Decoration Ornament
Tools Needed
- Air dry clay
- Wooden Christmas ornaments
- Metal straw
- Wet sponge
Step-by-Step Instructions
Create Ornament Designs
- Press wooden decorations into the clay.
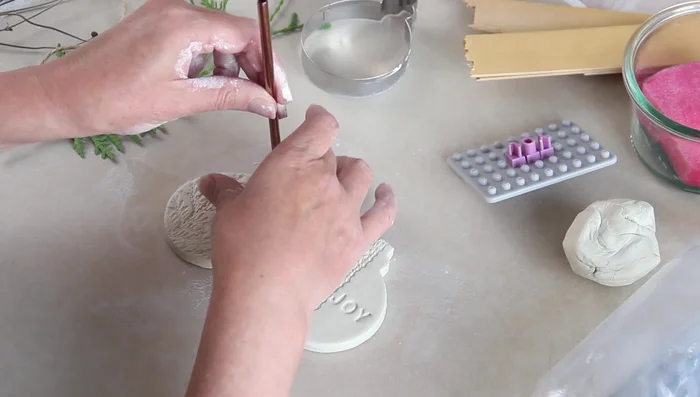
Create Ornament Designs Add Finishing Touches
- Make a hole for hanging using a metal straw.
Add Finishing Touches
Tips
- Add water to the straw container to prevent clay from sticking.
Read more: DIY Mini Clay Dragons: 3 Easy Variations for Beginners