Envelopes: seemingly mundane, yet they represent the first impression of any correspondence, both personal and professional. A beautifully designed envelope can elevate a simple letter into a memorable experience, showcasing your creativity and attention to detail. But achieving professional-looking printed envelopes without specialized equipment can seem daunting. Forget expensive printing services and frustrating DIY attempts – mastering the art of custom envelope printing is easier than you think! This tutorial empowers you to create stunning, personalized envelopes at home, transforming ordinary mail into extraordinary communication.
This guide will equip you with the knowledge and techniques needed to print on envelopes like a pro, regardless of your experience level. We'll cover everything from selecting the right materials and software to troubleshooting common issues and achieving crisp, vibrant results. Ready to transform your envelopes from simple containers to personalized masterpieces? Let's dive into the step-by-step process.
Preparation and Safety Guidelines
- Envelopes (craft envelopes or self-seal envelopes recommended)
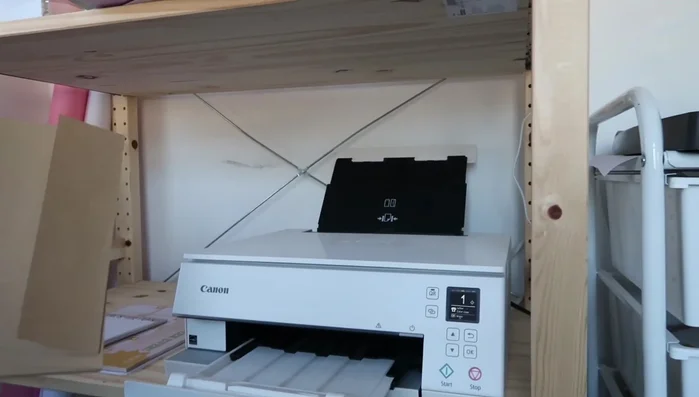
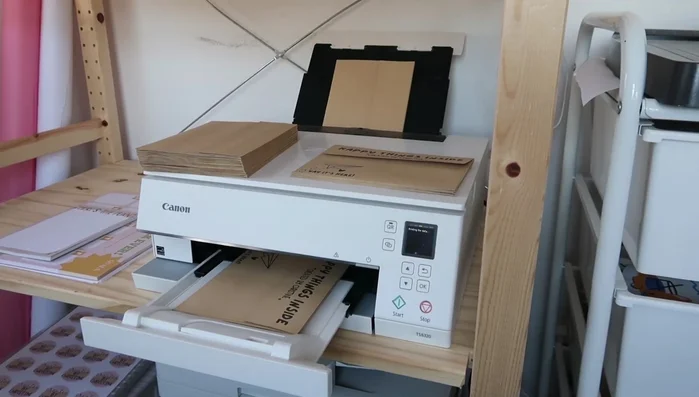
- Inkjet Printer (Canon PIXMA recommended, but any inkjet printer will work)
- Always test your print settings on scrap paper before printing on your final envelopes. Incorrect settings can lead to wasted materials and blurry prints.
- Use high-quality printer ink and paper designed for your printer type. This will ensure vibrant colors and prevent smudging or bleeding.
- Consider the envelope's material and its impact on ink absorption. Some papers require specific ink types or drying times to prevent smearing.
Step-by-Step Instructions
Design the Envelope
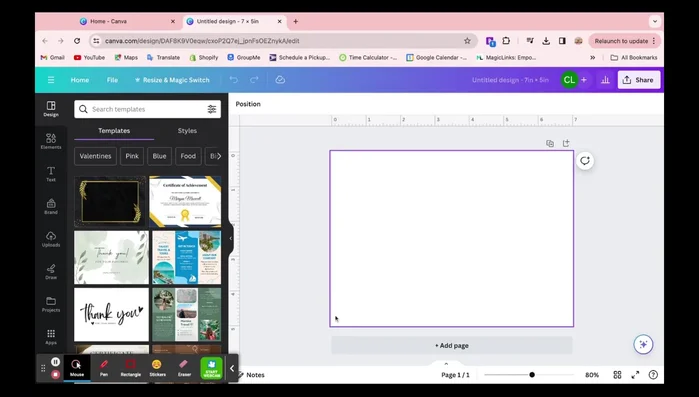
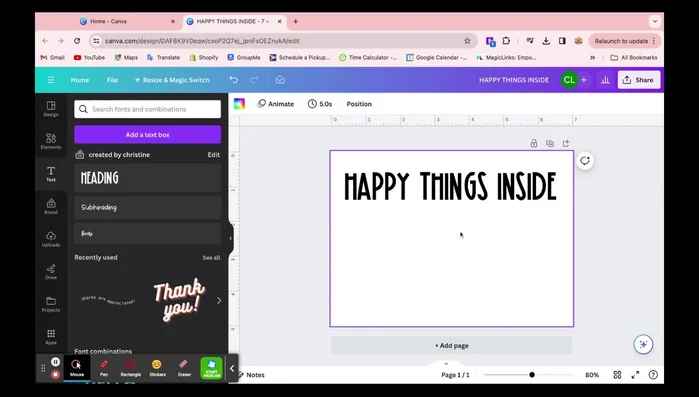
- Design your envelope print using a platform like Canva. Set the design size to 5x7 inches to match a standard envelope.

Design the Envelope Prepare the Design File
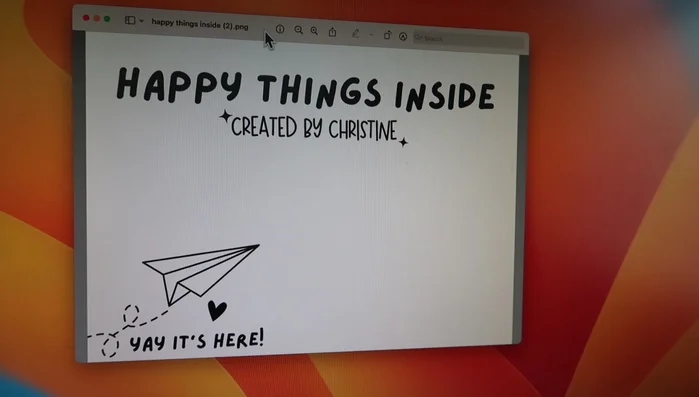
- Save your design as a PNG file.
Prepare the Design File Configure Printer Settings
- Open the PNG file in your computer's preview application. Select your inkjet printer and adjust the settings:
- Choose the correct paper size (5x7 borderless).
- Select the correct paper feed setting ('rear tray' for printers that feed from the back).
Configure Printer Settings Print the Envelopes
- Load envelopes into the rear tray of your printer, making sure they are oriented correctly (experiment to find the right way).
- Print your envelopes. Replenish the envelopes in the tray as needed.
Print the Envelopes


Read more: Easy Origami Paper Box Tutorial: Step-by-Step Guide
Tips
- First impressions matter. Custom printed envelopes create a memorable brand experience.
- Experiment with different designs and placements on the envelope to find what works best for your brand.
- This method is efficient and can be done while multitasking on other tasks.