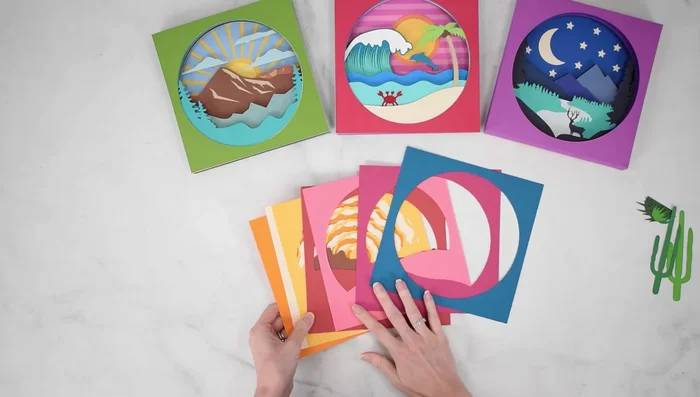
Have you ever admired intricate shadow boxes but balked at the price tag? Creating stunning, layered 3D shadow boxes is now within everyone's reach, thanks to the incredible versatility of the Cricut machine! Forget expensive custom designs – you can craft personalized shadow boxes showcasing your favorite photos, artwork, or even miniature scenes, all tailored to your exact specifications. This opens up a world of creative possibilities, from whimsical children's decorations to sophisticated home décor accents. The possibilities are truly limitless when you can customize every detail.
This tutorial will guide you through a step-by-step process of creating your very own DIY 3D layered shadow box using your Cricut, from designing your layers to assembling the finished piece. Get ready to unleash your inner artist and transform your ideas into breathtaking three-dimensional works of art. Let's get started!
Preparation and Safety Guidelines
- Cricut Machine
- Standard Grip Green Mat
- Scoring Stylus
- Brayer Tool
- Barely Art Liquid Craft Glue
- Barely Art Foam Cubbies
- Medium Weight Card Stock (12x12 card stock)
- Always supervise children when using cutting tools or sharp objects like craft knives. Keep them away from cutting mats and blades during operation and cleanup.
- Use proper ventilation when working with paints, sprays, or adhesives. Work in a well-ventilated area or wear a respirator mask if necessary. Follow the manufacturer's instructions for safe handling of all materials.
- Ensure your Cricut machine is properly plugged in and functioning correctly before starting. Follow the manufacturer's instructions for safe operation and maintenance of your machine.
Step-by-Step Instructions
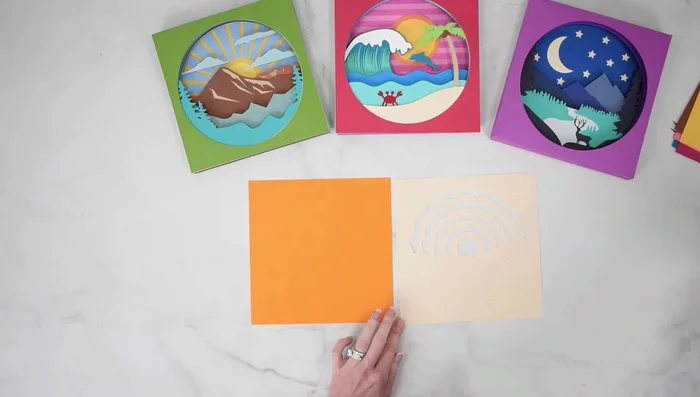
Prepare Layers
- Stack layers in the correct order according to your Cricut Design Space file.

Prepare Layers Assemble Layered Design (Base Layers)
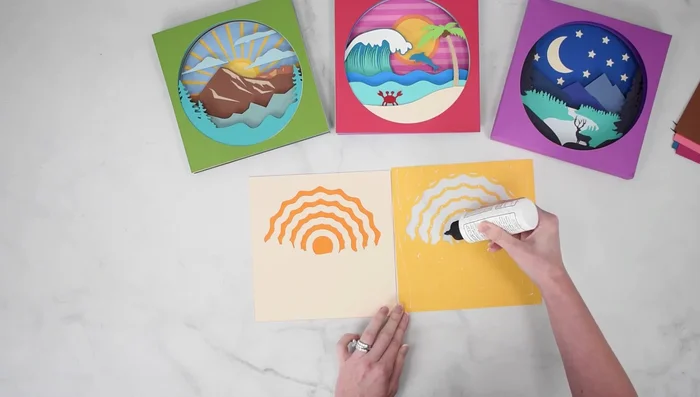
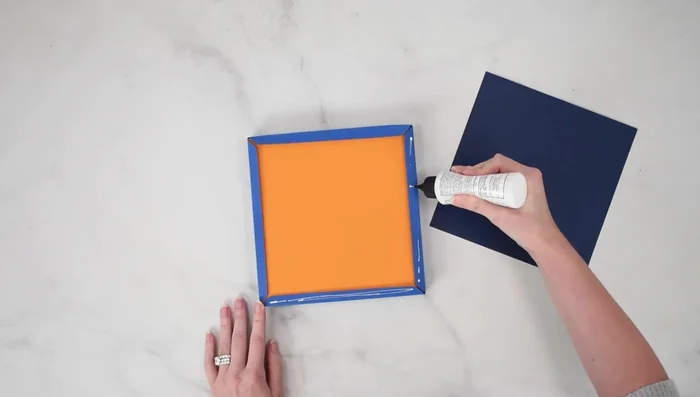
- Apply Barely Art glue generously to the bottom layer, ensuring coverage on all corners. Attach it to the base shadow box.
- Repeat glue application and attachment for subsequent layers where a flush finish is desired (e.g., sun rays).
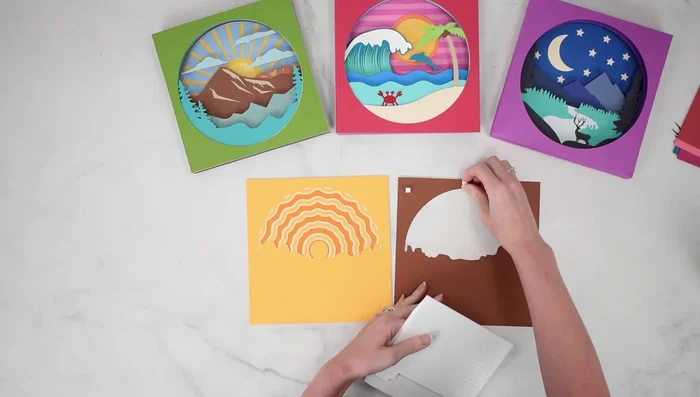
- Use Barely Art Foam Cubbies strategically between layers to create 3D elevation, particularly for focal points like mountains or hills. Avoid overusing Cubbies.
- Continue adding layers using glue and Cubbies as needed, until the topmost layer is reached.
Assemble Layered Design (Base Layers) Add Final Details
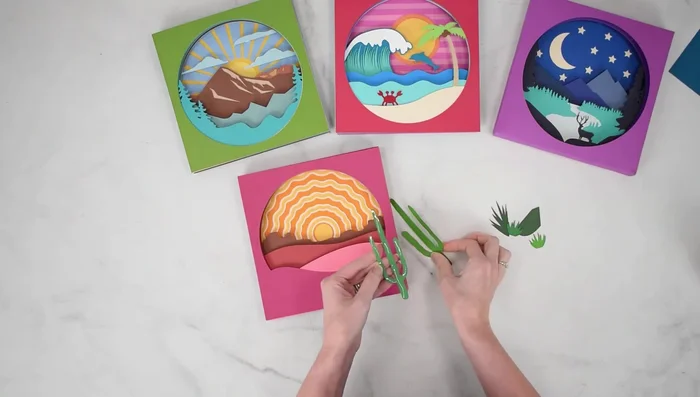
- Add final details (e.g., cactus plants) using glue. Consider using Cubbies for support with complex layering.
Add Final Details Create Cardstock Frame
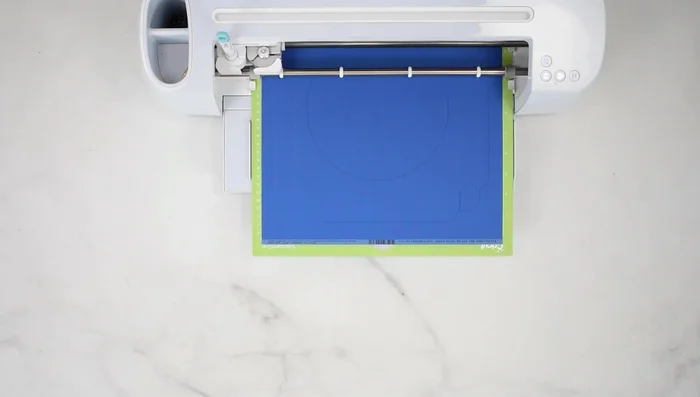
- Score and cut the cardstock frame pieces using the Cricut. Fold along the scored lines using a bone folder for crisp creases. Apply glue to the tabs and assemble the frame.
Create Cardstock Frame Assemble Shadow Box
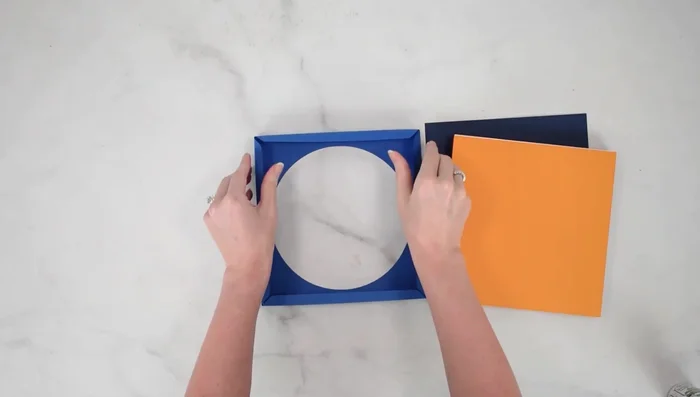
- Gently fold the edges of the cardstock frame slightly to create space for the layered design. Slide the layered design into the frame.
- Apply glue to the edges of the cardstock frame's back piece and attach it to complete the shadow box.
Assemble Shadow Box

Read more: Easy Origami Paper Box Tutorial: Step-by-Step Guide
Tips
- Not all layers require foam Cubbies; use them strategically for 3D effect.
- 8x8 shadow box size is recommended, but you can scale the design.
- Use glue for layers requiring a flush finish.
- A bone tool helps create crisp creases when folding scored lines.
- Adding glue to the inside of the frame may help secure the design, especially if it's not a tight fit.