Are you ready to unleash your inner crafter and create a truly unique and eye-catching decoration? This tutorial will guide you through the process of designing and making a stunning Wild One shadow box banner using your Cricut Design Space. Forget generic party supplies – this project allows you to personalize a vibrant and memorable keepsake perfect for a first birthday celebration or any wild-themed event. We'll explore using various design elements to capture the spirit of adventure and fun, culminating in a beautiful, layered shadow box banner that's far from ordinary.
This project combines the ease and precision of Cricut Design Space with the charming visual appeal of a shadow box, resulting in a truly professional-looking finished product. From choosing the perfect fonts and graphics to assembling the layers and adding those finishing touches, we'll take you step-by-step through the creation process. Ready to get started? Let's dive into the detailed instructions below!
Preparation and Safety Guidelines
- Cricut Machine
- Cricut Design Space
- Always supervise children around cutting tools and sharp objects like blades used in Cricut machines.
- Ensure your cutting mat is properly secured to the cutting platform to prevent slippage and potential injuries.
- Use caution when handling the cutting blades; avoid touching the blade directly after use and store them properly when not in use.
Step-by-Step Instructions
Prepare the Main Banner
- Find the main banner image and delete unnecessary layers (pen and 'and' layers).
- Unlock and slightly thin the banner, making it longer but not wider.

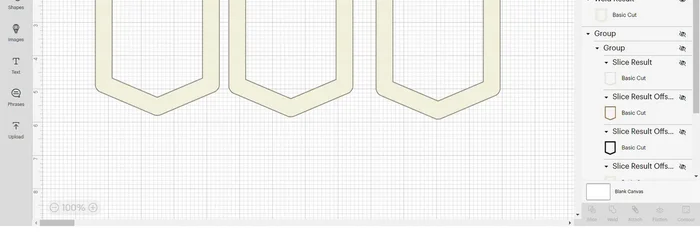
Prepare the Main Banner Create the Main Banner Frame
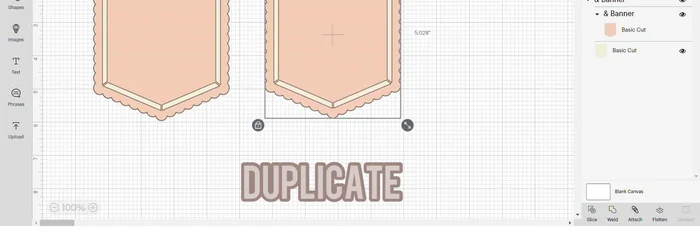
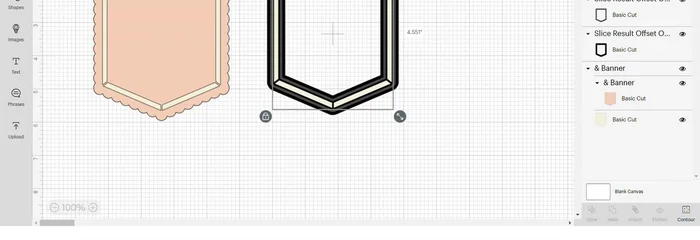
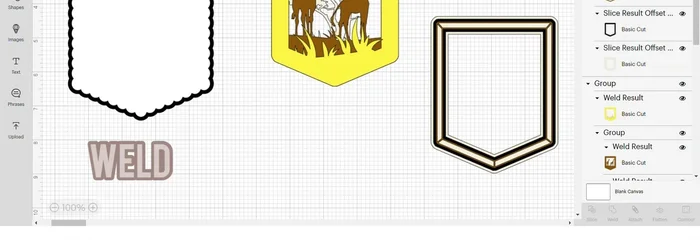
- Duplicate the banner and slice the two parts. Delete all but the small inner parts.
- Apply an offset (try 0.04, adjust as needed) multiple times to create layered inner frames.
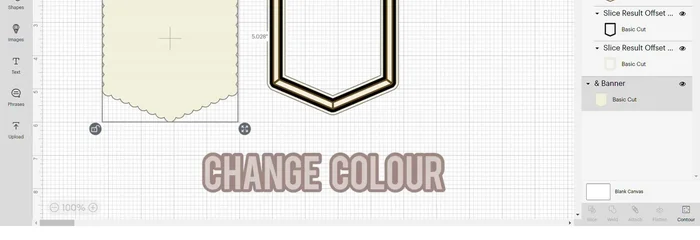
- Change the colors of the frames to match your theme.
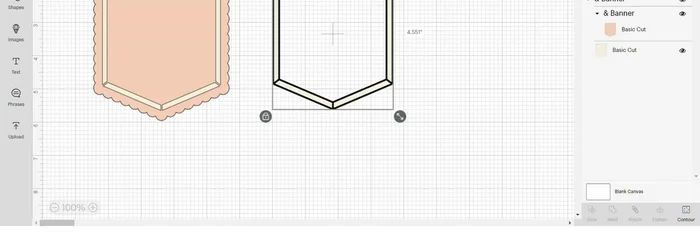
- Group the frame and delete the top banner, leaving the bottom contour. Hide all and change the color.
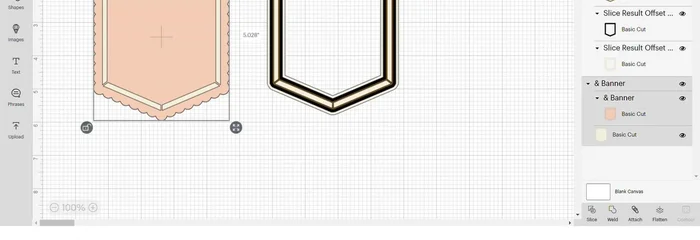
Create the Main Banner Frame - Adjust the border of the contour to fit within the main banner. Align center and group.
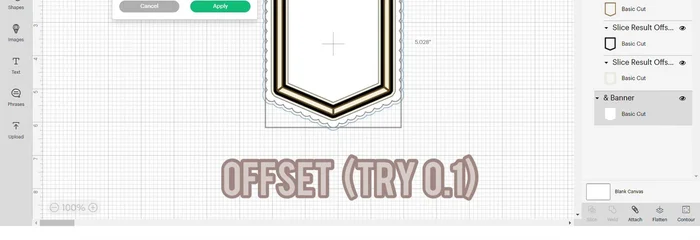
- Apply an offset (try 0.1) to the outer banner part.
- Duplicate the frame, group, and hide the other main parts. Weld the shape and duplicate twice for shadow box layers.
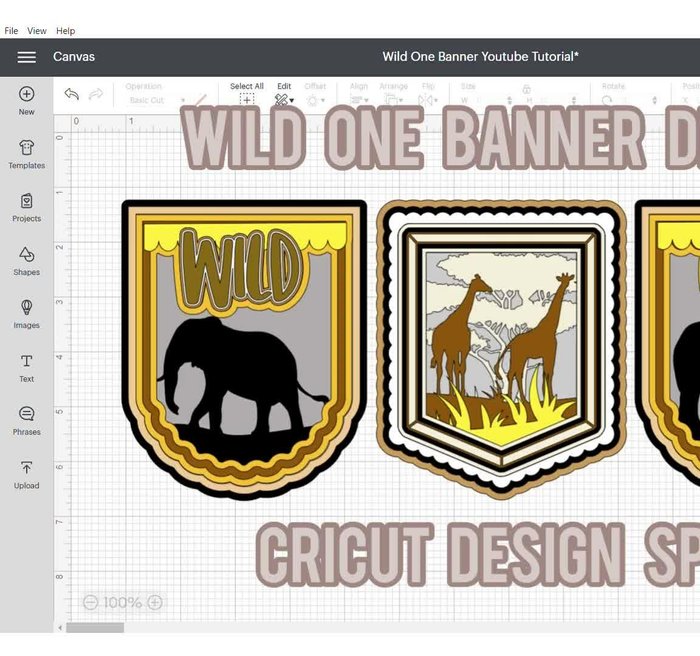
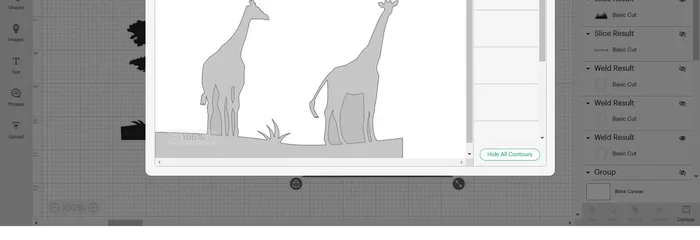
Create the Main Banner Frame Prepare the Giraffe Image
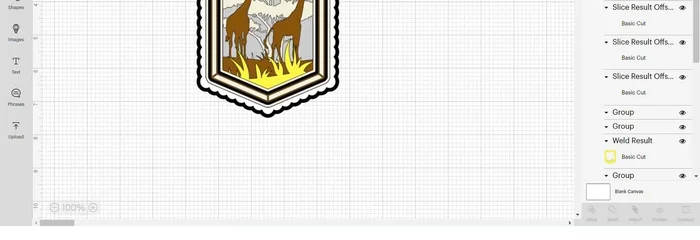
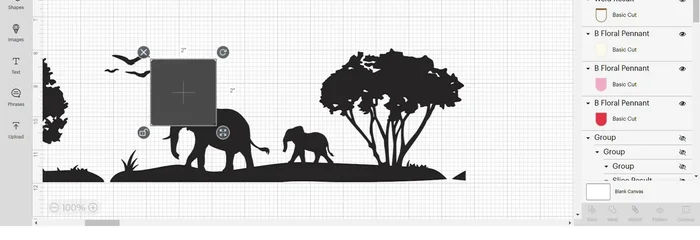
- Import a desired image (giraffe image recommended). Hide other banner parts and isolate the desired elements (giraffes) by slicing and deleting unwanted parts.
- Use squares to slice out sections, deleting gray areas and hiding the rest of the image. Move the grass.
- Slice and remove any unwanted parts (left-hand side elements).
- Use the contour tool to remove the bird and top-left corner. You should have three images (tree, grass, giraffes).
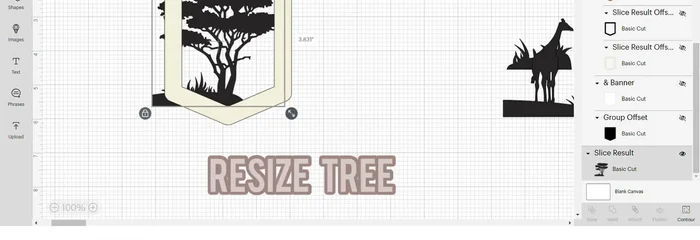
Prepare the Giraffe Image Assemble the First Layer
- Resize and position the tree within the frame, slicing off excess as needed. Weld, change the color, and use the contour tool to remove any triangles.
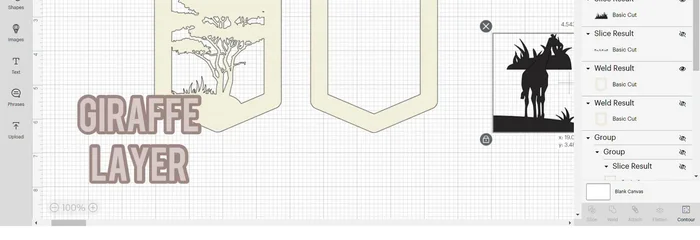
- Unhide the remaining banner parts and work on the giraffes. Slice and move the giraffes closer together. Align, and weld.
- Adjust giraffe size using slicing if needed. Align at the bottom, and weld. Position on top of the tree image before welding to ensure correct placement.
- Use the contour tool to remove the triangle. Change the color to contrast with the tree. Align center and group.
Assemble the First Layer - Unhide the frame and work on the grass. Resize the grass, slice to eliminate gaps, weld, and change the color. Move to the front, align, and group.
Assemble the First Layer Add the Acetate Layer
- Unhide the rest of the banner, duplicate the frame, and weld it. Go to contour, hide all, and change to gray (to represent acetate). Send to the back, align center, and group.
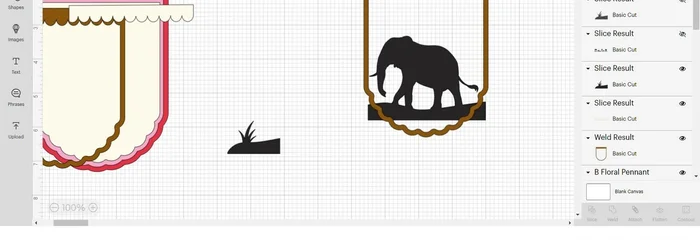
Add the Acetate Layer Prepare the Second Banner
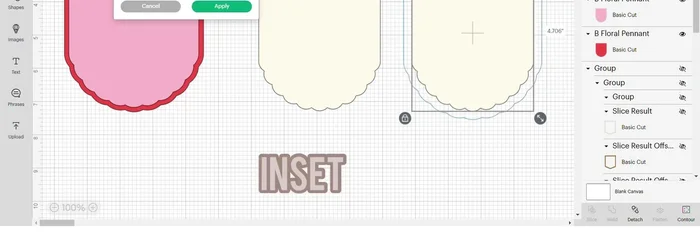
- Import the second banner, resize to match the middle one, delete the pen option, and hide the 'b' on both layers.
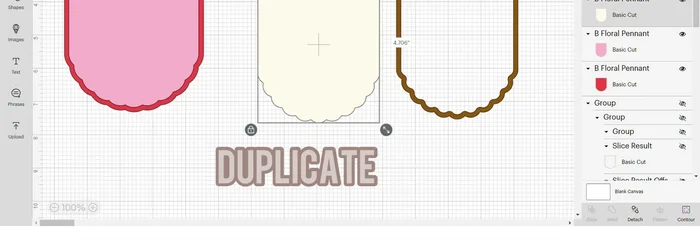
- Duplicate the first layer and apply a small inset. Select both and slice, keeping only the frame. Change the color.
- Import a half-banner shape, duplicate the first banner part, position together, align at the top, and slice. Delete everything but the small banner part. Move this to the front and weld.
Prepare the Second Banner Add the Elephant
- Import the elephant image, slice out one elephant, and delete unwanted parts. Flip the elephant if needed and position.
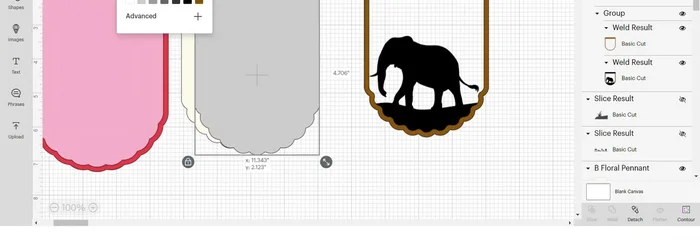
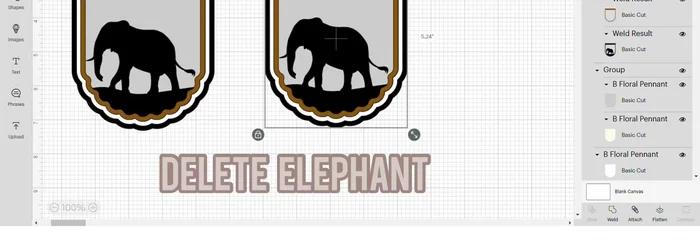
- Duplicate the border, slice with the elephant, hide outer parts, and weld. Change colors, use contour to remove the bottom, and arrange.
Add the Elephant Add the Acetate Layer to Second Banner
- Duplicate the first banner part, change to gray (acetate), and arrange. Change colors.
Add the Acetate Layer to Second Banner Add the Rhino
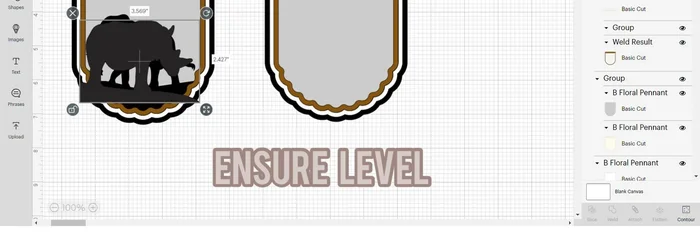
- Duplicate the whole banner, delete the elephant, and import the rhino. Slice the rhino out, and delete the rest.
- Flip the rhino, position with the elephant, duplicate the border, slice, weld, change colors, use contour to remove the bottom, and arrange.
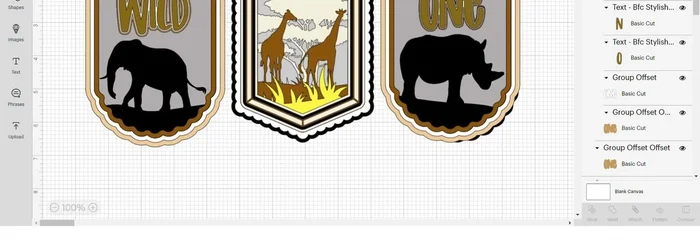
Add the Rhino Create and Style the Text
- Add text ('WILD ONE'), apply offsets (try 0.08 multiple times), group, and resize. Change colors.
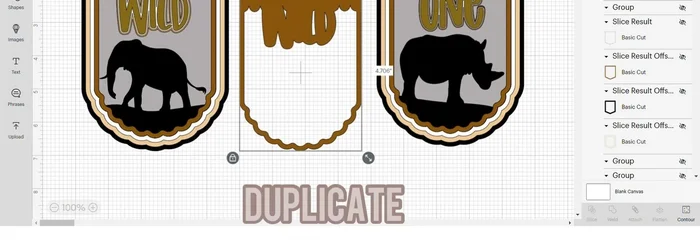
- Duplicate the back layers of 'WILD' and 'ONE' for dimension. Unhide all images. Apply an offset (try 0.15) to the back of each banner and change colors accordingly.
- Duplicate the 'WILD' banner, apply an offset (try 0.15 with square corners), change colors, arrange, and delete the original. Repeat for 'ONE'. Arrange all elements to finalize the banner.
Create and Style the Text


Read more: Easy Origami Paper Box Tutorial: Step-by-Step Guide
Tips
- Use the zoom feature frequently to avoid losing small elements in Design Space.
- Experiment with inset and offset values to achieve the desired look.
- Larger text allows for more intricate offsets.